• Skip to main content
  • Skip to primary sidebar
  • Skip to secondary sidebar

Sixth Street Sundries

Emily Midgett

  • Home
  • About Me
  • Contact
  • OLO Marker Color Swatch Chart
  • Shop

fussy cutting

Back in Stock: Sunflower Dreams at Simon Says Stamp!

September 22, 2025

This post was sponsored by Simon Says Stamp. Thanks, Simon!

Hi friends! I’m back today with some exciting news: my newest illustration, called Sunflower Dreams, is now back in stock at Simon Says Stamp! (Click HERE to see it!) I love creating background stamps, especially, because they can be used in so many different ways. You can use your favorite coloring medium to color them in exquisite detail, you can stamp them using colored ink with colored cardstock for a tone-on-tone patterned paper aesthetic, you can heat emboss, or you can selectively color and fussy cut, which was the technique that I used for today’s project! Let’s get started with the details on my card.

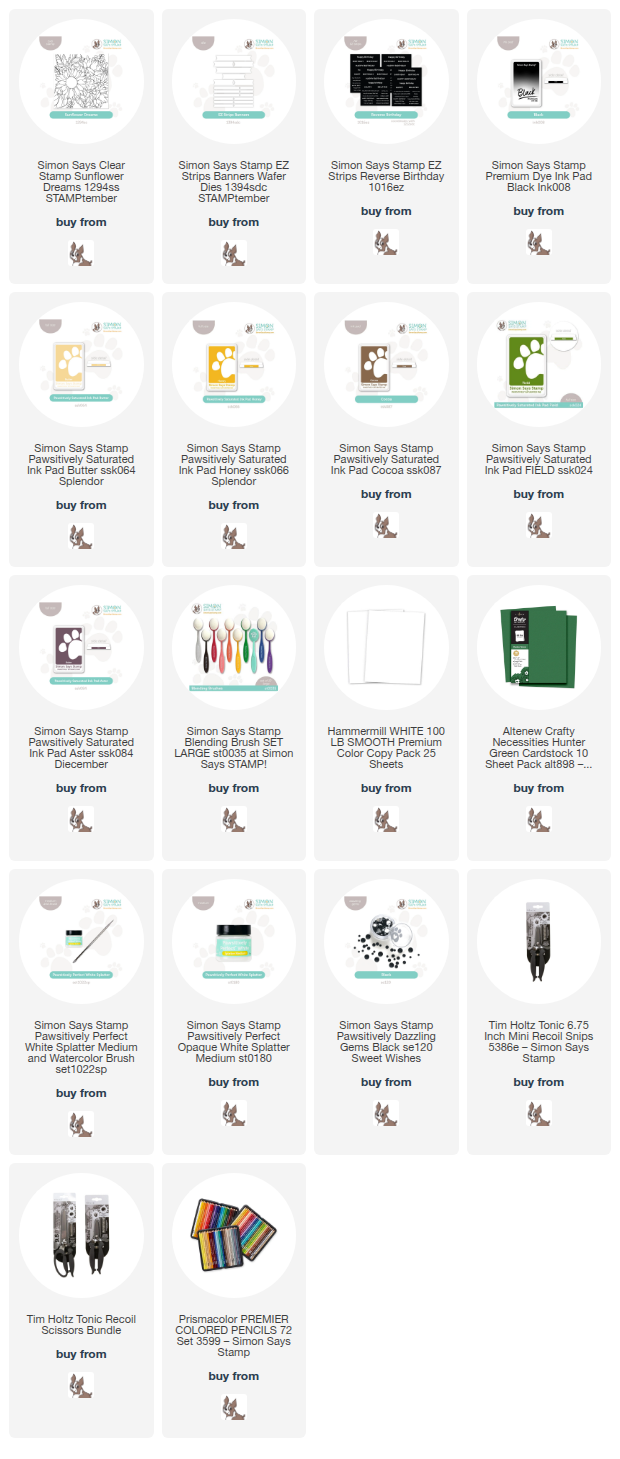
*I have gathered links to all of the products used at the bottom of the post for your convenience, using affiliate links. Thank you for shopping with my links! I truly appreciate your support for my work!*

To begin, I stamped my 6×6 Sunflower Dreams background stamp on an A2 panel of white cardstock using Simon Says Stamp’s new Black Dye Ink. After I had allowed a bit of drying time, I used blending brushes to blend Pawsitively Saturated Inks in shades of Butter, Honey, Aster, Cocoa, and Field on the large central sunflower. I then used colored pencils to lightly enhance the shadows and depth of the simply-blended image, creating contrast and increasing the intensity of the shadowed areas, which helps to create a more dimensional look on the image. I used a black pigment pen to add some small dots to the flower’s center for some “seeds,” as well! Once I had finished coloring, I used some very sharp recoil scissors to fussy cut the image out, creating a standalone focal point from the background stamp.

Once I had finished coloring and cutting the image completely, I blended some Field ink along the edge of a deep green A2 card front, then used a paintbrush to splatter some Simon Says Stamp Splatter Medium White on the background. I mounted the finished fussy cut sunflower image on the colored panel using foam adhesive, butting the fussy cut image up against the appropriate corner of the card front so that the corners matched perfectly.

After I had completed the main imagery on the card front, I used the new EZ Strips Banners die to die cut the sentiments from the Reverse Birthday EZ Strips cards. These EZ Strips dies make it super simple to have many sentiments in a variety of shapes and styles at your fingertips to finish off your card lickety split! I paired two different sentiments for this happy card, popping them up with a double layer of thin foam adhesive squares, tucking them amongst the sunflower bouquet. The black sentiments help enhance the black lines of the blended image, and to follow the “rule of three,” I added one final black accent with a smattering of Black Pawsitively Dazzling Gems.

Well, that’s all for my project today! I hope you enjoyed seeing another way to use your large floral background stamps… it’s always good to have a fresh technique that you can pull out of your back pocket! Versatility is key in my book! Thanks so much for stopping by today, and have a marvelous day!
Filed Under: simon says stamp Tagged With: colored pencils, die cutting, EZ strips, ez strips banners, ez strips reverse birthday, fussy cutting, ink blending, original illustration, sunflower dreams

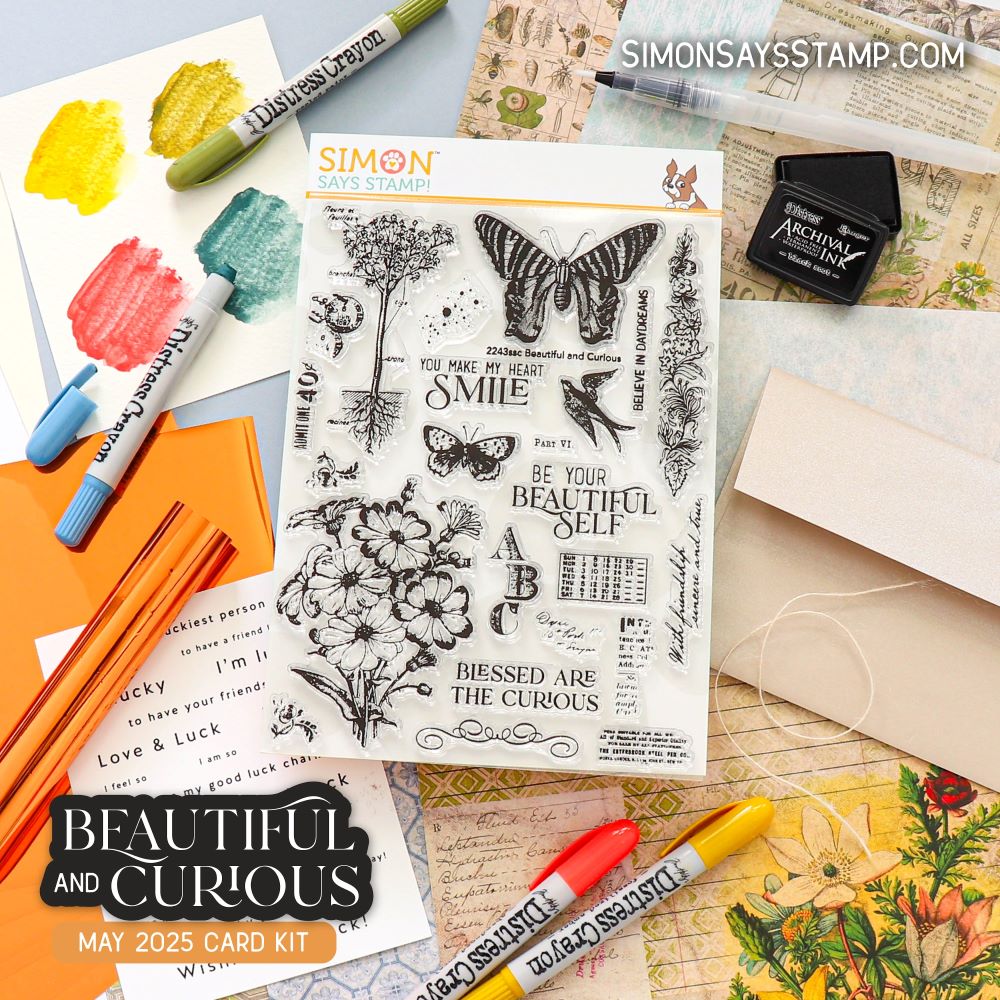
Simon Says Stamp Card Kit of the Month May 2025-Beautiful and Curious!

April 14, 2025

This post was sponsored by Simon Says Stamp. Thanks, Simon!

Hi friends! I have some inspiration to share with you today using several pieces of the new Beautiful and Curious Card Kit of the Month for Simon Says Stamp! If you love distressed, floral collage images, this kit is singing to you! I am always up for anything with flowers and butterflies, and the kit’s colors were so unique. Each component of the kit is truly fabulous, and together they create marvelous value.

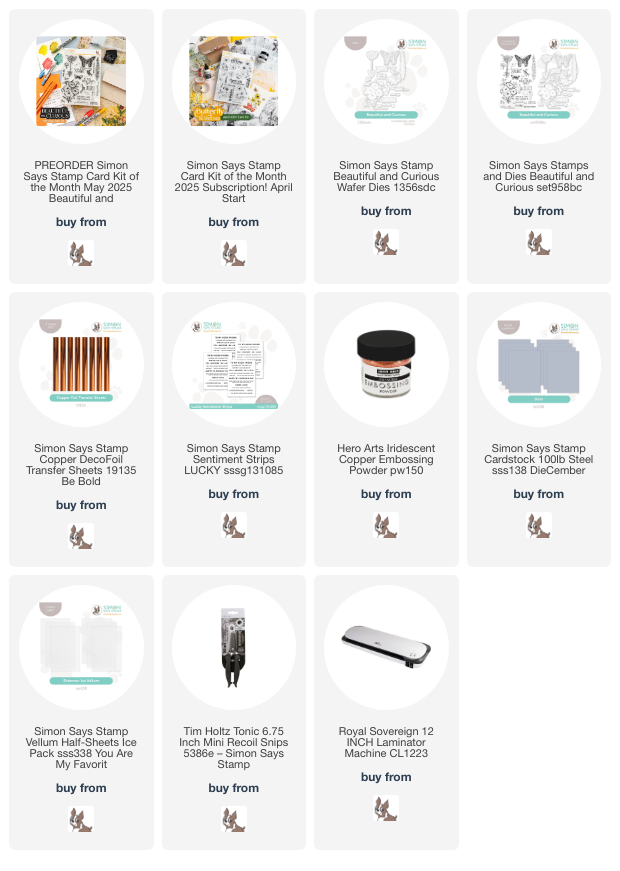
The May 2025 Beautiful and Curious Card Kit of the Month includes:

  • 1 NEW and exclusive Simon Says Stamp Beautiful and Curious 6×8 inch clear stamp set
  • 1 NEW and exclusive Simon Says Stamp Ice 8.5×5.5 inch vellum sheet
  • 1 exclusive Simon Says Stamp Copper 6×6 inch foil transfer sheet pack
  • 1 exclusive Simon Says Stamp Lucky sentiment strip sheet
  • 6 double-sided Tim Holtz Idea-ology Wallflower 8×8 inch patterned paper sheets (selection will vary)
  • 4 Tim Holtz Ranger Distress Crayons (colors will vary)
  • 1 Tim Holtz Ranger Black Soot Archival mini ink pad
  • 1 watercolor brush pen
  • 1 May Arts Ivory twine 12 inch piece
  • 1 Simon Says Stamp Steel 100 lb 8.5x 11 cardstock sheet
  • 1 Simon Says Stamp Ivory 110 lb 8.5x 11 cardstock sheet
  • 1 Neenah Solar White 110 lb 8.5×11 cardstock sheet
  • 1 Simon Says Stamp A2 Metallic Khaki envelope

Now, let’s see these components in action!

*I have gathered links to all of the products used at the bottom of the post for your convenience, using affiliate links. Thank you for shopping with my links! I truly appreciate your support for my work!*

I began by using my scissors to fussy cut some of the beautiful blooms on the patterned paper included with the Beautiful and Curious Card Kit of the Month. The patterned papers definitely give a vintage vibe, with muted yellows, reds, and greens, with lots of antiquing and collage effects, so it was fun to pull images from different papers to work together. I used my Tim Holtz Mini Recoil Snips to fussy cut the floral images; I find these scissors to be a game changer when it comes to fussy cutting! I also used my trimmer to trim down the trio of butterflies from one of the pieces of patterned paper, the colors of which paired very nicely with the my fussy cut flowers. After I had cut each piece, I used a shining copper paint pen to add some shimmering accents to each piece in order to coordinate with the Copper foil transfer sheets included with the kit.

For the greeting, I used the Copper foil transfer sheets with my Minc machine to add some shimmer to the Lucky Sentiment Sheet included with the kit; these sheets are laser printed with toner, so you can easily add toner foil for an incredible shine! I trimmed the sentiment sheet down with my guillotine trimmer, then selected two coordinating sentiments. I also backed the rectangular butterfly block with some of the new shimmering Simon Says Stamp Ice Vellum included with the kit, creating a subtle, shimmering frame around the butterflies!

Before I began arranging the different components, I splattered some metallic glitter watercolors on an A2 card front created with the Simon Says Stamp Steel Cardstock included with the kit. Some of the printed butterfly piece has the same cool blue-gray undertones, as well as the warm yellow and coppery brown featured in the floral pieces, so they all worked nicely together. I popped up the fussy cut printed pieces on the splattered background panel using foam adhesive, tucking the sentiments amongst the images, then decided to add one last coppery accent to tie it all together. I heat embossed a couple of the images from the Beautiful and Curious stamp set using Hero Arts Iridescent Copper embossing powder onto the same Steel cardstock and used my scissors to fussy cut the images. I placed them on the card front with a double layer of foam squares to make them pop. This card has so much subtle shimmer and lots of metallic accents to make it super special!

Well, that’s all for my project today! The Simon Says Stamp Card Kits are such an incredible value; the value of the individual elements of each kit equals far more than the $39.99 price tag, so you’re getting incredible bang for your buck. If you are consistently interested in the Simon Says Stamp Card Kit of the Month, you can sign up HERE to become a subscriber for an even bigger discount. As always, Simon also makes each individual element of the kits available a la carte, so that you can pick and choose what you would like to purchase if buying the entire kit isn’t really your thing. Who can say no to such incredible value though, right?

Thanks so much for stopping by today, and have a marvelous day!

Filed Under: simon says stamp Tagged With: beautiful and curious, card kit of the month, collage, die cutting, fussy cutting, laminator, patterned paper

More Simon Says Stamp April 2025 Card Kit Inspiration!

March 16, 2025

This post was sponsored by Simon Says Stamp. Thanks, Simon!

Hi friends! I am back with another pair of projects using the gorgeous new Simon Says Stamp April 2025 Card Kit of the Month! I shared this fun box card and simple patterned paper project set HERE, and today I paired the stamp set with some more of the patterned paper and my colored pencils to create this pair of sunny yellow cards. Let’s get started with the details!

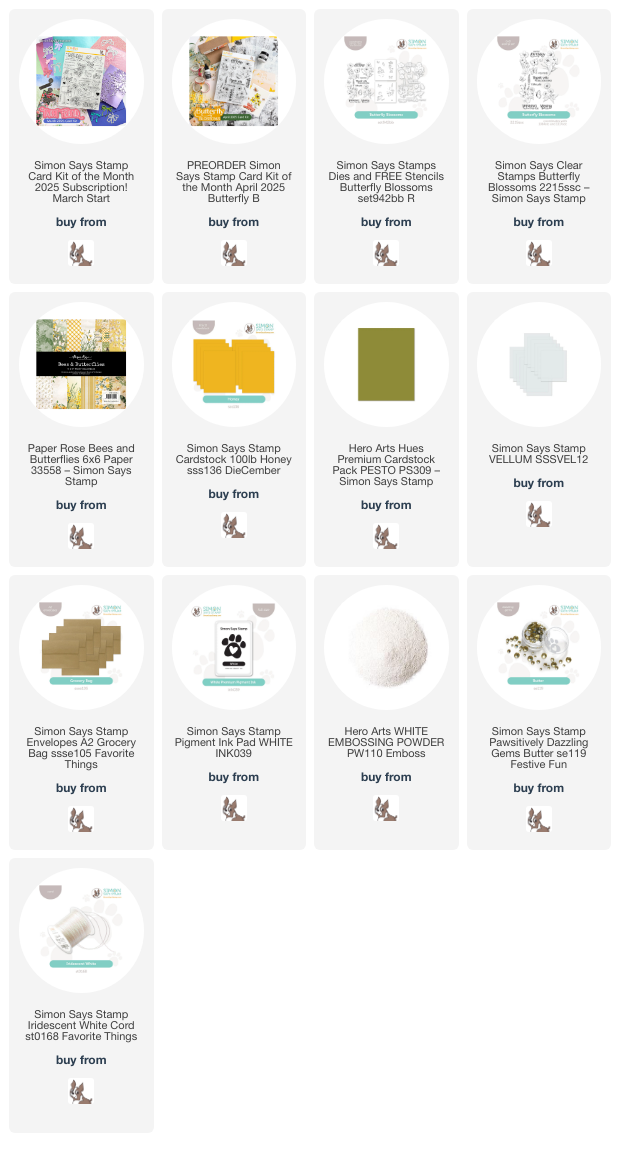
*I have gathered links to all of the products used at the bottom of the post for your convenience, using affiliate links. Thank you for shopping with my links! I truly appreciate your support for my work!*

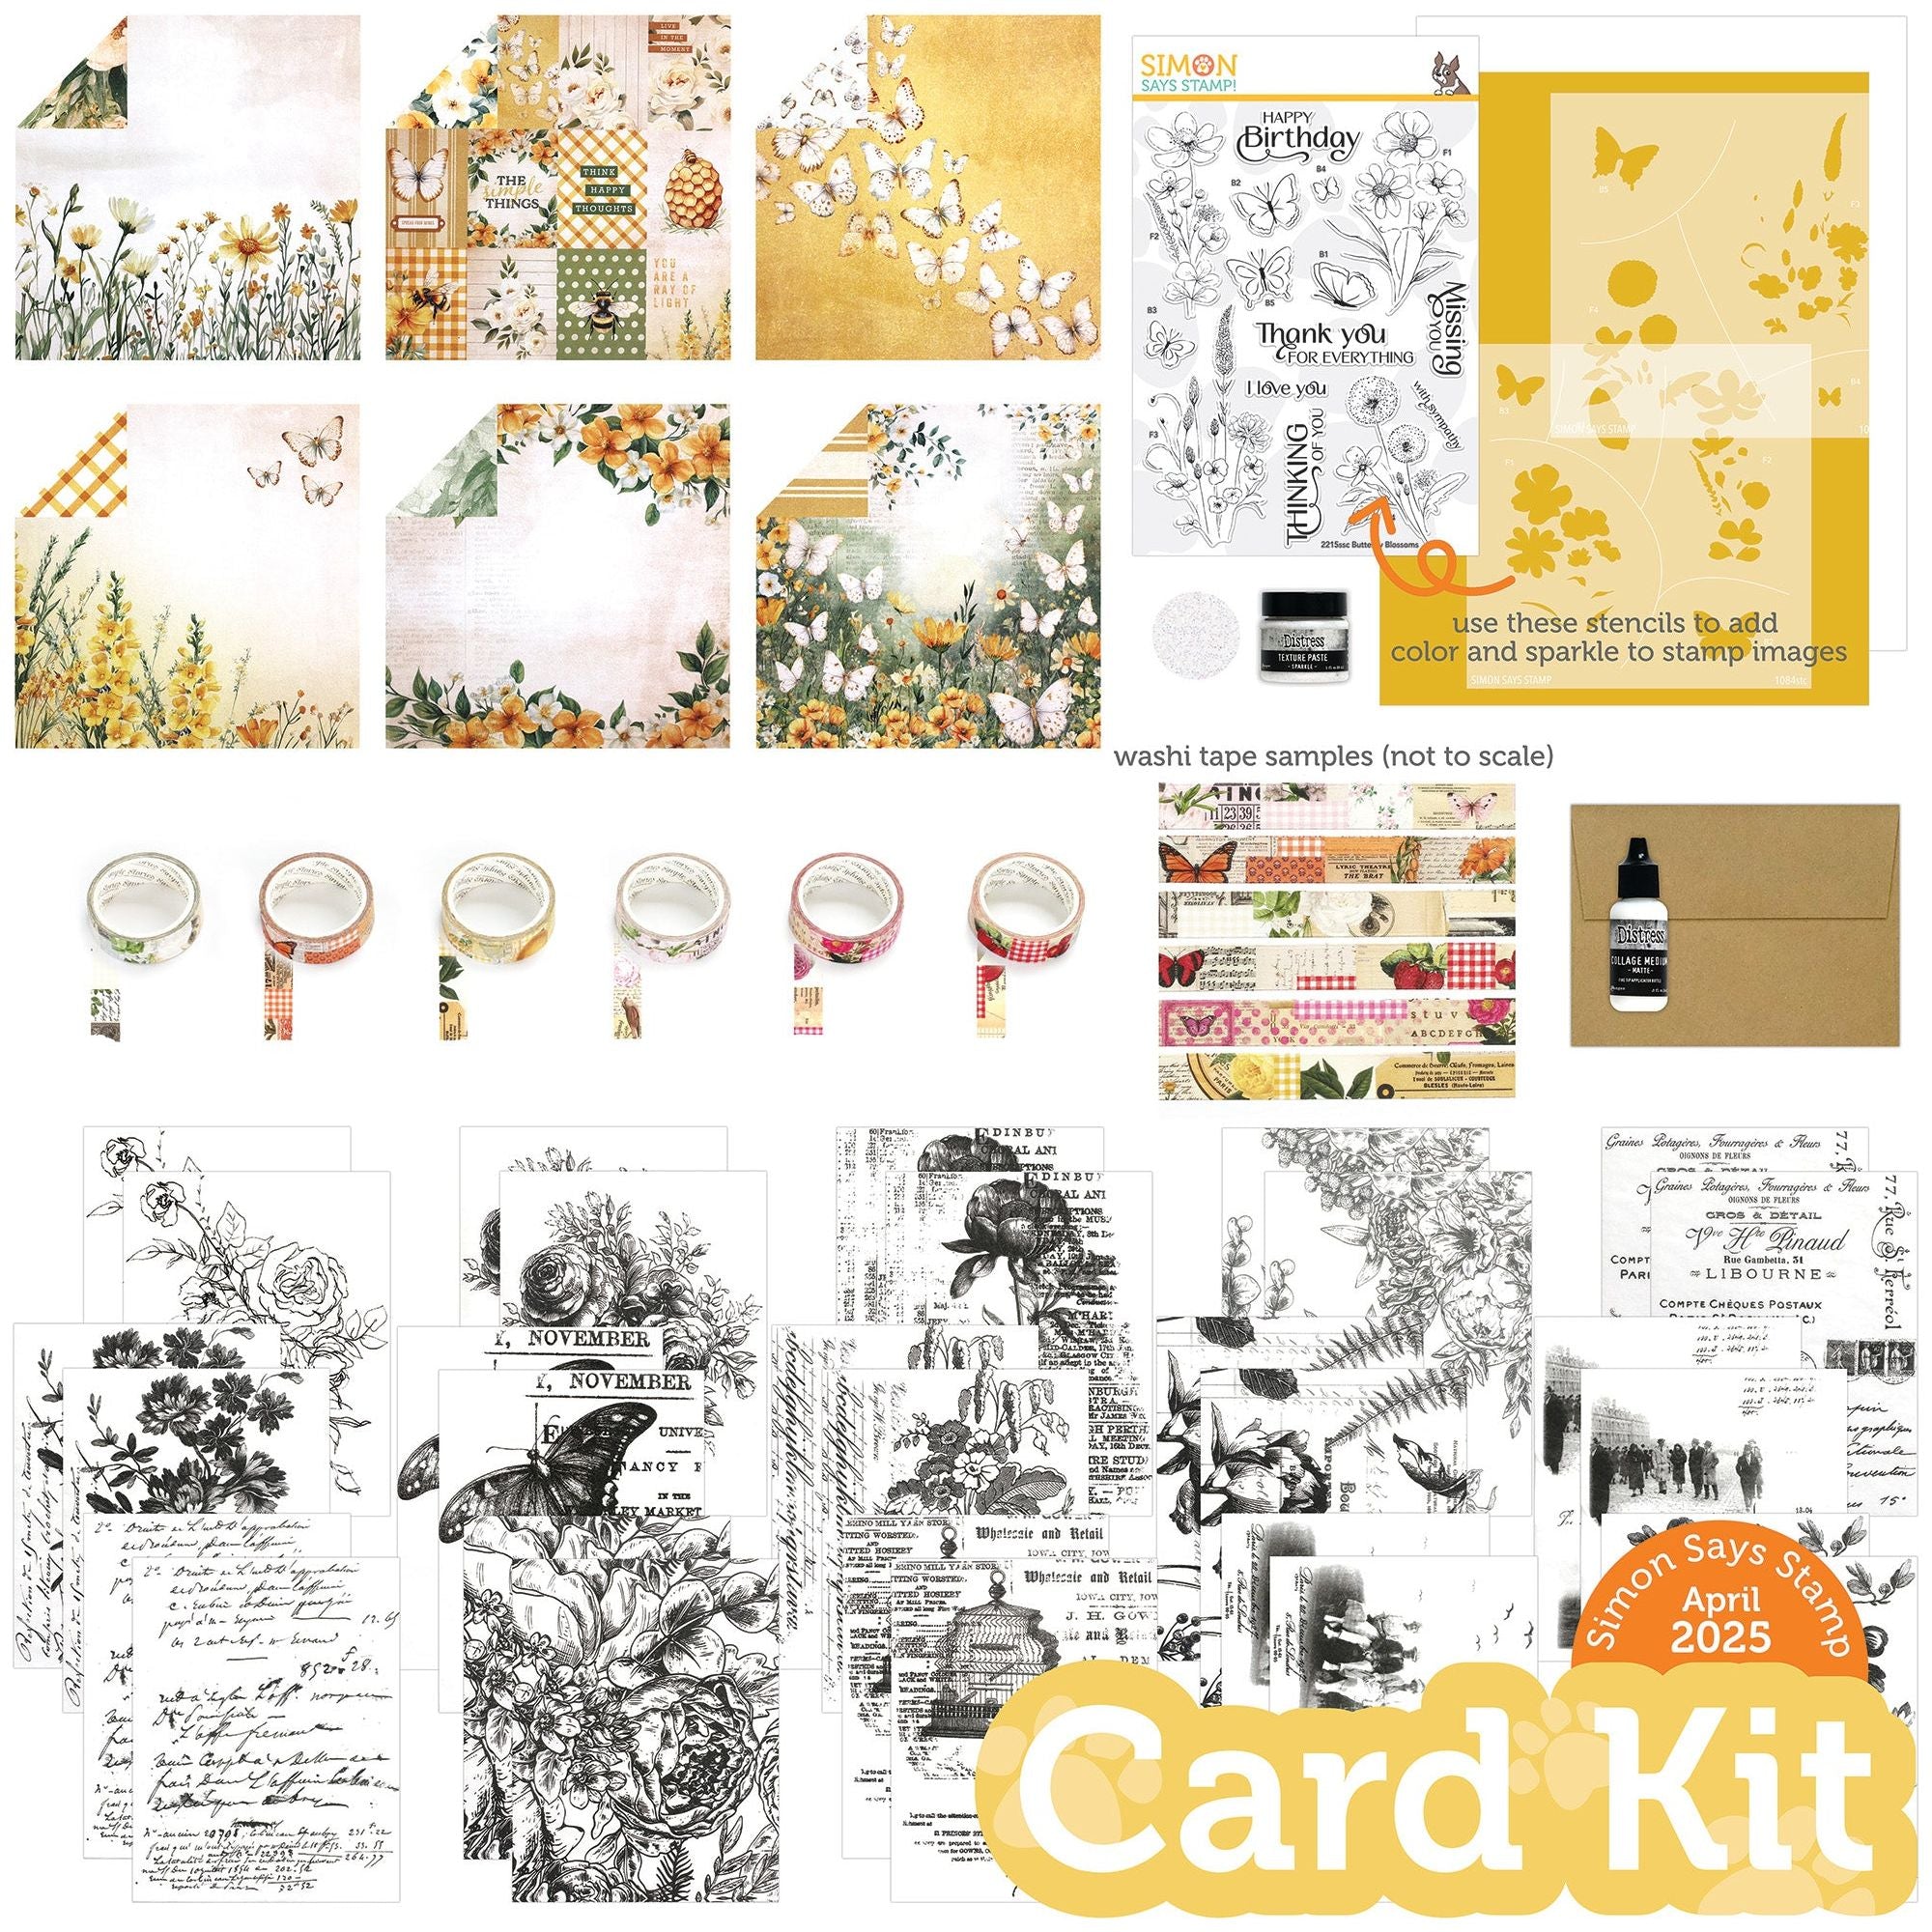
The April 2025 Card Kit features:

1 NEW and exclusive Simon Says Stamp Butterfly Blossoms 6×8 inch clear stamp set
1 NEW and exclusive Simon Says Stamp Butterfly Blossoms 6×6 inch stencil set
6 double-sided Paper Rose Bees & Butterflies  6×6 inch patterned paper sheets
1 Tim Holtz Idea-ology Serendipity collage paper pack 
1 Tim Holtz Ranger Sparkle Texture Paste 1 oz jar
1 Tim Holtz Ranger Matte Collage Medium .5 oz bottle
1 Simple Stories Color Palette Warm washi tape 6-pack
1 Simon Says Stamp Honey 100 lb 8.5x 11 cardstock sheet
1 Neenah Solar White 110 lb 8.5×11 cardstock sheet
1 Simon Says Stamp A2 Kraft envelope

The gorgeous floral patterned paper was so appealing, and I used it as the inspiration for my projects today, first as a fussy cut quick focal point and then used the stamp set to create a coordinating project with my pencils!

For the first project, I used my sharp scissors to fussy cut around the edges of one of the 6×6 panels of patterned papers. This particular sheet of patterned paper has the same floral border arrangement on both sides of the paper, so you can fussy cut both sides to create multiples of this card! I also trimmed down some of the Honey cardstock included with the April 2025 Card Kit, as well as a strip of the coordinating yellow gingham patterned paper. I arranged the colored and patterned cardstock pieces on an A2 card front, allowing the gingham to peek out from beneath the solid cardstock, which creates a barrier between the two different patterned panels.

After I had created the background, I used the included Butterfly Blossoms stamp set to heat emboss a greeting and some additional butterflies on vellum using white embossing powder. I used my sharp scissors to fussy cut the embossed images, but you could certainly use the coordinating dies to save time. (I have mine on order!) I used some dimensional adhesiveto adhere the embossed elements, then added an Iridescent White Cord bow and some Butter Pawsitively Dazzling Gems for added sparkle.

For my second project, I stamped the beautiful anemone flower arrangements from Butterfly Blossoms on the included Honey cardstock with Simon Says Stamp’s White Pigment Ink, turning and angling the same stamp to create a continuous pattern with just one stamp! I then used my colored pencils to do some tone-on-tone coloring, creating a sunny field of flowers. After I had finished coloring all of the images, I used a white gel pen to add some crisp white accents to the flowers, creating some delicate Queen Anne’s Lace as well. I love how this turned out; I was amazed at how much difference it made simply by angling the same stamp different directions! It doesn’t look repetitive at all!

After I had finished coloring the images, I used some white embossing powder to heat emboss a greeting from Butterfly Blossoms onto some coordinating avocado green cardstock, which I also used to mat the colored pencil panel. I fussy cut the sentiment with my sharp scissors, then used some foam adhesive to pop the greeting up and added another Iridescent White Cord bow tucked beneath the dimensional greeting. I mounted the matted panel on the front of a white A2 card front and finished the card off with some more Butter Pawsitively Dazzling Gems for added sparkle. I even created a coordinating envelope with the Paper Bag envelope included with the kit using the stamps and some more white pigment ink along the bottom of the front of the envelope!

Well, that’s all for my projects today. The Simon Says Stamp Card Kits are such an incredible value; the value of the individual elements of each kit equals far more than the $39.99 price tag, so you’re getting incredible bang for your buck. If you are consistently interested in the Simon Says Stamp Card Kit of the Month, you can sign up HERE to become a subscriber for an even bigger discount and more bang for your buck. As always, Simon also makes each individual element of the kits available a la carte, so that you can pick and choose what you would like to purchase if buying the entire kit isn’t really your thing. Who can say no to such incredible value though, right?

Thanks so much for stopping by today, and have a marvelous day!

Filed Under: simon says stamp Tagged With: butterfly blossoms, card kit, colored pencils, fussy cutting, no line coloring, simon says stamp card kit of the month

Spellbinders May Card Kit of the Month!

May 3, 2018

Good morning! I have a special post today. I was given the opportunity to create some projects with the Spellbinders May Card Kit of the Month, and I had so much fun with the products that I had to share them right away! The Card Kits contain everything you need to create a multitude of beautiful projects; these curated kits are chock full of coordinating papers, embellishments, greetings, not to mention beautiful dies, to create a cohesive look!

I created all three of these projects in one afternoon. The kit makes it so easy! These would be a perfect gift… I love giving gifts that coordinate… not super matchy, but you can tell that they definitely fit nicely together.

These cards vary in levels of difficulty and intricacy, so I’ll start with the simplest first. The kit contains some beautiful floral patterned paper, so I simply located a bouquet that was almost completely intact and fussy cut it out. I adhered it to one of the included card bases with some dimensional foam adhesive (also included in the kit). Next, I added a greeting using one of the gold foil stickers included in the kit. I first adhered it to some white card stock, then used more foam tape to pop it up. The final touch was to add some of the shiny gold sequins included in the kit’s contents.

For my second project, I used several different decorative elements included in the kit. There are quite a few pieces of ephemera and embellishments, as well as some lovely ribbon and a few beautifully detailed dies. I layered several of the ready-made embellishments on one of the floral patterned papers, then added a coral die cut butterfly and coral bow.

For my third project, I created my own patterned paper using some of the beautiful floral dies included in the kit. I simply die cut several of the flowers and foliage from the solid card stock included in the kit, then adhered them to a solid coral-y red card stock base in little clusters, adding some white dots with my white gel pen here and there. I also die cut a gold foil embroidery hoop (using the gold foil included in the kit) and backed it with some of the included patterned papers. A wood sentiment embellishment and another gold foil sticker finished it off.

Well, that’s all for my projects today! These card kits are super convenient with a very economical price tag. You get a huge amount of products that will create many, many cards, far more than the three I’ve created here! You can even subscribe to receive your own card kit each month! It’s like a little happy mail surprise every month, because you don’t even have to think about ordering when you have the subscription!

Thanks so much for stopping by today! Have a marvelous day!


Filed Under: spellbinders Tagged With: card kit, die cutting, fussy cutting

A Blog Named Hero: CASE A Designer!

November 6, 2017

Good morning! Happy Monday! Today marks the start of a new challenge over at A Blog Named Hero! This month, we are challenging you to copy a designer! Simply choose a card from the plethora of inspiration that our design team has provided you and use that as your starting point for your own project! Our sponsor this month is Neat and Tangled. I have SO many ideas for pairing Hero Arts and Neat and Tangled products… they work so beautifully together. For my project, I chose to CASE this card from my teammate, Coralynn! I loved her little scene on the bright white background with just pops of bright color.

Here’s my take on it:

I started by die cutting the fabulously clever scroll note from Hero Arts’s Christmas List Stamp ‘n Cut (SSS|EH) from plain white card stock, then added the sentiment from the coordinating stamp set using Memento Black Tuxedo ink. Next, I used C00 and C1 Copic markers to add shading to the scroll so that it would look a bit more dimensional. Next, I stamped the sweet little elf and some accessories from the Elves and Their Shelf (SSS|EH) stamp set using Memento Tuxedo Black, then colored them all with my Copic markers and fussy cut them (I don’t have the dies, so I got up close and personal with those black lines! My Copics bled a little, so I wanted to remove as much as that as possible.)

I adhered the scroll down onto my white A2 card front with liquid adhesive, then used dimensional adhesive to pop up my elf and accessories. I trimmed down the top and bottom of the white card front so that I could leave a strip of red and white striped pattern paper peeking out from the top and the bottom. The final touch was to add some shimmer to the elf’s hat using my Spectrum Noir sparkle pen and add some Glossy Accents to the ball of the snowglobe.

Well, that’s all for me today! Now, it’s your turn! Choose a card from one of our design team’s projects to use as your inspiration, then add your own spin to it and link it up to our blog! Be sure to read all of the rules for the challenge so that, if your entry is chosen, it’s not disqualified. 🙂

Have fun, and good luck!

Filed Under: A Blog Named Hero, Hero Arts, neat and tangled Tagged With: christmas card, clean and simple, copic coloring, elf, fussy cutting, holiday card

  • Page 1
  • Page 2
  • Go to Next Page »

Primary Sidebar

  • Facebook
  • Instagram
  • Pinterest
  • YouTube

Favorite Shops

Secondary Sidebar

Subscribe

Enter your email address to subscribe to this blog and receive notifications of new posts by email.

Instagram
Something is wrong.
Instagram token error.
Follow
Load More

Archives

Tags

3D embossing folder alcohol markers better press birthday birthday card blog hop card kit christmas christmas card christmas tag colored pencil copic copic coloring Daniel Smith die cutting embossing folder embroidery felt giveaway holiday holiday card hot foil ink blending karin brushmarker pro layered stencil masculine my monthly hero new release no line coloring no line watercolor OLO marker olo markers original illustration pawsitively saturated rainbow shaker card slimline stamping stamptember stencil thank you thinking of you valentine's day video watercolor

Popular Posts

Simon Says Stamp October 2026 Card Kit of the Month: Homespun Gratitude!
Honey Bee Stamps Cheerful Love Blog Hop!
Altenew Craft A Flower: Poppy Blog Hop+Giveaway!
Autumn Legs with Colorado Craft Company and Catherine Pooler!
Simon Says Stamp Cozy & Bright Inspiration, Part Two!
February 2018 My Monthly Hero Blog Hop!
The Ton Anniversary Release- Day 2
Sunflower Home Decor with Simon Says Stamp!
Hero Arts Spring 2020 Catalog Release Blog Hop+Giveaway!
Altenew Standalone Die Blog Hop+Giveaway!

Disclosure

Some affiliate links are used in my posts. This means that, should you click on one of my links and purchase something from that company, I will receive a small portion of the sale at no extra cost to you. I use the money earned from these sales to help maintain my blog. I so appreciate you visiting and, if you do choose to use one of my affiliate links, thank you so much for your support!
Copyright © 2026 ·Brunch Pro Theme · Genesis Framework by StudioPress · WordPress · Log in
Loading Comments...