• Skip to main content
  • Skip to primary sidebar
  • Skip to secondary sidebar

Sixth Street Sundries

Emily Midgett

  • Home
  • About Me
  • Contact
  • OLO Marker Color Swatch Chart
  • Shop

laminator

Away to the Window with New Simon Says Stamp + Free Gift Cards!!

November 22, 2025

This post was sponsored by Simon Says Stamp. Thanks, Simon!

Hi friends! I have a super crisp, bold, and graphic holiday card to share with you today using goodies from the new And Everything Nice release from Simon Says Stamp! (click HERE to see the entire release!) Festive decorated window imagery is everywhere right now, and the beautifully intricate Balcony Window dies from Simon Says Stamp are perfect for dressing up to fit the holiday mood! I created this card with one of my favorite holiday color palettes: bright, crisp white with pops of vibrant red and verdant greenery, accompanied by a little sparkle. Let’s get started with the details!

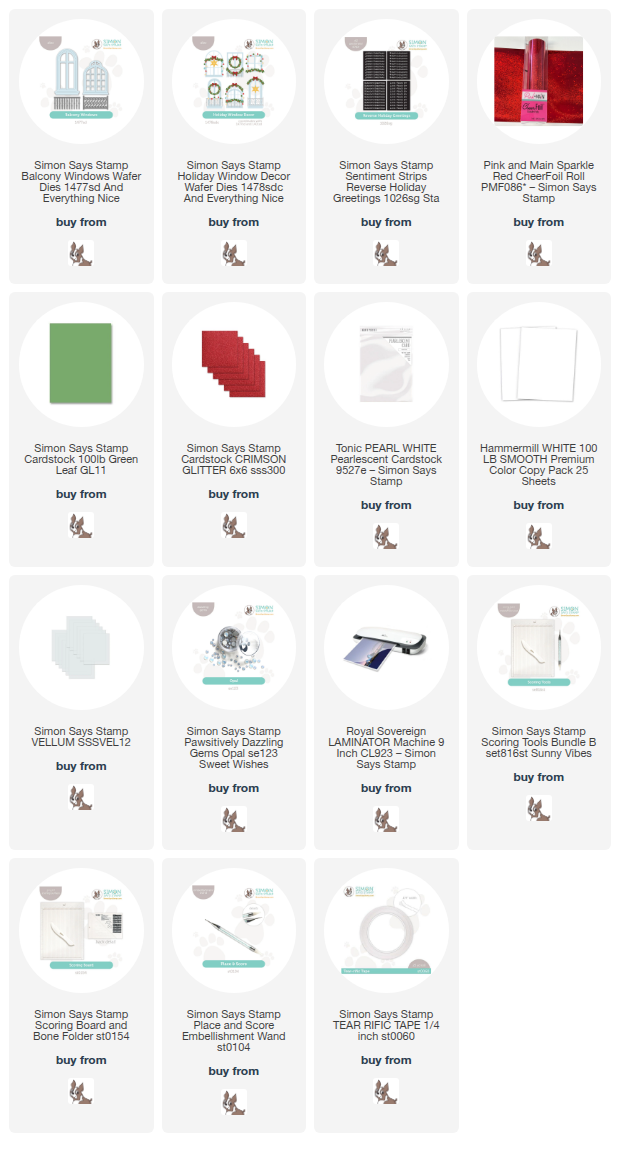
*I have gathered links to all of the products used at the bottom of the post for your convenience, using affiliate links at no extra cost to you. Thank you for shopping with my links! I truly appreciate your support for my work!*

To begin, I die cut the arched window from the new Balcony Windows set three times from plain white cardstock, adhering all of the die cuts together with liquid adhesive to create a dimensional die cut. I backed the window with vellum, though it is difficult to see in the photo, trimming off the edges with my sharp scissors. The Balcony Windows set comes with two intricately detailed window images, as well as two different options for fencing that you can use to create beautiful architectural scenes!

To embellish my window, I used solid green cardstock to die cut the foliage from the new Holiday Window Decor, then die cut some festive details with red glitter and white pearl cardstocks. I adhered these details to the wreath and garland with liquid adhesive, then used my trimmer to trim down a sentiment from the Reverse Holiday Greetings sentiment panels that I’d embellished with some glittery red toner foil and my laminator.

To create this card base, I wanted to add a little extra fun detail with a slightly offset card front, so I used the Simon Says Stamp Scoring Board to score a fold 3/4″ from the edge of my A2 card front, then used some Tear-rifically Tacky Tape to add the thin folded edge to the back of another panel of white A2 cardstock, creating a quick, moderately fun fold card! (I’m no engineer to be able to do those crazy-but-amazing fun fold cards like some of my friends!) I added my window die cut so that it was just lightly hanging over the edge of the card front, adding plenty of liquid adhesive so that it was sturdy while still hanging over the edge. I added the festive greenery and the sentiment strip with som foam adhesive, then added a few Opal Pawsitively Dazzling Gems for a touch of extra sparkle!

Well, that’s all for my project today. Now for some fun sale news: Simon Says Stamp is running their B1G1 gift card deal!!

$20 in free gift card?! Awesome! Click HERE to go right to the gift card page!

Thanks so much for stopping by today, and have a marvelous day!
Filed Under: simon says stamp Tagged With: balcony windows, christmas card, die cutting, holiday card, holiday window decor, laminator, reverse holiday greetings, toner foil

Using Leftovers: Nordic Christmas on a Line with Simon Says Stamp!

October 29, 2025

This post was sponsored by Simon Says Stamp. Thanks, Simon!

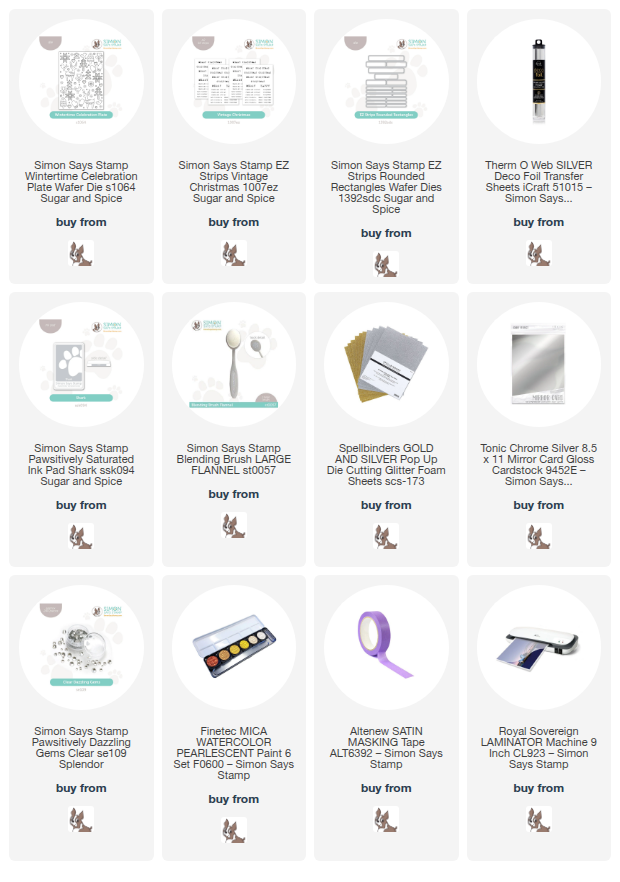
Hi friends! I have a project to share with you today using silvery glitter foam die cuts leftover from THIS project using goodies from the  Simon Says Stamp Sugar and Spice release (which you can check out HERE). I love it when a single die has enough of an impact to create multiple projects!! Versatility is key. The Wintertime Celebration Plate negative die cut definitely has a Nordic feel to it, with its collage of simplistic holiday imagery, but the positive die cuts that are created with the same single die cut work beautifully to create visually simplistic, elegant projects like this one. Let’s get started with the details on my project!

*I have gathered links to all of the products used at the bottom of the post for your convenience, using affiliate links. Thank you for shopping with my links! I truly appreciate your support for my work!*

To begin, I selected the standalone trees and a sweet little deer from the leftover silver glitter foam positive die cuts that were created using the Wintertime Celebration Plate. Using the glitter foam allows you to add dimension to your die cut projects without the fuss of additional foam adhesive and those little bits of release paper floating all over your desk! I wanted to create a clean horizon line upon which my images could stand, so I used some masking tape and some computer paper to mask off the bottom portion of my white A2 card front, then used a blending brush to blend Shark Pawsitively Saturated Ink. While the mask was still in place, I splattered some silvery glitter watercolors over the blended area to create some snowy imagery.

Once my splatters had dried, I arranged the glitter foam die cuts on the line in a symmetrical pattern with the deer in the center surrounded by a glittering forest of trees. I adhered the images with liquid adhesive easily, quickly adding dimension to my project with very minimal effort!

For the greeting, I die cut the new EZ Strips Vintage Christmas sentiment cards using the new EZ Strips Rounded Rectangles, creating many sentiment strips with one quick run through my die cutting machine. I wanted to maintain the icy silver and white color palette, so used some silver toner foil and my laminator to add shining silver foil to the sentiment strip. I popped the strip up beneath the silver glitter images with some thin foam adhesive, then added a couple of Clear Pawsitively Dazzling Gems on either side, maintaining the clean symmetry of the glitter die cuts throughout the rest of the card. Finally, I added two strips of silver foil cardstock beneath the sentiment, filling in the white gap beneath the main focal point and adding another final element of silvery shine!

Well, that’s all for my project today! Isn’t it great when you can create two completely unique cards with one set of die cuts? I never tire of the versatility of standalone die cuts!! Thanks so much for stopping by today, and have a marvelous day!

Filed Under: simon says stamp Tagged With: christmas card, die cutting, ez strips rounded rectangles, glitter foam, holiday card, laminator, toner foil, wintertime celebration

Simon Says Stamp Card Kit of the Month May 2025-Beautiful and Curious!

April 14, 2025

This post was sponsored by Simon Says Stamp. Thanks, Simon!

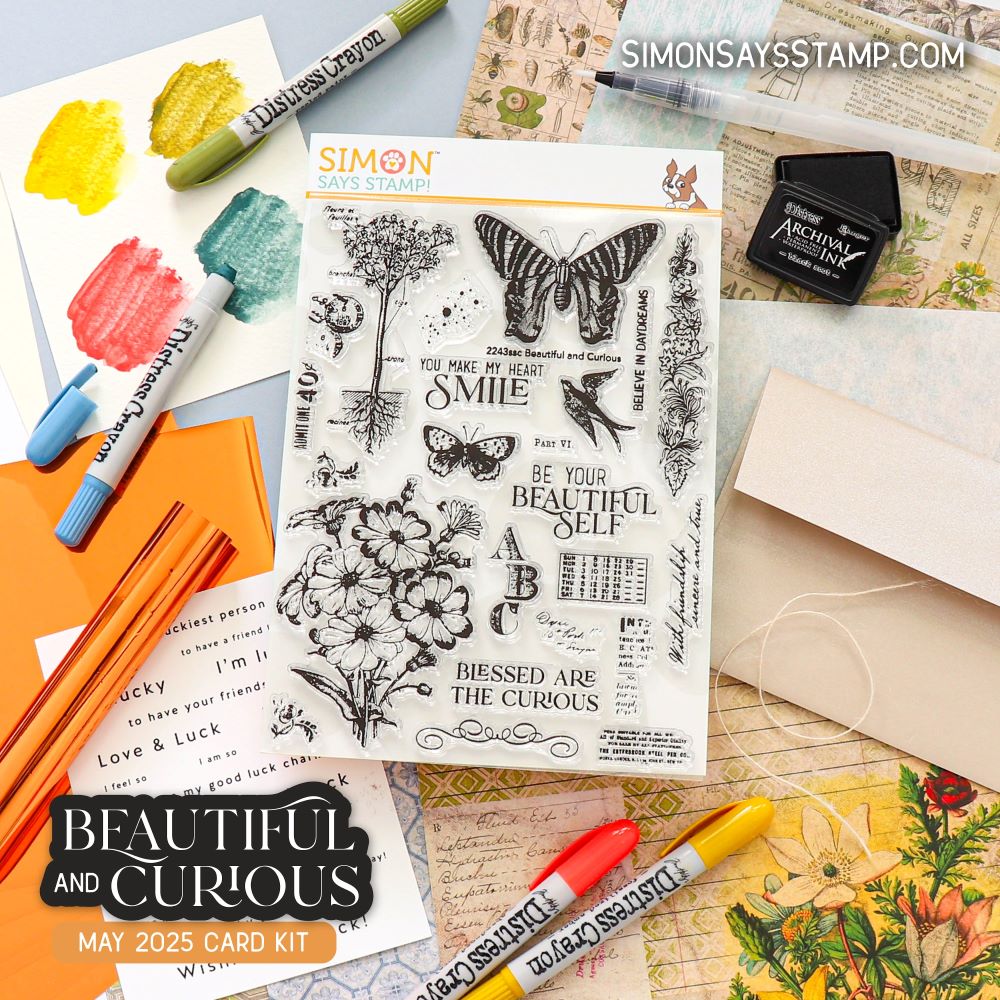
Hi friends! I have some inspiration to share with you today using several pieces of the new Beautiful and Curious Card Kit of the Month for Simon Says Stamp! If you love distressed, floral collage images, this kit is singing to you! I am always up for anything with flowers and butterflies, and the kit’s colors were so unique. Each component of the kit is truly fabulous, and together they create marvelous value.

The May 2025 Beautiful and Curious Card Kit of the Month includes:

  • 1 NEW and exclusive Simon Says Stamp Beautiful and Curious 6×8 inch clear stamp set
  • 1 NEW and exclusive Simon Says Stamp Ice 8.5×5.5 inch vellum sheet
  • 1 exclusive Simon Says Stamp Copper 6×6 inch foil transfer sheet pack
  • 1 exclusive Simon Says Stamp Lucky sentiment strip sheet
  • 6 double-sided Tim Holtz Idea-ology Wallflower 8×8 inch patterned paper sheets (selection will vary)
  • 4 Tim Holtz Ranger Distress Crayons (colors will vary)
  • 1 Tim Holtz Ranger Black Soot Archival mini ink pad
  • 1 watercolor brush pen
  • 1 May Arts Ivory twine 12 inch piece
  • 1 Simon Says Stamp Steel 100 lb 8.5x 11 cardstock sheet
  • 1 Simon Says Stamp Ivory 110 lb 8.5x 11 cardstock sheet
  • 1 Neenah Solar White 110 lb 8.5×11 cardstock sheet
  • 1 Simon Says Stamp A2 Metallic Khaki envelope

Now, let’s see these components in action!

*I have gathered links to all of the products used at the bottom of the post for your convenience, using affiliate links. Thank you for shopping with my links! I truly appreciate your support for my work!*

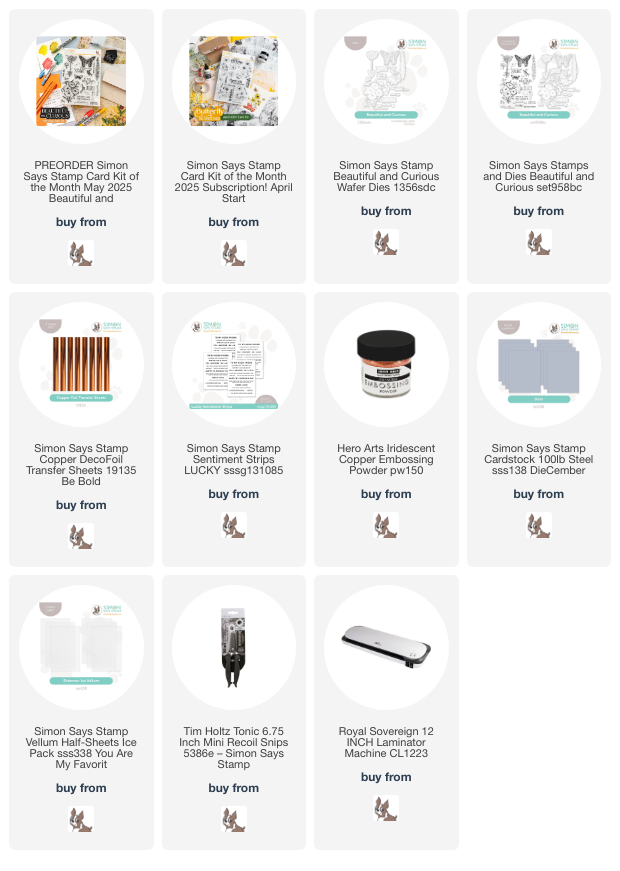
I began by using my scissors to fussy cut some of the beautiful blooms on the patterned paper included with the Beautiful and Curious Card Kit of the Month. The patterned papers definitely give a vintage vibe, with muted yellows, reds, and greens, with lots of antiquing and collage effects, so it was fun to pull images from different papers to work together. I used my Tim Holtz Mini Recoil Snips to fussy cut the floral images; I find these scissors to be a game changer when it comes to fussy cutting! I also used my trimmer to trim down the trio of butterflies from one of the pieces of patterned paper, the colors of which paired very nicely with the my fussy cut flowers. After I had cut each piece, I used a shining copper paint pen to add some shimmering accents to each piece in order to coordinate with the Copper foil transfer sheets included with the kit.

For the greeting, I used the Copper foil transfer sheets with my Minc machine to add some shimmer to the Lucky Sentiment Sheet included with the kit; these sheets are laser printed with toner, so you can easily add toner foil for an incredible shine! I trimmed the sentiment sheet down with my guillotine trimmer, then selected two coordinating sentiments. I also backed the rectangular butterfly block with some of the new shimmering Simon Says Stamp Ice Vellum included with the kit, creating a subtle, shimmering frame around the butterflies!

Before I began arranging the different components, I splattered some metallic glitter watercolors on an A2 card front created with the Simon Says Stamp Steel Cardstock included with the kit. Some of the printed butterfly piece has the same cool blue-gray undertones, as well as the warm yellow and coppery brown featured in the floral pieces, so they all worked nicely together. I popped up the fussy cut printed pieces on the splattered background panel using foam adhesive, tucking the sentiments amongst the images, then decided to add one last coppery accent to tie it all together. I heat embossed a couple of the images from the Beautiful and Curious stamp set using Hero Arts Iridescent Copper embossing powder onto the same Steel cardstock and used my scissors to fussy cut the images. I placed them on the card front with a double layer of foam squares to make them pop. This card has so much subtle shimmer and lots of metallic accents to make it super special!

Well, that’s all for my project today! The Simon Says Stamp Card Kits are such an incredible value; the value of the individual elements of each kit equals far more than the $39.99 price tag, so you’re getting incredible bang for your buck. If you are consistently interested in the Simon Says Stamp Card Kit of the Month, you can sign up HERE to become a subscriber for an even bigger discount. As always, Simon also makes each individual element of the kits available a la carte, so that you can pick and choose what you would like to purchase if buying the entire kit isn’t really your thing. Who can say no to such incredible value though, right?

Thanks so much for stopping by today, and have a marvelous day!

Filed Under: simon says stamp Tagged With: beautiful and curious, card kit of the month, collage, die cutting, fussy cutting, laminator, patterned paper

New Release: Simon Says Stamp Be Bold!

March 20, 2024

This post was sponsored by Simon Says Stamp. Thanks, Simon!

Hi friends! The new Simon Says Stamp Be Bold release is now live, and boy is it full of good stuff!! Flowers, ice cream, graphic stencils, foils, new inks…. there are SO many fun new goodies.

Can I let you in on a secret? Stencils, in my opinion, are one of the best ways to get a great bang for your buck. You can use them in so many different techniques, from simple blending to spritzing with shimmer sprays to mixed media pastes, or, as I’ve done today, spreading Decofoil Gel on one layer to be used with toner foils. This was the first time that I’ve used Decofoil Gel, and it most certainly won’t be the last!! I used this unique product with the brand new Pawsitively Saturated Ink Trio 28 and the Tiled Art stencil to create this pair of psychedelic projects. Let’s get started with the details!

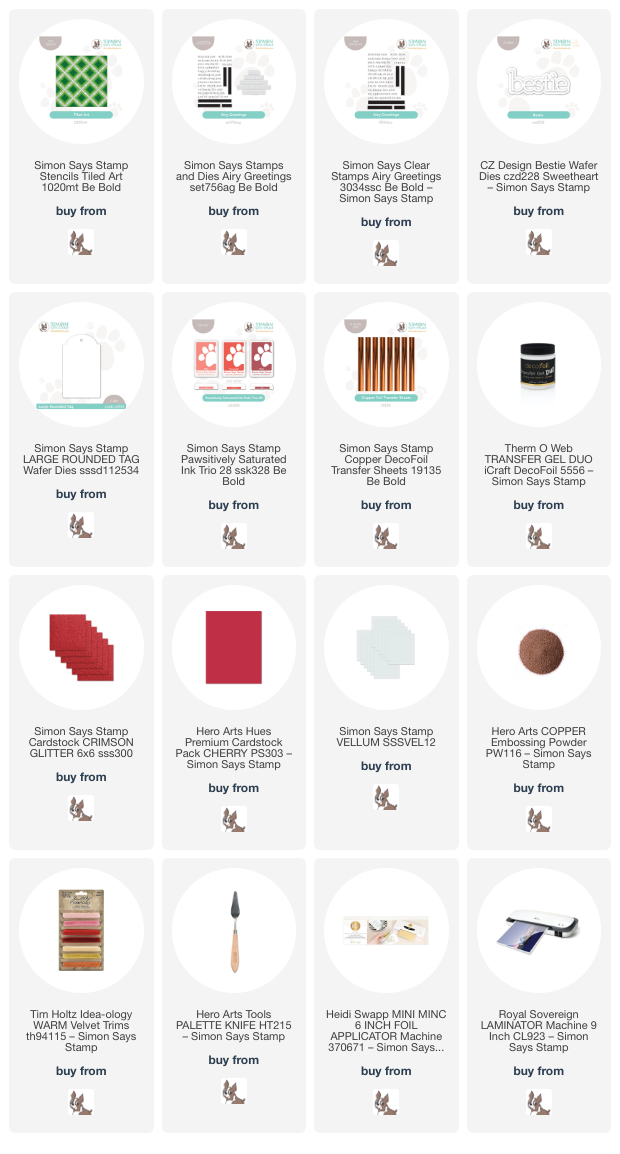
To start, I cut down a panel of white cardstock to 6″ x 6″ so that I could blend the entirety of the stenciled images. I then used blending brushes with the Pawsitively Saturated Ink Trio 28 to blend the bottom three layers of the Tiled Art layering stencil set. For the top stencil layer with the smallest decorative square images, I spread the Decofoil Gel using a palette knife, then allowed it to dry completely. The gel is opaque when first applied, but after it dries, it should be completely translucent. Once the gel had dried completely (this took around an hour), you can run it through your laminator or Minc machine with your choice of foil. I chose to use the brand new Copper Simon DecoFoil to coordinate with the lush orange inks that I used for my stenciled background.

After I had foiled the last layer of the stenciled background, I trimmed the 6×6 panel down into two sections, one just wide enough to accomodate the tag die that I planned to use for my bookmark, leaving me with a fairly wide strip of shining, foil-patterned paper that I could use for a card! I loved that this ink trio included not only a vivid burnt orange color, but also a beautiful coral and a deep, intense red. I chose to enhance that Brick ink color with some coordinating red glitter paper. I trimmed down some strips of red glitter cardstock and adhered them to either side of my patterned panel, allowing them to peek out from the long sides of the piece. I mounted that panel to a sheet of coordinating A2 deep red cardstock, popping it up with foam adhesive for extra interest. I think the deep red tones help to calm the vibrant orange and keep it from looking too “groovy” haha!

After I had created my card base, I worked on my sentiment. I kept things very simple so as not to detract from the fun patterned background, so I die cut the large Bestie die from some more of that shimmering red glitter paper, backing it with the shadow layer cut from vellum. I added a fabulous greeting from the new Airy Greetings stamp set, heat embossing it using copper embossing powder, then die cutting it with the coordinating die. I popped both die cut greetings up with more foam adhesive to help them pop even more.

For the bookmark, I used the Large Rounded Tag die to die cut a section from the leftover stenciled strip. To create a tassel, I simply added a loop of burnt orange velvet from the Tim Holtz warm velvet trims. Between the bright orange color palette and the shiny foil, this would be difficult bookmark to lose!

Well, that’s all for my projects today. I hope you’ll take a peek at the new Be Bold release… I have so many more fun things to share with you using these marvelous new products. And be sure to stop by later this week for the blog hop with tons and tons of inspiration! Thanks so much for stopping by today, and have a marvelous day!

Filed Under: simon says stamp Tagged With: airy greetings, be bold, bestie, bookmark, die cutting, laminator, layered stencil, minc, pawsitively saturated, stencil, tag, tiled art

Primary Sidebar

  • Facebook
  • Instagram
  • Pinterest
  • YouTube

Favorite Shops

Secondary Sidebar

Subscribe

Enter your email address to subscribe to this blog and receive notifications of new posts by email.

Instagram
Something is wrong.
Instagram token error.
Follow
Load More

Archives

Tags

3D embossing folder alcohol markers better press birthday birthday card blog hop card kit christmas christmas card christmas tag colored pencil copic copic coloring Daniel Smith die cutting embossing folder embroidery felt giveaway holiday holiday card hot foil ink blending karin brushmarker pro layered stencil masculine my monthly hero new release no line coloring no line watercolor OLO marker olo markers original illustration pawsitively saturated rainbow shaker card slimline stamping stamptember stencil thank you thinking of you valentine's day video watercolor

Popular Posts

Simon Says Stamp Sending Cheer Release: Now Available!
Joyful Snowman with New Simon Says Stamp Sending Cheer Release!
Autumn Legs with Colorado Craft Company and Catherine Pooler!
February 2018 My Monthly Hero Blog Hop!
Altenew Paint A Flower: Carnation Blog Hop+Giveaway!
Altenew March 2020 Release Blog Hop+Giveaway!
Special Release: Simon Says Stamp Limited Edition STAMPtember Christmas Card Kit!
Pinkfresh Studio 5th Birthday!
Pinkfresh Studios June Washi and Stamp Release Blog Hop!
Studio Katia September Release Blog Hop!

Disclosure

Some affiliate links are used in my posts. This means that, should you click on one of my links and purchase something from that company, I will receive a small portion of the sale at no extra cost to you. I use the money earned from these sales to help maintain my blog. I so appreciate you visiting and, if you do choose to use one of my affiliate links, thank you so much for your support!
Copyright © 2026 ·Brunch Pro Theme · Genesis Framework by StudioPress · WordPress · Log in
Loading Comments...