• Skip to main content
  • Skip to primary sidebar
  • Skip to secondary sidebar

Sixth Street Sundries

Emily Midgett

  • Home
  • About Me
  • Contact
  • OLO Marker Color Swatch Chart
  • Shop

soft plaid

Man Card Monday April 2024: Do You Play Pickleball?

April 16, 2024

This post was sponsored by Simon Says Stamp. Thanks, Simon!

Hi friends! I’m back for the April edition of Man Card Monday, a bit delayed because of one of my 4 year old twin boys fracturing his tibia. (On his birthday, no less. Sad face!) It made life a little hectic, to say the least, so my Man Card Monday post featuring the new Pickleball set from the Be Bold release is a bit later than I planned. I’ve never played pickleball myself, but I know that it’s hugely popular and it looks like tons of fun! Kind of like table tennis on steroids, if I understand it correctly? I thought the set would make a perfect project (or two) for Man Card Monday with some bold colors and subtle plaid background. Let’s get started with the details!

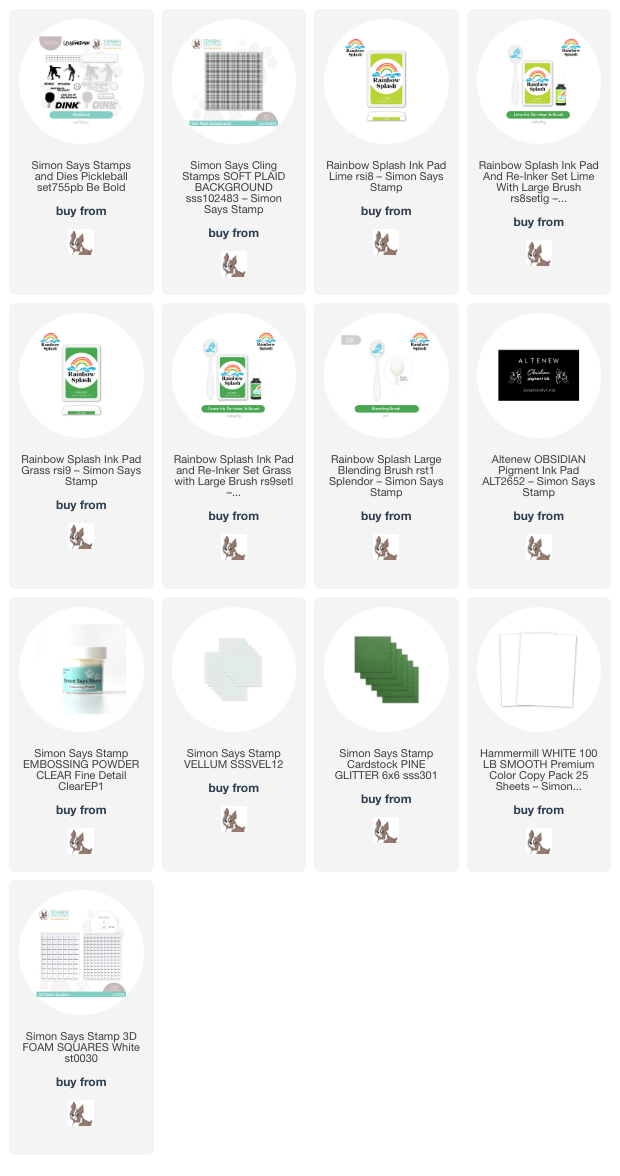
The new Pickleball set features some silhouettes of the players in different positions, a net, some paddles, and, of course, a ball, all accompanied by some clever and creative sentiments! I guess I had tennis in my mind’s eye when I was creating these cards, and so thought that a crisp, almost neon green, black, and white color palette would suit these bold images, and I’m super pleased with the results. I always equate tennis courts with being “preppy” and so channeled that imagery by pairing these images with the Soft Plaid Background and the Rainbow Splash Lime and Grass inks for some vivid and bold color.

I started my first card by stamping the silhouette images of the players onto some Hammermill white cardstock using black pigment ink and embossing them with clear embossing powder. I think that clear embossing the black silhouettes makes them super crisp and bold! I also heat embossed the net on some vellum so that the die cut would almost “float” like a real net would!

For the background, I stamped the Soft Plaid Background on some more white cardstock, inking up only the center of the stamp and dabbing the edges of the inked up area using my microfiber cloth so that they would fade smoothly away. After stamping the image with the Rainbow Splash Grass ink, I used a blending brush to blend a spotlight area with Rainbow Splash Lime ink in the center of the plaid panel. This spotlight helps to ground my scene so that the players were not just floating in midair, ha! I trimmed the panel down, taking 1/4″ off of each side, and mounted it in the center of a white A2 panel of cardstock.

I popped up the embossed images using foam adhesive, arranging the solid die cuts to overlap the vellum net and hiding the foam squares behind the solid die cuts to keep my vellum net nice and clean! I also added some coordinating lime green alcohol marker coloring to the paddles to help keep the color palette cohesive. I embossed and die cut a greeting, then tucked it next to one of my players’ feet with some foam squares.

For the second card, I wanted to focus on the larger scale “dink” sentiment and the accessories included in the Pickleball set. I started by stamping the sentiments and ball with more black pigment ink and embossing them with clear embossing powder. Next, I stamped the paddles, first stamping them completely with Lime ink, then doing some partial stamping around the edges of the paddles with Grass ink, dabbing the center of the stamp with my microfiber cloth to create some color gradient. I used a black fineliner pen on the wrapped handles, so that the images coordinated with the black outline for the ball. (I don’t love mixing solid stamps with outline stamps on the same project, so that black fineliner pen was just the ticket!)

For the background, I stamped the Soft Plaid Background on some more white cardstock using Lime ink, then trimmed the panel down 1/4″ on all sides and blended more Lime ink around the edges, creating a vivid green halo. I centered the plaid panel on an A2 panel of green glitter cardstock, then added my die cut pickleball elements using more foam squares for lots of dimension!

Well, that’s all for this month’s edition of Man Card Monday (on Tuesday, whoops!). Be sure to check back here later this week for tons and tons of new inspiration using the upcoming Simon Says Stamp release…. it’s a really good one!
Thanks so much for stopping by today, and have a marvelous day!

Filed Under: simon says stamp Tagged With: birthday, man card monday, masculine, pickleball, rainbow splash, soft plaid, soft plaid background

White Winter Village for Christmas!

October 17, 2023

This post is sponsored by Simon Says Stamp. Thanks, Simon!

Hi friends! As you might have noticed, tone-on-tone is a favorite “technique” of mine. I think it creates such a dramatic and elegant effect, and holiday cards are certainly the perfect excuse for drama and elegance! The beautiful Winter Village dies from the Season of Wonder release from Simon Says Stamp were the perfect product to use for a monochromatic white holiday card, adding in a few special tricks to make all of the elements stand out individually as well as work together for the entirety of the card! Let’s get started with the details.

To start, I die cut the Winter Village dies (which are currently out of stock, so be sure to sign up for email notification for when they come back in stock!!) from some iridescent white mirror cardstock. I am always on the lookout for unique specialty papers whenever I am shopping, because the specialty papers really make these monochromatic projects pop. The unique texture of this iridescent white mirror cardstock helps the die cuts stand out from the rest of the white on the project!

For the background, I wanted something soft and simple, but still captured the holiday mood of the sweet little houses, so I heat embossed the Soft Plaid background using Hero Arts White Satin Pearl embossing powder on white cardstock. This pearlescent embossing powder is a workhorse in my craft room; it creates beautiful pearlescent tone-on-tone embossing and can also be used to create custom embossing powder looks by stamping your image or sentiment in colored ink, then using your MISTI to stamp it again with embossing ink and adding the White Satin Pearl embossing powder. I used this technique to create the sentiment for my card today. I stamped the greeting from Inside Greetings Christmas using Flannel Pawsitively Saturated ink, then again with embossing ink, finally adding the White Satin Pearl embossing powder to create a soft pearlescent gray embossed greeting. This pearlescent gray is a bit softer than typical silver embossing powder… I love that you can create custom embossing colors with one simple addition to your craft stash!

I trimmed down my plaid background panel and matted it on a full size A2 card front with liquid adhesive. To help my village stand out a bit from the white background, I die cut a vellum circle using the circleThin Frames die. This softens the plaid pattern on the background so that the shiny white village can stand out as the focal point. I adhered the embossed sentiment strip to the bottom of the vellum circle, then arranged the village die cuts above it using the sentiment strip as a guide to keep things straight. I adhered the vellum circle to the plaid background by hiding my adhesive behind the solid die cuts!

Well, that’s all for my project today! If you’ve never tried doing a monochromatic white card, take this as your sign to try it out. It’s so fun to mix and match textures and patterns to create interest on your monochromatic cards! Thanks so much for stopping by today, and have a marvelous day!

Filed Under: simon says stamp Tagged With: christmas card, holiday card, inside christmas greetings, monochromatic, soft plaid, thin frames, winter village

Primary Sidebar

  • Facebook
  • Instagram
  • Pinterest
  • YouTube

Favorite Shops

Secondary Sidebar

Subscribe

Enter your email address to subscribe to this blog and receive notifications of new posts by email.

Instagram
Something is wrong.
Instagram token error.
Follow
Load More

Archives

Tags

3D embossing folder alcohol markers better press birthday birthday card blog hop card kit christmas christmas card christmas tag colored pencil copic copic coloring Daniel Smith die cutting embossing folder embroidery felt giveaway holiday holiday card hot foil ink blending karin brushmarker pro layered stencil masculine my monthly hero new release no line coloring no line watercolor OLO marker olo markers original illustration pawsitively saturated rainbow shaker card slimline stamping stamptember stencil thank you thinking of you valentine's day video watercolor

Popular Posts

Simon Says Stamp Joy For You Blog Hop- Day 1!
Simon Says Stamp Joy For You Release-Now Available!
Frozen Fractals All Around with New Simon Says Stamp Joy For You Release!
Shaped Holiday Shaker Card with New Simon Says Stamp Jolly Season Card Kit of the Month!
Holiday Postage with New Simon Says Stamp!
Simon Says Stamp Glory to the Newborn King Holiday Kit-Part II!
Pinkfresh Studio 5th Birthday!
Altenew Build A Flower: Fuchsia Blog Hop+Giveway!
Holiday Joy in Pink and Green with New Simon Says Stamp DieCember!
Honey Bee Stamps September Release Blog Hop!

Disclosure

Some affiliate links are used in my posts. This means that, should you click on one of my links and purchase something from that company, I will receive a small portion of the sale at no extra cost to you. I use the money earned from these sales to help maintain my blog. I so appreciate you visiting and, if you do choose to use one of my affiliate links, thank you so much for your support!
Copyright © 2026 ·Brunch Pro Theme · Genesis Framework by StudioPress · WordPress · Log in
Loading Comments...