• Skip to main content
  • Skip to primary sidebar
  • Skip to secondary sidebar

Sixth Street Sundries

Emily Midgett

  • Home
  • About Me
  • Contact
  • OLO Marker Color Swatch Chart
  • Shop

soft plaid background

Man Card Monday: Baby Boy Style!

May 19, 2025

This post was sponsored by Simon Says Stamp. Thanks, Simon!

Hi friends! I am back with another installment of Man Card Monday, this time in the form of a baby card that is perfectly neutral for a boy or a girl! It’s been a few months since I had a project for Man Card Monday… It’s been several stressful months between my mom’s health issues, surgeries for my husband and daughter, some health difficulties of my own, and then the regular stress that comes with having four kids with tons of activities and strong personalities… so I’ve been “comfort crafting.” Sometimes, it’s challenging for me to work with cute images; I find myself naturally gravitating towards floral images, but those don’t really work for guy cards, do they? With everything going on, I have found myself in a “comfort crafting” zone, just working with images that fed my creative soul. (Not to say I don’t enjoy making masculine cards… they just require more mental and creative energy than I’ve had available to me lately!) I couldn’t resist the adorable momma and baby images in the new Love You, Mama stamp set, and I thought they’d be perfect for a gender-neutral baby card since we’re past Mother’s Day! Let’s get started with the details on my card!

*I have gathered links to all of the products used at the bottom of the post for your convenience, using affiliate links. Thank you for shopping with my links! I truly appreciate your support for my work!*

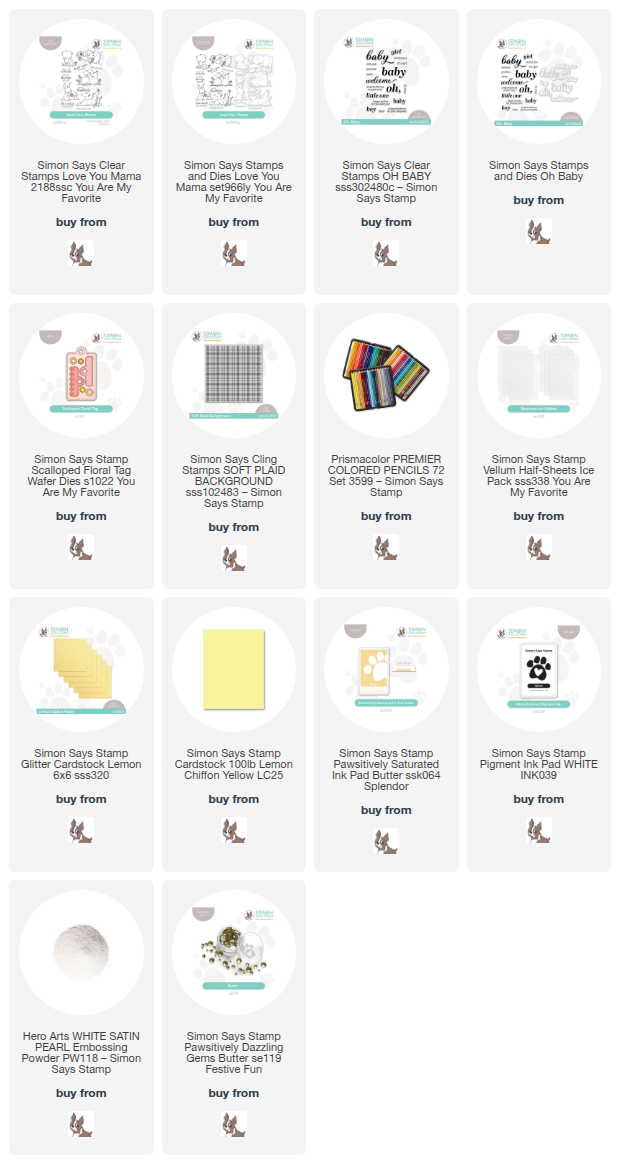
I knew that I wanted to do some detailed pencil coloring with these sweet storybook images, so I stamped the momma bear with her baby bear from Love You, Mama on some Simon Says Stamp Lemon Chiffon cardstock using Simon Says Stamp White Pigment Ink, then used my favorite colored pencils to add some detailed coloring to the image on the yellow cardstock. I love using colored pencils for these tone-on-tone cards; they allow me to keep the colored cardstock completely consistent throughout the project! After I had finished adding all of the color, I used the coordinating die from the Love You, Mama set to die cut the super detailed image. I think it’s super cute!

After I had finished coloring and die cutting the main focal point image, I decided to ground it with a Scalloped Floral Tag from the You Are My Favorite release. I die cut the main tag image from some Simon Says Stamp Ice Vellum and added the scalloped topper from some more Lemon Chiffon cardstock, then adhered the pencil die cut momma and baby with some liquid adhesive. I also heat embossed a greeting from Oh, Baby on some more Lemon Chiffon cardstock, stamping it first with more White Pigment Ink, then adding some White Satin Pearl embossing powder. I love the pearlescent white effect that this combination has on colorful cardstock! I used the coordinating dies from Oh, Baby to die cut the sentiment pieces.

For the background, I stamped the Soft Plaid Background on an A2 panel of Lemon Chiffon cardstock using Butter Pawsitively Saturated Ink, creating a soft, tone-on-tone plaid. I trimmed 1/2″ from the bottom of the panel, then tucked a strip of Simon Says Stamp Lemon Glitter cardstock to complete the A2 card front, adding a touch of texture and shimmer to the background. I mounted the die cut pieces to the card front using thin foam adhesive squares, then added a sweet white silk bow and some Butter Pawsitively Dazzling Gems to finish the project off! Such a sweet card, perfect for a baby shower for either gender!

Well, that’s all for my project today. My little boys just had their last day of preschool… they’re kindergarteners now, which doesn’t seem possible to me! Mentally, I am still in 2020. Ha! My big kids finish school in the next couple of weeks, so I will be trying to work amongst with everybody at home… hopefully my cards don’t reflect the chaos that will be swirling around me like a cyclone!! Thanks so much for stopping by today, and have a marvelous day!
Filed Under: simon says stamp Tagged With: baby card, colored pencils, die cutting, love you mama, man card monday, no line coloring, oh baby, scalloped floral tag, soft plaid background

Man Card Monday April 2024: Do You Play Pickleball?

April 16, 2024

This post was sponsored by Simon Says Stamp. Thanks, Simon!

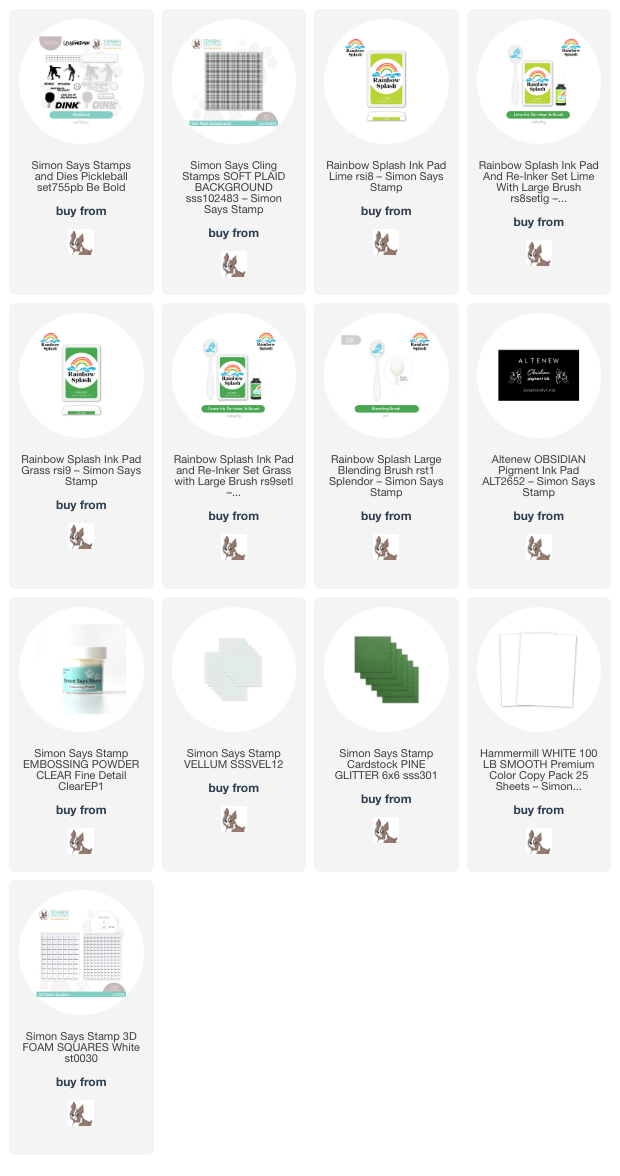
Hi friends! I’m back for the April edition of Man Card Monday, a bit delayed because of one of my 4 year old twin boys fracturing his tibia. (On his birthday, no less. Sad face!) It made life a little hectic, to say the least, so my Man Card Monday post featuring the new Pickleball set from the Be Bold release is a bit later than I planned. I’ve never played pickleball myself, but I know that it’s hugely popular and it looks like tons of fun! Kind of like table tennis on steroids, if I understand it correctly? I thought the set would make a perfect project (or two) for Man Card Monday with some bold colors and subtle plaid background. Let’s get started with the details!

The new Pickleball set features some silhouettes of the players in different positions, a net, some paddles, and, of course, a ball, all accompanied by some clever and creative sentiments! I guess I had tennis in my mind’s eye when I was creating these cards, and so thought that a crisp, almost neon green, black, and white color palette would suit these bold images, and I’m super pleased with the results. I always equate tennis courts with being “preppy” and so channeled that imagery by pairing these images with the Soft Plaid Background and the Rainbow Splash Lime and Grass inks for some vivid and bold color.

I started my first card by stamping the silhouette images of the players onto some Hammermill white cardstock using black pigment ink and embossing them with clear embossing powder. I think that clear embossing the black silhouettes makes them super crisp and bold! I also heat embossed the net on some vellum so that the die cut would almost “float” like a real net would!

For the background, I stamped the Soft Plaid Background on some more white cardstock, inking up only the center of the stamp and dabbing the edges of the inked up area using my microfiber cloth so that they would fade smoothly away. After stamping the image with the Rainbow Splash Grass ink, I used a blending brush to blend a spotlight area with Rainbow Splash Lime ink in the center of the plaid panel. This spotlight helps to ground my scene so that the players were not just floating in midair, ha! I trimmed the panel down, taking 1/4″ off of each side, and mounted it in the center of a white A2 panel of cardstock.

I popped up the embossed images using foam adhesive, arranging the solid die cuts to overlap the vellum net and hiding the foam squares behind the solid die cuts to keep my vellum net nice and clean! I also added some coordinating lime green alcohol marker coloring to the paddles to help keep the color palette cohesive. I embossed and die cut a greeting, then tucked it next to one of my players’ feet with some foam squares.

For the second card, I wanted to focus on the larger scale “dink” sentiment and the accessories included in the Pickleball set. I started by stamping the sentiments and ball with more black pigment ink and embossing them with clear embossing powder. Next, I stamped the paddles, first stamping them completely with Lime ink, then doing some partial stamping around the edges of the paddles with Grass ink, dabbing the center of the stamp with my microfiber cloth to create some color gradient. I used a black fineliner pen on the wrapped handles, so that the images coordinated with the black outline for the ball. (I don’t love mixing solid stamps with outline stamps on the same project, so that black fineliner pen was just the ticket!)

For the background, I stamped the Soft Plaid Background on some more white cardstock using Lime ink, then trimmed the panel down 1/4″ on all sides and blended more Lime ink around the edges, creating a vivid green halo. I centered the plaid panel on an A2 panel of green glitter cardstock, then added my die cut pickleball elements using more foam squares for lots of dimension!

Well, that’s all for this month’s edition of Man Card Monday (on Tuesday, whoops!). Be sure to check back here later this week for tons and tons of new inspiration using the upcoming Simon Says Stamp release…. it’s a really good one!

Thanks so much for stopping by today, and have a marvelous day!

Filed Under: simon says stamp Tagged With: birthday, man card monday, masculine, pickleball, rainbow splash, soft plaid, soft plaid background

Bunny Kisses and Easter Wishes!

March 31, 2024

This post was sponsored by Simon Says Stamp. Thanks, Simon!

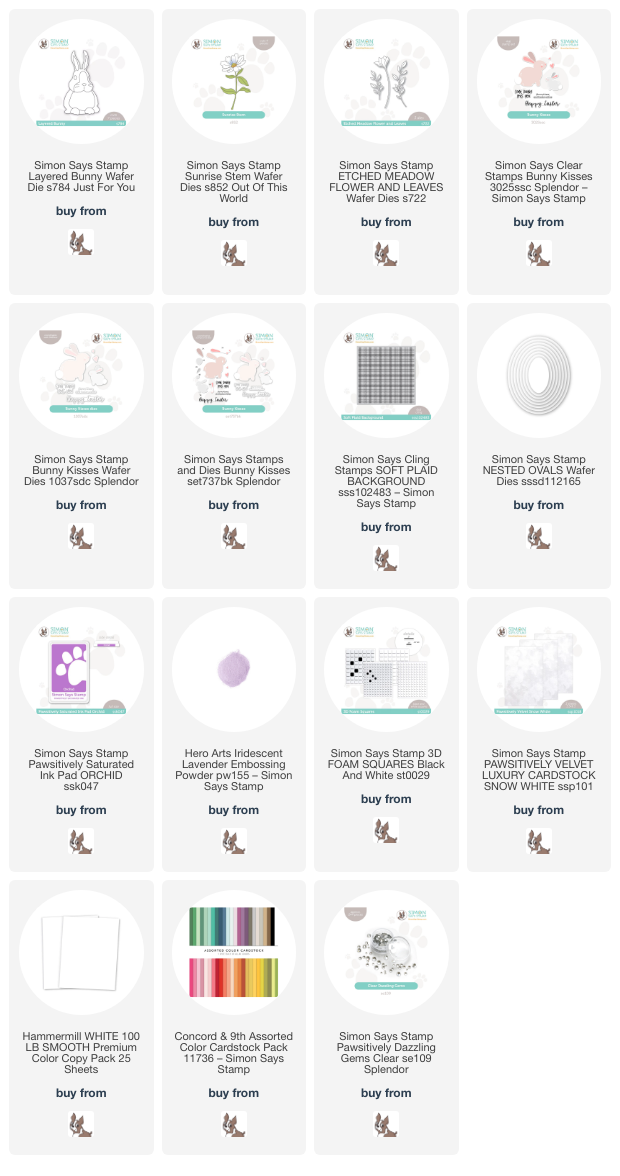
Hi friends! Happy Easter to you! I just wanted to pop in with one last Easter card. I bought the adorable Layered Bunny die at the beginning of the spring and haven’t had an opportunity to use it. I have been reading Peter Rabbit with my little boys lately, and the storybook illustrations have such lovely floral decor around the main focal point for that page, so I thought I might try to recreate that feeling with some pretty floral and foliage dies. Let’s get started with the details!

I began by die cutting the Layered Bunny die using both white cardstock and Snow White Pawsitively Velvet Luxury cardstock. I used OLO markers to add some details to the bunny’s ears, eyes, and nose on a couple of the cardstock layers, then adhered all of the layers together with liquid adhesive.

Now that I had the focal point of the card created, I began work on the background. I wanted to keep the entire card very light and springy, allowing the sweet bunny to be the star of the show, accented by some soft colors. I knew that the flowers and foliage that I wanted to use were on a bit larger scale, so I created a 5×7 card base and heat embossed the Soft Plaid Background in the center using Hero Arts’s Iridescent Lavender embossing powder, which adds the most beautifully subtle shine and texture to the background. I also cut another panel of 5×7 white cardstock and die cut a window using the Nested Oval dies. (Side note: I just got these oval dies and am absolutely in love with how large they are. So many dies are oriented to only fit A2 sized cards, and these are such a generous size that they can easily be used with A7 cards, as I’ve done here!) I reserved the actual die cut for later, instead popping up the window over the plaid embossed background using some foam squares.

To create a pretty springtime floral wreath, I die cut the Sunrise Stem die from both white and jade green cardstock, then cut the Etched Meadow Flower & Leaves die from purple and light green cardstock. I arranged the flowers and foliage in a swag atop the oval window. For the greeting, I stamped a sentiment from Bunny Kisses using Pawsitively Saturated Orchid ink, then stamped directly over the top with embossing ink and sprinkled more Iridescent Lavender embossing powder, creating a custom colored embossed greeting! I die cut the embossed sentiments using the coordinating Bunny Kisses dies and arranged them under the fuzzy bunny’s paws. Finally, I added a few sparkling Clear Pawsitively Dazzling Gems amongst the flowers and foliage to create a really special Easter card!

Well, that’s all for my project today! If you observe the holiday, I hope that you have had a lovely celebration filled with family and yummy treats. If not, I hope your spring Sunday has been filled with sunshine and maybe a little crafty time! Thanks so much for stopping by today, and have a marvelous day!

Filed Under: simon says stamp, Uncategorized Tagged With: bunny kisses, easter, etched meadow flower and leaves, layered bunny, nested ovals dies, soft plaid background, sunrise stem

Simon Say Stamp Season of Wonder Blog Hop-Day 1!

October 6, 2023

This post was sponsored by Simon Says Stamp. Thanks, Simon!

Hi friends! I am so excited to be a stop on Day 1 of the two day Season of Wonder Release Blog Hop for Simon Says Stamp! You should have arrived here from Suzy Plantamura, and your next stop is Lisa Addesa. You can also start back at the Simon Says Stamp Blog in case you get lost. This month’s Season of Wonder release is filled with stunning, classic autumn and holiday imagery, and I’ve used a few different products to create these two vibrant holiday cards. Let’s get started with the details!

I am a sucker for a gorgeous floral embossing folder, and the new Free Falling Floral Embossing Folder is an absolute stunner. I began by running an A2 sized panel of Hammermill cardstock through my die cutting machine, which was lovely on its own, but I couldn’t resist using my Copic markers to do some no-line coloring on the pretty flowers. I wanted to create a holiday floral background, so I decided to make them a deep red with beautiful jewel bright greenery to emote that holiday aesthetic. I added some white gel pen to the tips of the black stamens, adding a bit more texture and dimension to the image.

For the greeting, I kept things very simple, die cutting the detail layer of the Fancy Tidings of Cheer die from some Black Glitter Paper Basics by Hero Arts and the larger outline layer from Heavyweight Vellum. I popped the sentiment up with some foam tape, allowing it to hang slightly over the edge. I love the decadent feeling that little extra hanging off creates on your card!

To add to the festive feel and add another element of texture to the super textured and detailed card front, I tied a cherry red twine bow and tucked it beneath the sentiment at a jaunty angle. Finally, I added some more shine with some Onyx gems. I love the simplicity and crazy amount of texture on this card!

My second card features the darling new Deck the Halls set designed by my friend Alberto Gava! His illustrations are so adorable and really capture such a sweet attitude. I tend to try to keep my holiday cards a bit simpler, preferring a more graphic style rather than building a detailed scene, but I couldn’t resist creating a sweet holiday scene, perhaps a group of cousins decorating grandma’s Christmas tree. I stamped the images from Deck the Halls onto a panel of Hammermill using Hero Arts Contour Ink, then used my Copic markers to color the image.

In order to create the baubles on the tree, I used shimmery Star Spark Pens to color little glittering circles on the tree. I love that these pens are opaque enough that they can be layered over the top of colorful cardstock or coloring. I also used the Star Spark Pens to add sparkly details to the bows on the gifts! Once I had finished adding my shimmering details, I adhered clear droplet baubles over the top of the glittery circles to create a 3D effect on the tree. I think it adds such a fun textural element to the scene!

After I had finished coloring and die cutting, I used the Soft Plaid Background with Hero Arts Iridescent Blue embossing powder to heat emboss a subtle pattern on the 5″ square card front. This gorgeous embossing powder creates beautiful, subtle shimmer, perfect for allowing the colorful holiday die cuts to be the star of the show! For the greeting, I stamped the large calligraphy sentiment and sentiment block using Altenew Obsidian pigment ink, then covered it with clear embossing powder to make them nice and crisp. I die cut the embossed sentiments, then adhered all of the die cuts on the embossed background panel using both liquid and foam adhesive. Such a fun and festive card, perfect for a special friend or family member!!

Well, that’s all for my projects today! To celebrate the Simon Says Stamp Season of Wonder release, Simon Says Stamp is doing a special gift with purchase promotion:

Simply enter code HOLLY at checkout to receive the Graceful Holly 3D embossing folder with any $25 or more purchase. This gift with purchase will expire 10/8 at 11:59 pm EDT. While supplies last.

Simon Says Stamp is also sponsoring a $25 coupon giveaway at each stop on the hop! Leave a comment at each stop on the hop for maximum opportunities to win. Winners will be announced on the Simon Says Stamp blog on Wednesday the 11th of October. Winners should email Simon Says Stamp to claim his/her prize 🙂

Your next stop on the hop is Lisa Addesa. Thanks so much for stopping by today, and don’t forget to check the Simon Says Stamp blog tomorrow for Day 2 of the hop! Happy hopping!

Filed Under: simon says stamp Tagged With: 3D embossing folder, christmas card, copic markers, deck the hall, fancy tidings of cheer, free falling floral embossing folder, glitter paper, holiday card, iridescent blue embossing powder, soft plaid background, star spark pens

Primary Sidebar

  • Facebook
  • Instagram
  • Pinterest
  • YouTube

Favorite Shops

Secondary Sidebar

Subscribe

Enter your email address to subscribe to this blog and receive notifications of new posts by email.

Instagram
Something is wrong.
Instagram token error.
Follow
Load More

Archives

Tags

3D embossing folder alcohol markers better press birthday birthday card blog hop card kit christmas christmas card christmas tag colored pencil copic copic coloring Daniel Smith die cutting embossing folder embroidery felt giveaway holiday holiday card hot foil ink blending karin brushmarker pro layered stencil masculine my monthly hero new release no line coloring no line watercolor OLO marker olo markers original illustration pawsitively saturated rainbow shaker card slimline stamping stamptember stencil thank you thinking of you valentine's day video watercolor

Popular Posts

Simon Says Stamp Sending Cheer Blog Hop- Day 2 + Freebie + Giveaway!
Altenew October 2026 Release Blog Hop + Giveaway!
Altenew Build A Flower Sweet Violet+Giveaway!
Floral Follies on Canvas with New Simon Says Stamp STAMPtember!
Simon Says Stamp Card Kit November 2026: Jolly Season!
Simon Says Stamp STAMPtember Tim Holtz Collaboration: Festive Holidays!
Hero Arts Partners Blog Hop: Lawn Fawn!
Rustic Monochromatic Stars for Christmas with Rainbow Splash!
Altenew March 2020 Release Blog Hop+Giveaway!
Honey Bee Stamps Bee Bold Release Blog Hop!

Disclosure

Some affiliate links are used in my posts. This means that, should you click on one of my links and purchase something from that company, I will receive a small portion of the sale at no extra cost to you. I use the money earned from these sales to help maintain my blog. I so appreciate you visiting and, if you do choose to use one of my affiliate links, thank you so much for your support!
Copyright © 2026 ·Brunch Pro Theme · Genesis Framework by StudioPress · WordPress · Log in
Loading Comments...