• Skip to main content
  • Skip to primary sidebar
  • Skip to secondary sidebar

Sixth Street Sundries

Emily Midgett

  • Home
  • About Me
  • Contact
  • OLO Marker Color Swatch Chart
  • Shop

thin frames

White Winter Village for Christmas!

October 17, 2023

This post is sponsored by Simon Says Stamp. Thanks, Simon!

Hi friends! As you might have noticed, tone-on-tone is a favorite “technique” of mine. I think it creates such a dramatic and elegant effect, and holiday cards are certainly the perfect excuse for drama and elegance! The beautiful Winter Village dies from the Season of Wonder release from Simon Says Stamp were the perfect product to use for a monochromatic white holiday card, adding in a few special tricks to make all of the elements stand out individually as well as work together for the entirety of the card! Let’s get started with the details.

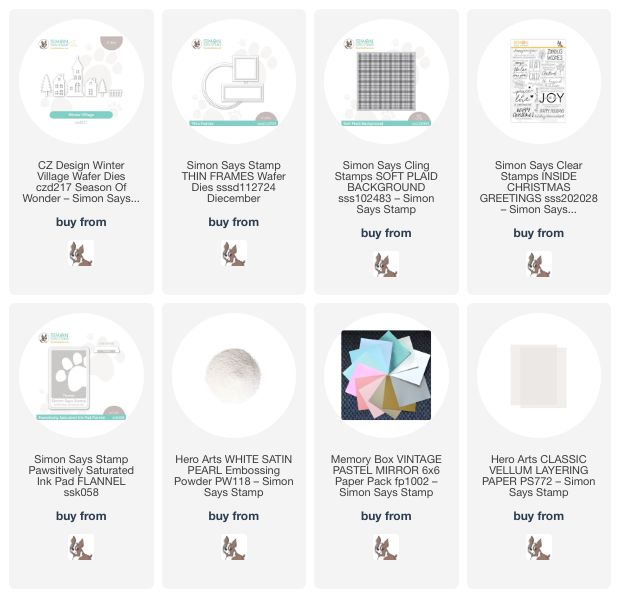
To start, I die cut the Winter Village dies (which are currently out of stock, so be sure to sign up for email notification for when they come back in stock!!) from some iridescent white mirror cardstock. I am always on the lookout for unique specialty papers whenever I am shopping, because the specialty papers really make these monochromatic projects pop. The unique texture of this iridescent white mirror cardstock helps the die cuts stand out from the rest of the white on the project!

For the background, I wanted something soft and simple, but still captured the holiday mood of the sweet little houses, so I heat embossed the Soft Plaid background using Hero Arts White Satin Pearl embossing powder on white cardstock. This pearlescent embossing powder is a workhorse in my craft room; it creates beautiful pearlescent tone-on-tone embossing and can also be used to create custom embossing powder looks by stamping your image or sentiment in colored ink, then using your MISTI to stamp it again with embossing ink and adding the White Satin Pearl embossing powder. I used this technique to create the sentiment for my card today. I stamped the greeting from Inside Greetings Christmas using Flannel Pawsitively Saturated ink, then again with embossing ink, finally adding the White Satin Pearl embossing powder to create a soft pearlescent gray embossed greeting. This pearlescent gray is a bit softer than typical silver embossing powder… I love that you can create custom embossing colors with one simple addition to your craft stash!

I trimmed down my plaid background panel and matted it on a full size A2 card front with liquid adhesive. To help my village stand out a bit from the white background, I die cut a vellum circle using the circleThin Frames die. This softens the plaid pattern on the background so that the shiny white village can stand out as the focal point. I adhered the embossed sentiment strip to the bottom of the vellum circle, then arranged the village die cuts above it using the sentiment strip as a guide to keep things straight. I adhered the vellum circle to the plaid background by hiding my adhesive behind the solid die cuts!

Well, that’s all for my project today! If you’ve never tried doing a monochromatic white card, take this as your sign to try it out. It’s so fun to mix and match textures and patterns to create interest on your monochromatic cards! Thanks so much for stopping by today, and have a marvelous day!
Filed Under: simon says stamp Tagged With: christmas card, holiday card, inside christmas greetings, monochromatic, soft plaid, thin frames, winter village

Accenting Focal Points with Thin Frames!

June 12, 2023

This post was sponsored by Simon Says Stamp. Thanks, Simon!

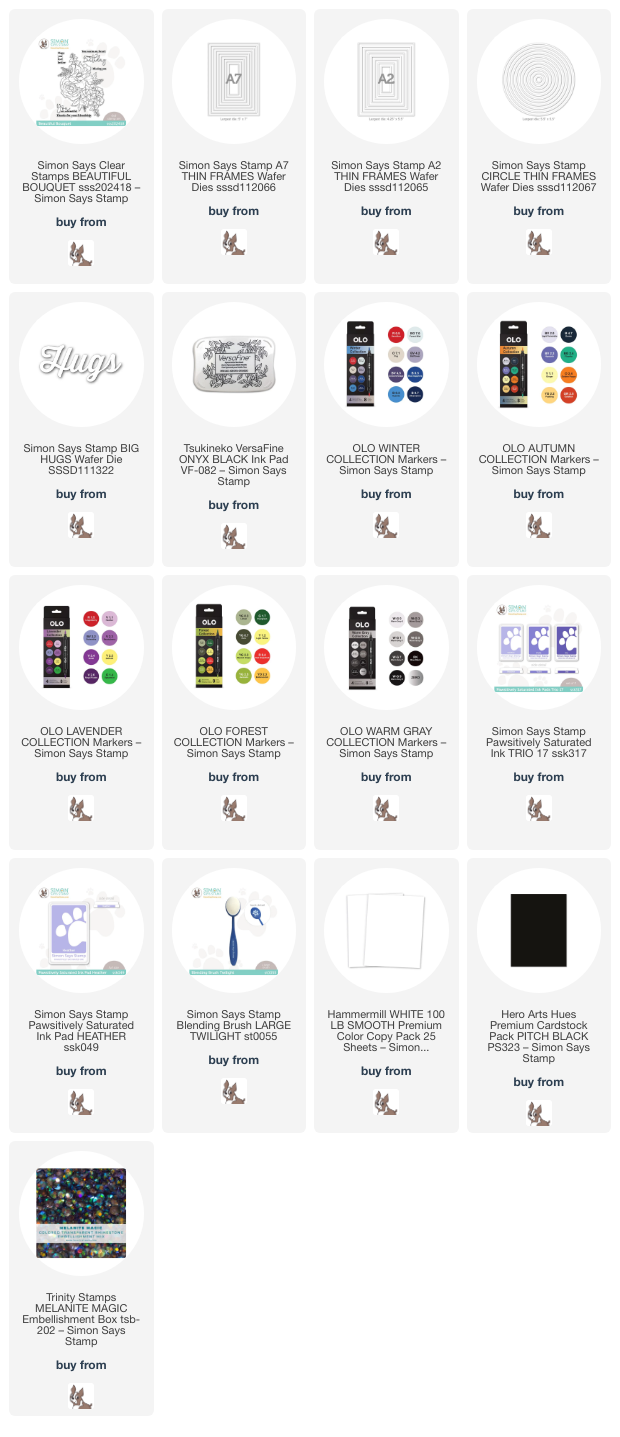
I have really been trying hard to use stamps in my stash to which I haven’t given much love, especially stamps that I have illustrated. This enormous Beautiful Bouquet stamp that I illustrated for Simon Says Stamp early last year has not seen enough love from me, and I am determined to change that! I get so much inspiration for bouquet arrangements and color combinations from the wedding florists that I follow on Instagram, and one of my favorite things about coloring a bouquet like this is that the overall look can change completely depending on the color selections that you make! I created a completely different aesthetic on THIS card by using brighter colors, but today I wanted to focus on some more muted shades of lilac and periwinkle, with a “white” rose. I also pulled out one of my favorite unsung heroes from my die collection: A7 Thin Frames dies. Let’s get started with the details.

I began by stamping the ginormous bouquet from Beautiful Bouquet onto a 5″x7″ panel of Hammermill cardstock using black pigment ink, then clear embossing over the top. Normally, I would use alcohol marker-friendly dye ink, but I wanted those lines to be super stark and black, and the clear embossing powder over the top really defines the crisp black lines and makes them pop.

I colored the images using my OLO markers in shades of periwinkle and lilac for the large anemone and hydrangea blooms, then used some grayish purple markers with my Zero marker to create the “white” rose. I simply concentrated the light purple and almost-transparent gray markers towards the center of the flower to create shadows, then softened the edges with the Zero marker to allow the shadows to fade to the white of the cardstock.

After I had finished coloring the images, I used a blending brush to very lightly blend Heather ink around the edges of my card, creating the softest of halos around my vividly colored image. I recently added the A7 Thin Frames dies to my stash. I find myself reaching for the A2 Thin Frames constantly, so I added the and the Circle Thin Frames to my stash. The thin frames are the perfect clean accent for your focal point, whether it is a large floral like this, critters, or a more graphic background. They are an investment up front, but I find them totally invaluable on so many styles of card!! The addition of a thin frame around the edge of your focal point creates such an incredibly clean and polished look; I use it constantly. I die cut the A7 Thin Frames dies from some Pitch Black cardstock, further accenting the crisp lines of the black embossed lines of the floral image.

For the greeting, I kept things simple with a dimensional black Big Hugs die. I die cut the Big Hugs die three times from more Pitch Black cardstock and adhered them together using liquid adhesive. I adhered the dimensional die cut to the center of the lower third of my card. The black sentiment, black frame, and black lines of the image tick the boxes to complete the “rule of three” for the embellishments! The final touch was to add some sparkling gems for a bit of sparkle!

Well, that’s all for my project today. If you haven’t checked out the Thin Frames dies at Simon Says Stamp, you’re missing out! They’re a staple at my craft desk, for sure. Thanks so much for stopping by today, and have a marvelous day!

Filed Under: OLO markers, original illustrations, simon says stamp Tagged With: alcohol markers, beautiful bouquet, big hugs, olo markers, thin frames

Simon Says Stamp Just For You Release+New Illustration!

March 16, 2023

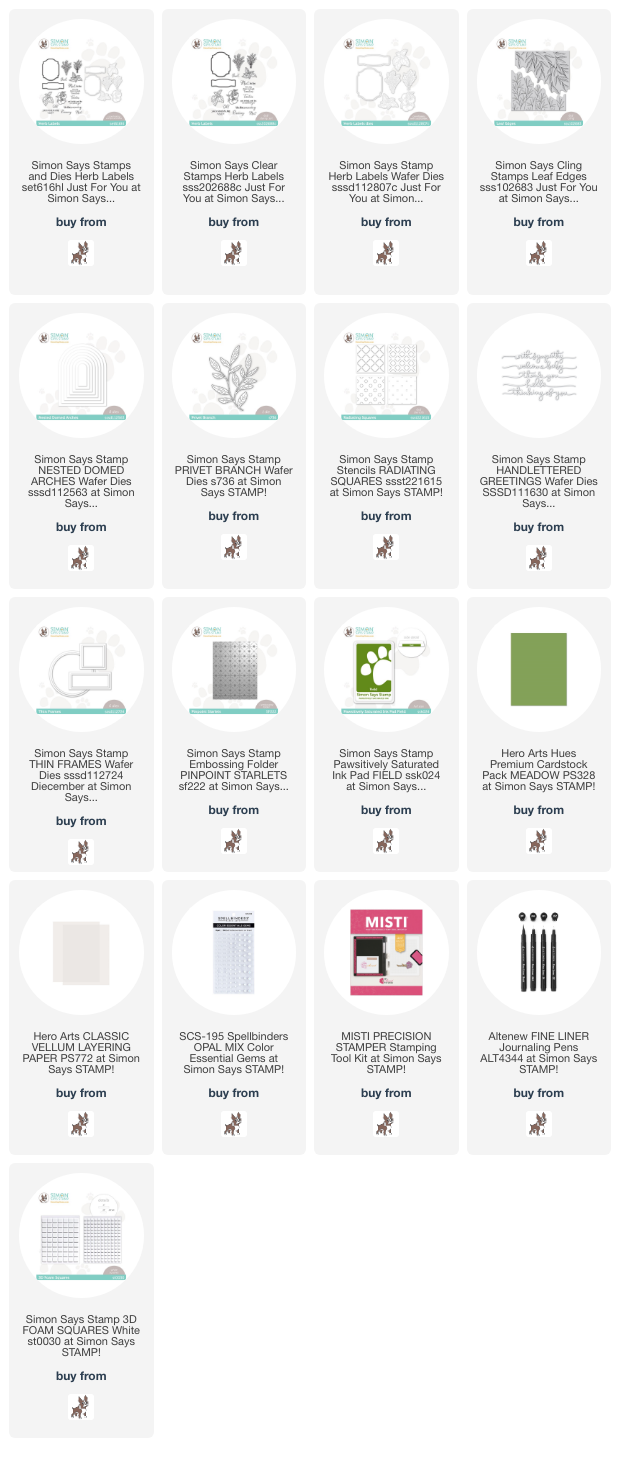
Hi there! I am really excited for this month’s Simon Says Stamp Just For You release, not just because it’s full of fun springy products, but also because I have a new illustration included in the release: Herb Labels! I designed this set to create super cute labels for your herb garden, including Mint, Basil, Rosemary, Dill, and Tomatoes (which aren’t technically an herb, I know). Because I’m a cardmaker and have a black thumb, I also included several super cute, punny sentiments to give you multiple uses for this set! I have a couple of cards using some new and old goodies from Simon Says Stamp, so let’s get started with the details!

The world outside is slowly turning green, the light lasting longer, birds are singing… spring is definitely on the way. My cards today channel that crisp brightness with pops of verdant green. I used Field Paws-itively Saturated Ink as the primary color for both of my cards. This bright green embodies the brightness of the greens in springtime, and it was a perfect fit for both of my cards!

My first card starts by stamping the new Leaf Edges stamp with Field ink onto a panel of white cardstock, then cutting it out with one of the Nested Domed Arches. I blended some more Field ink along the bottom left edge, as well, which covered up a spot that I didn’t get stamped perfectly. (wink wink) As I was looking through my bin of dies from Simon Says Stamp, I discovered that the Privet Branch die was a very close match to the leaves on one side of the the new Leaf Edges stamp. I cut the foliage die from some Meadow cardstock from Hero Arts. You could also use the Field ink to blend your own custom cardstock to make sure it was a perfect match!

To create a background for my leaves, I used Field ink to blend all of the layers of the Radiating Squares layered stencil set. I thought this geometric pattern looked lovely juxtaposed with the graceful movement of the Leaf Edges and Privet Branch images. To prevent my leaf images from being overpowered by the busy background pattern, I trimmed down a panel of vellum slightly smaller than A2 size and layered it directly over the top of the stenciled panel. This helped to soften the pattern without completely covering it. I adhered the stamped, blended arch die cut with some liquid adhesive, then added the branch die cut with some foam tape. I flipped it over and hid my liquid adhesive on the vellum behind the solid die cuts.

I die cut a Handlettered Greetings “with sympathy” die cut from some more Meadow cardstock, snipping the individual words apart with my sharp scissors. I die cut the rectangular Thin Frames die, once for the larger rectangle, and twice for the thin frame and interior rectangle portion, which I adhered together to add a bit of height. I adhered the sentiment word die cuts on the rectangle using liquid adhesive, then popped it up with some foam tape. The final touch was to add a few Opal gems for some subtle sparkle and added texture.

My second card uses the same fresh, crisp green-and-white color scheme, this time with my new Herb Labels. I began by die cutting the large frame from Herb Labels from the center of an A2 panel of white cardstock. I layered a solid A2 piece of white cardstock behind the negative of the frame, then placed them both in my MISTI and used the opening as my guide to place the large label stamp in the center of my full piece of cardstock. I stamped it with the Field ink to create a vibrant, crisp frame behind my die cut frame.

I also stamped the dill bunch from the Herb Labels set, again using Field ink to coordinate with my frame. I used a very fine tipped black pen to outline the string wrapped around the base of my dill bunch. I also used the Field ink to stamp the smaller label, adding one of the punny greetings from the Herb Labels set and die cutting both the dill bunch and the frame using the coordinating dies.

To add a little extra texture to the large frame die cut, I ran the entire panel through my die cut machine using the Pinpoint Starlets embossing folder. I love the sweet texture this provides to this crisp white cardstock! I popped up the embossed panel on the stamped background using some foam squares, then added a double layer of foam squares to the back of the dill bunch. I also popped up the sentiment label using foam squares. The extra height and texture would help to add some interest to the simplistic color scheme of the card!

Well, that’s all for my project today! I have some more goodies to share with you using the Just For You release, as well as some more cards using my new Herb Labels set. Be sure to check back tomorrow! Thanks so much for stopping by today, and have a marvelous day!

Filed Under: simon says stamp Tagged With: die cutting, handlettered greetings, herb labels, ink blending, layered stencils, leaf edges, nested domed arches, original illustration, pinpoint starlets, privet branch, radiating squares, sympathy card, thin frames, with sympathy

Simon Says Stamp Be Creative Blog Hop-Day 2!

February 18, 2023

Hi friends! I’m super excited to be a part of the Simon Says Stamp Be Creative Blog Hop on Day 2! You can check out Day 1 HERE. You should have arrived here from Heather Ruwe, and your next stop is Lea Lawson. You can also head back to the Simon Says Stamp Blog to see the full hop list. This month’s Be Creative release is full of a huge variety of fun new products, and I have two projects to share with you featuring the new goodies, so let’s get started with the details.

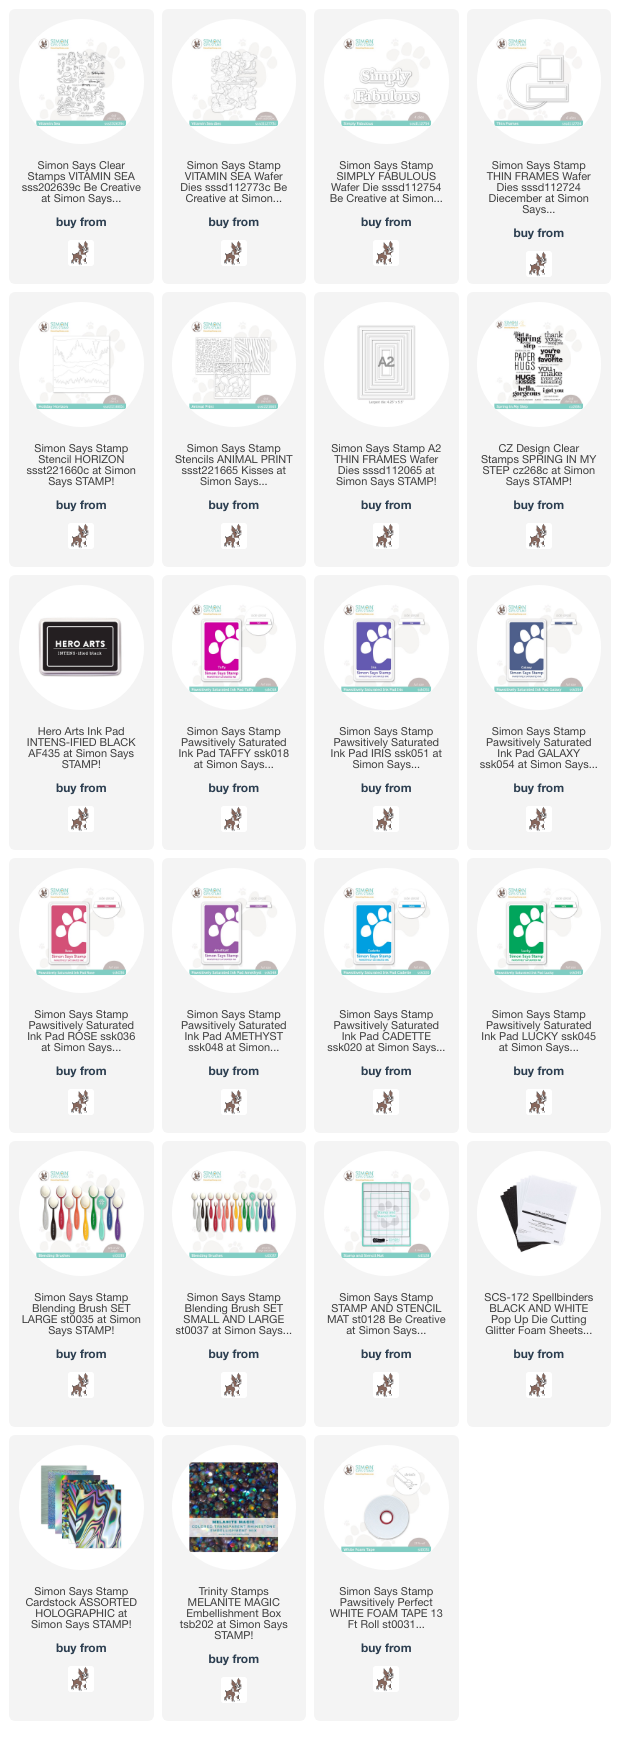
My first card features a clean and simple design created with the new Vitamin Sea stamp set (I have a more involved card that I shared earlier this week HERE on my blog). I stamped the mermaid lounging on a rock from Vitamin Sea using some Intens-ified Black ink from Hero Arts, then used my Copic markers to add color to the images. I used the coordinating dies to cut the images out, trimming off the water around the rock to simplify the look.

I wanted to create a window behind my pensive mermaid with a colorful sky background, so I die cut a circle from an A2 sized card panel using the Thin Frames dies. On a second piece of A2 cardstock, I lined up the two panels and then used a pencil to lightly trace the window opening so that I would know where to do do my ink blending. I then used blending brushes with the Horizon stencil to blend Taffy, Iris, and Galaxy inks and create a luscious sunset background. I used some of the bird stamps in the Vitamin Sea stamp set to add some flying birds onto the cloudy background. I then adhered the A2 circle frame with some foam tape and the thin frame (left over from die cutting the large frame) with some liquid adhesive.

I popped up the mermaid with a double layer of foam tape to help her pop from the background, then stamped a greeting from Vitamin Sea using black ink and used the coordinating dies to cut it out, popping it up with another double layer of foam tape. I love the extra dimension that the foam tape adds to the different layers! Keeps this relatively simple card from looking boring, in my opinion.

My second card is an homage to Lisa Frank! Remember the Lisa Frank trapper keepers, pencils, notebooks, stickers, etc that we were obsessed with as kids? Well, I couldn’t resist using the Animal Print stencils with several of my favorite Paws-itively Saturated inks to create a fun, colorful Lisa Frank-inspired background to go with the new Simply Fabulous sentiment die! I started by blending Rose, Amethyst, Iris, Cadette, and Lucky inks on the diagonal on an A2 panel of cardstock.

Next, I placed the blended panel in the center of the new Stamp & Stencil Mat and used the sticky area around the mat on the edges of the panel to place the Animal Print stencil and keep it perfectly in place while I blended black ink over the top of the stencil, creating my rainbow leopard print background! Having the adhesive all the way around the edge kept my stencil nice and snug against my blended background, helping to create a super crisp stenciled background!

I used black glitter foam from Spellbinders to die cut the outline background from the new Simply Fabulous die, then die cut the detail layer from some silver holographic cardstock. The foam base layer helps to add a bit of height to the sentiment without any extra effort! I added some sentiment strips from the previously-released Spring in my Step, heat embossed in silver on some thin strips of black cardstock. Before I adhered the sentiment pieces, I die cut a black frame using the A2 Thin Frames and adhered it in the corner of the blended card front with liquid adhesive at a jaunty angle. I adhered the sentiment pieces with liquid and foam adhesive, then added a few iridescent gems that matched the rainbow feel of the card!

Well, that’s all for my projects for today! Now, to celebrate the Be Creative release, Simon Says Stamp is giving away a $25 shopping spree to one commenter on each of the hop stops! Simply leave a comment on each hop stop, then check the winners announcement on February 22 to claim your prize.

Simon Says Stamp is also offering a super cute freebie with purchase! Simply enter code ART4U at checkout to receive the Handcrafted With Love stamp set for free.

Your next stop on the hop is Lea Lawson. Thanks so much for stopping by today, and happy hopping!

Filed Under: simon says stamp Tagged With: A2 thin frames, animal print stencil, glitter foam, horizon stencil, leopard print, lisa frank, mermaid, pawsitively saturated, simply fabulous, spring in my step, stamp and stencil mat, thin frames, vitamin sea

Primary Sidebar

  • Facebook
  • Instagram
  • Pinterest
  • YouTube

Favorite Shops

Secondary Sidebar

Subscribe

Enter your email address to subscribe to this blog and receive notifications of new posts by email.

Instagram
Something is wrong.
Instagram token error.
Follow
Load More

Archives

Tags

3D embossing folder alcohol markers better press birthday birthday card blog hop card kit christmas christmas card christmas tag colored pencil copic copic coloring Daniel Smith die cutting embossing folder embroidery felt giveaway holiday holiday card hot foil ink blending karin brushmarker pro layered stencil masculine my monthly hero new release no line coloring no line watercolor OLO marker olo markers original illustration pawsitively saturated rainbow shaker card slimline stamping stamptember stencil thank you thinking of you valentine's day video watercolor

Popular Posts

Simon Says Stamp Sending Cheer Blog Hop- Day 2 + Freebie + Giveaway!
Altenew October 2026 Release Blog Hop + Giveaway!
Altenew Build A Flower Sweet Violet+Giveaway!
Floral Follies on Canvas with New Simon Says Stamp STAMPtember!
Simon Says Stamp Card Kit November 2026: Jolly Season!
Simon Says Stamp STAMPtember Tim Holtz Collaboration: Festive Holidays!
Hero Arts Partners Blog Hop: Lawn Fawn!
Rustic Monochromatic Stars for Christmas with Rainbow Splash!
Altenew March 2020 Release Blog Hop+Giveaway!
Honey Bee Stamps Bee Bold Release Blog Hop!

Disclosure

Some affiliate links are used in my posts. This means that, should you click on one of my links and purchase something from that company, I will receive a small portion of the sale at no extra cost to you. I use the money earned from these sales to help maintain my blog. I so appreciate you visiting and, if you do choose to use one of my affiliate links, thank you so much for your support!
Copyright © 2026 ·Brunch Pro Theme · Genesis Framework by StudioPress · WordPress · Log in
Loading Comments...