• Skip to main content
  • Skip to primary sidebar
  • Skip to secondary sidebar

Sixth Street Sundries

Emily Midgett

  • Home
  • About Me
  • Contact
  • OLO Marker Color Swatch Chart
  • Shop

Archives for December 2022

Pinkfresh Studio December 2022 Release Blog Hop + Giveaways!

December 16, 2022

Hi there! Today, Pinkfresh Studio is releasing their beautiful new December Collection of stamps, dies, stencils, and hot foil plates, and we are hopping along to show you tons of different ways to use these fabulous new products! My entire family has been smacked with some unpleasant winter germs over the last few weeks, so I am still in Christmas mode in my head (there are just never enough hours in the day!), but our stamping world is definitely gearing up for springtime with these beautiful new floral products. I have two super springy projects to share with you today, so let’s get started with the details!

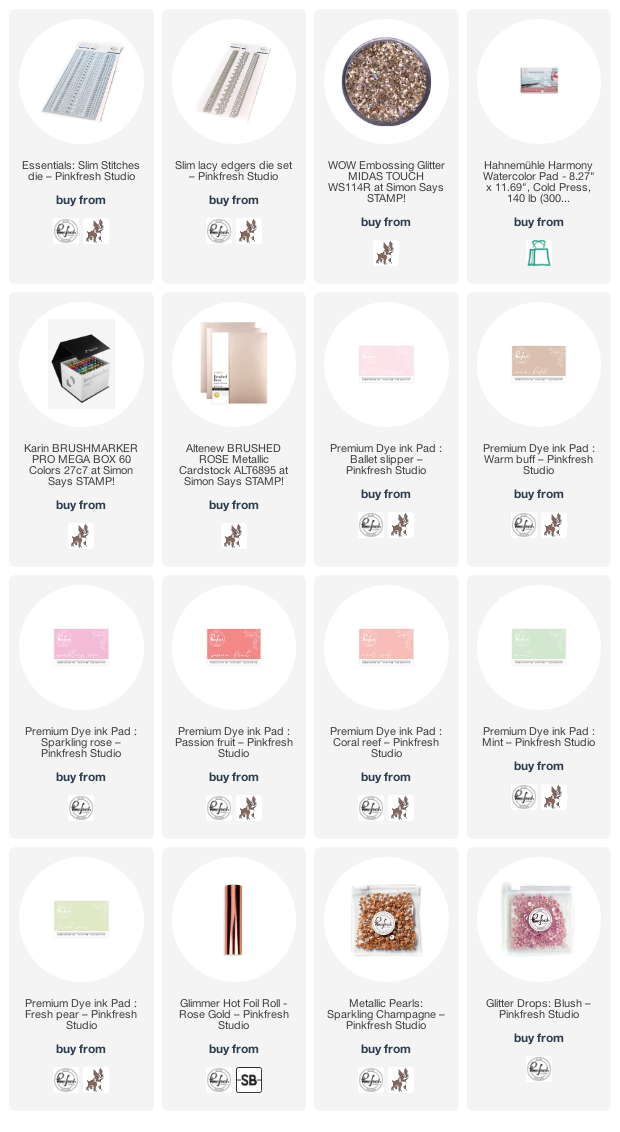
My first project uses the absolutely beautiful new Blooming Peony stamp set. I am a sucker for a pretty peony, and this stamp set features a gorgeous peony in all of it’s fluffy, graceful glory smack dab in the center of the pattern! I began by heat embossing the entire Blooming Peony image on a panel of watercolor paper using some glittery pinky-gold embossing powder. (This stamp set also has Pinkfresh Studio’s signature coordinating layering stencils if you’d rather not do any coloring!) I then used my Daniel Smith watercolors to watercolor a perfectly springy, bubblegum pink peony.

Once I had finished watercoloring the images themselves in bright, pretty spring colors, I wanted to add some solid color to the background to help make that pretty pink peony pop (say that 3 times fast!). Instead of creating a watercolored background like I normally would, I decided to create a flat background by simply coloring the leftover white spots with a peach Karin Brushmarker Pro marker. I love how the soft peach “watercolor” helps to make that peony pop, in my opinion, even more prettily than if it were on a white background! The peach is light enough that it doesn’t take away from the pretty pink while still adding a level of softness to the overall feel of the panel.

I trimmed the panel down to fit on a mini slimline card front, then matted the image with an ever-so-slightly larger panel of matte rose gold foil, perfectly coordinating with the glittery embossing powder. I popped both panels up on a coordinating pink mini-slimline card front, which I’d added a little extra textural interest to with the Slim Stitches slimline cover plate die, which doesn’t actually cut any shapes, instead adds beautiful texture to a solid piece of cardstock.

I popped up the watercolored, matted panel on the with some foam tape, then added a greeting from Floral Border, embossed with the same pinky gold glitter embossing powder and lightly blended with some Ballet Slipper ink to match the pink peony. A gold thread bow and some Sparkling Champagne gems finished it off!

My second project features some stenciled “coloring” using the new Mixed Blooms stamps and stencils. I began by stamping the Mixed Blooms cling stamp using Warm Buff ink. Using this ink with your stamps and stenciled images is a great way to achieve that “no line” look! I then used the Mixed Blooms layering stencils with Sparkling Rose, Ballet Slipper, Passion Fruit, Coral Reef, Mint, and Fresh Pear inks.

Pinkfresh Studio also released several new sentiment hot foil plates and coordinating dies today, including this large Thank You hot foil plate and coordinating die set. I hot foiled the greeting onto some white cardstock using Rose Gold hot foil to fit with the warm pinks that I used on the ink blended background. I die cut the finished hot foiled piece with the coordinating die (love that they come as a set!). I also hot foiled some of the new frames from the Nested Rectangles Hot Foil Plates and cut them with the coordinating Nested Rectangles dies to create this coordinating foiled frame.

Before adhering the foiled elements to my floral card front, I die cut a glittery lace border using the Slim Lacy Edgers die set from some white glitter cardstock. I also trimmed down a thin strip of warm rose cardstock to accent the lacy strip and adhered them both to my floral stenciled card front with liquid adhesive. I adhered the foiled frame to the card front with a single layer of foam tape, then added the foiled greeting with a double layer of foam tape for extra height. The final touch was to add a few Blush Glitter Drops for one last touch of sparkle!

Well, that’s all for my projects today. Now for some fun giveaway information!

Pinkfresh Studio will be giving away the full release on the Pinkfresh blog & YouTube channel. They will be giving away a total of TEN $25  gift cards along the hop. The winners will be selected from the comments. The more comments you leave along the hop, the more chances you have to win!
The winners will be selected & posted on December 27, 2022 on our GIVEAWAY PAGE. Winners must check that page & claim your prize within 2 weeks.

The full hop list is listed below. Thanks so much for stopping by today, and happy hopping!
You are invited to the Inlinkz link party!

Click here to enter

Filed Under: pinkfresh studio Tagged With: blooming peony, floral border, hot foil, karin brushmarker pro, layered stencils, mixed florals, nested rectangles, thank you hot foil, watercolor

Simon Says Stamp Hugs Release!

December 15, 2022

Hi there! My entire family has been accosted by some unpleasant germs, so this will be a fairly quick post, but I wanted to pop in and share one of the projects that I made for the Simon Says Stamp Hugs release! The month of December already has the distinction of being DieCember, so this release is almost like a little extra Christmas present. 😉 Let’s get started on my project!!

I wanted to let the beautiful Heart Panes Cover Plate Die be the star of the show, so I created a simple, super vibrant ink blended background using some vivid Valentine’s Day colors! I used Simon Says Stamp Paws-itively Saturated Peony, Cheeky, and Taffy inks with Simon Says Stamp Blending Brushes to blend this pretty background. After I’d finished blending the background, I spritzed it with some gold Mica Stain from Tim Holtz to add some shimmer to the background. It’s subtle in the photos (why is it so difficult to take photos of sparkle?), but it’s so lovely in real life!

To create my edge-to-edge shaker portion, I used some leftover cellophane packaging that I had from some product that I’d received. I trimmed the clear plastic to be slightly larger than my A2 card panel, notching it at the corners so that I could adhere it cleanly. I ran Altenew’s Ultra Sticky Tape along the edges on the back of the blended panel, then wrapped the cellophane around the card front and adhered 3/4 sides. I filled the resulting pocket with different kinds of flat sequins and confetti that coordinated nicely with my color scheme, then removed the release paper on the last segment of the shaker front and closed it up!

Over the top of my shaker front, I adhered the Heart Panes Cover Plate Die cut from some matte gold cardstock using Simon Says Stamp tape runner. (Using tape runner helps to keep glue from squishing out the sides!) I also placed the leftover solid heart die cut on the center of the Flowerful Medallion die to add some delicate, lacy details, then replaced it in the center of the heart die cut. I added a dimensional die cut “hugs” greeting, cut three times using the Basic Trio die and adhered together, as well as some foiled sentiment strips created using my Minc machine, gold foil, and the Sassy Love sentiment strips preprinted sentiments. It’s so difficult to photograph the shine from these foiled sentiments, but isn’t that so fun that you can foil these sentiment cards? One more way to keep things interesting!!

Well, that’s all for my project today. I have a couple more projects to share with you, but I am not feeling so great, so they will have to wait for another day! The new Hugs release is available even if my brain is not functioning the greatest (thanks germs!), so I hope you’ll take a peek. Thanks so much for stopping by today, and have a marvelous day!

Filed Under: simon says stamp Tagged With: flat shaker, hugs release, ink blending, paws-itively saturated, shaker card, valentine's day

White on White with Amazing Paper Grace!

December 13, 2022

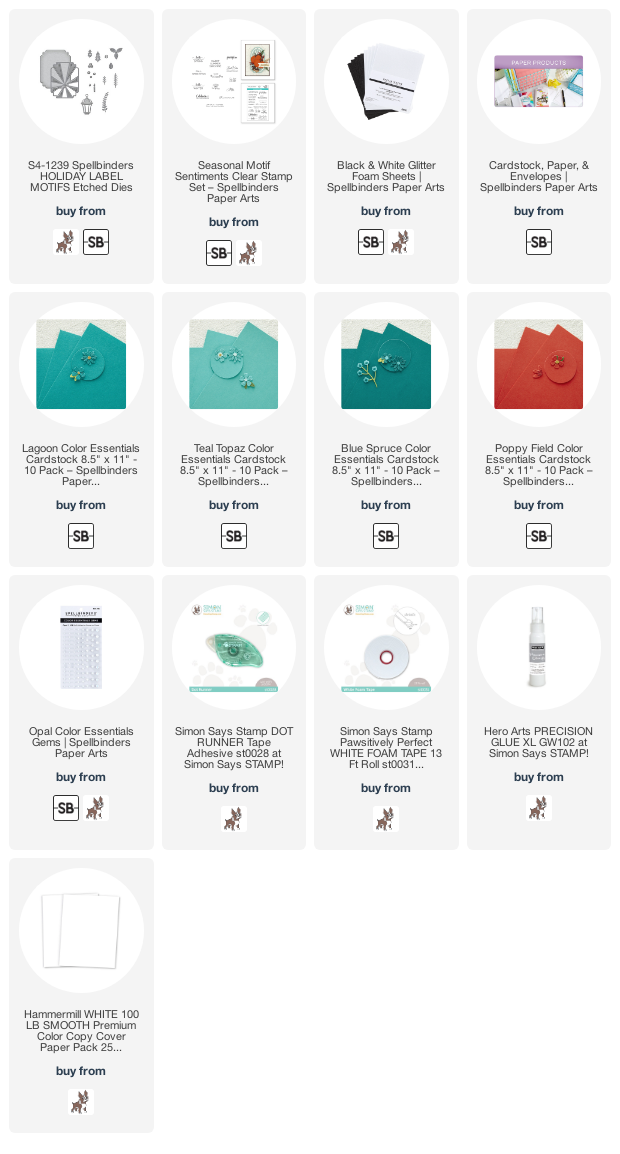
Hi there! I am laid up in bed sick (thanks winter germs from school… blah!), and so thought I’d catch up on blogging some projects that I haven’t gotten around to sharing here. I helped Spellbinders create some projects for their winter catalog over the summer using the Seasonal Label Motifs product suite (which is on sale at the moment!), and I shared the first four HERE. But, there were two different winter die sets, and I realized that I never shared the fifth project using the Holiday Label Motifs dies that I created for the catalog here with you all!

I can’t get enough of white on white with that bright pop of red for Christmas cards. I love non-traditional color schemes so much for the holidays, but there’s something so elegant and timeless about bright, crisp white with that cheery, festive red!

I began by die cutting the main label image and the background from the Holiday Label Motifs die set from some plain, white cardstock. I also cut the lantern image from some of Spellbinders’s White Glitter Foam to add some extra fun texture and some sparkle. I adhered the background to my white A2 card front with some tape runner (I find that liquid glue sometimes causes warping on large die cut panels like this), then added the detail “burst” layer with some foam adhesive to add some extra dimension and height. With these monochromatic layers, adding the extra height is an important way to keep those layers from disappearing into one another. I did add a touch of amber alcohol marker to the candle’s flame to add that tiny bit of warmth to the scene.

Next, I die cut several of the poinsettias, berries, and foliage from some cardstock from Spellbinders. If you haven’t checked out the Spellbinders cardstock line, I highly encourage it. I am a bit of a colored cardstock junkie, and Spellbinders has become one of my top five favorite cardstock brands. They have a huge variety of beautiful colors, and the super smooth surface makes them amazing for hot foiling. For today’s card, I used Lagoon, Blue Spruce, and Poppy Field cardstocks to die cut the different flora. I arranged them in a festive swag above my glittery lantern, and adhered them with a mixture of foam tape and liquid adhesive to create lots of different levels of height and tons of dimension. I added a greeting from the Seasonal Motifs Sentiments stamp set stamped on white using black ink. The final touch was to add a few Opal adhesive gems from Spellbinders to the center of the poinsettias and to accent the swag. I love the subtle shine and added texture these gems add to the card.

Well, that’s all for this project! I have a few holiday projects that I’ve not shared here yet, so hopefully I will be able to get them up before Christmas… I can’t believe that it’s only 12 days away. Yikes! And if you liked this die set, the entire collection is on sale right now for a great price. It might be too late to use for this year’s projects, but I love buying holiday supplies on great sales to save for next year! (Check out their sale section, too.) Thanks so much for stopping by today, and have a marvelous day!

Filed Under: spellbinders Tagged With: christmas card, holiday card, holiday label motifs, seasonal label motifs

City Sidewalks, Busy Sidewalks…

December 9, 2022

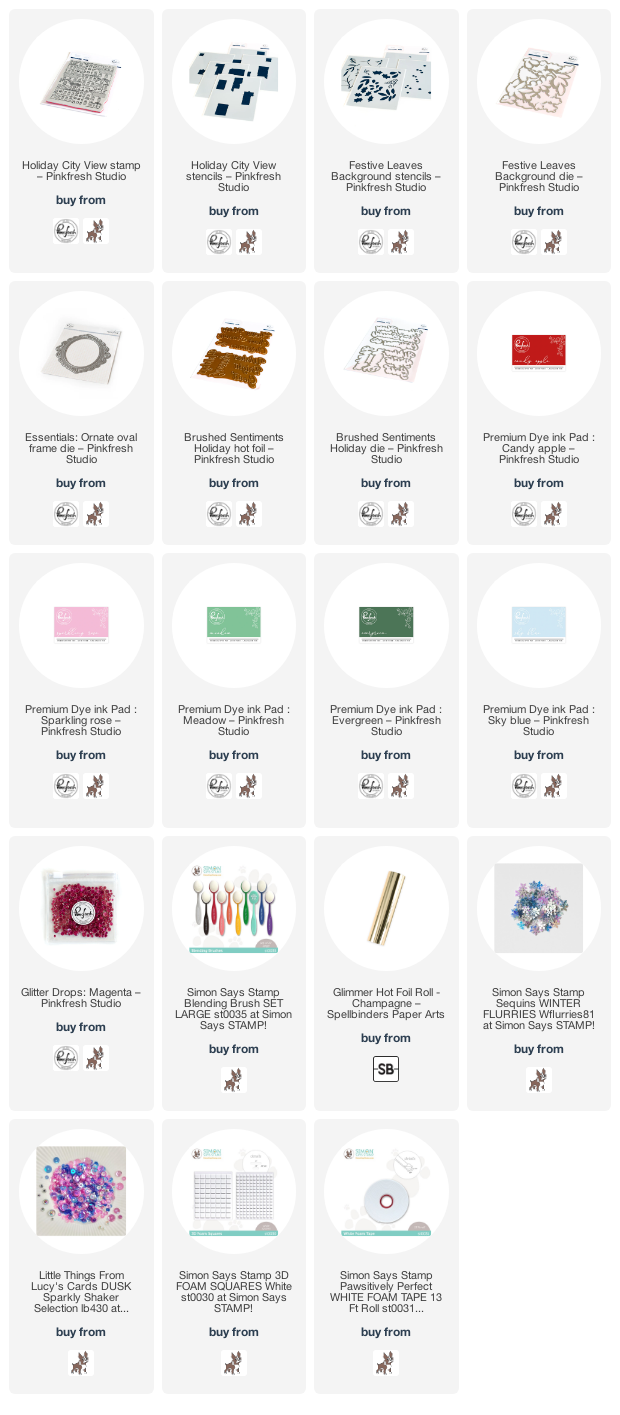
Hi there! Did you know that Pinkfresh Studio has a monthly challenge? At the start of each month, the folks at Pinkfresh Studio provide a great graphic with a challenge topic and color scheme to jumpstart your creativity. You can enter your projects for a chance to win a $50 shopping spree to the Pinkfresh Studio store! You can check out all of the details HERE. This month’s challenge prompt is the appropriately-timed Happy Holidays! I pulled out a bunch of the beautiful new holiday products from the October 2022 release along with Candy Apple, Sparkling Rose, Meadow, Evergreen, and Sky Blue inks to create this festive and colorful shaker card. Let’s get started with the details!

To start, I heat embossed the Holiday City View stamp on a panel of white cardsock using white pearl embossing powder. I used the coordinating stencils, blending brushes, and the Candy Apple, Sparkling Rose, Meadow, Evergreen, and Sky Blue inks to add lots of vivid color to the background. I love how graphic and versatile this background stamp is! It can absolutely be used outside of the holidays, maybe for a “congratulations on your new home” card or “welcome to the neighborhood”!

To add to the holiday feel of the color scheme, I used the Festive Leaves layering stencils with the Candy Apple, Sparkling Rose, and Meadow inks. I then cut the finished blended images out with the coordinating dies. I love these die cuts of simple holiday greenery! The simplicity of the images works beautifully with the equally-simple stenciled, color-blocked background.

To create my shaker card front, I die cut the Ornate Oval Frame from the center of a white A2 card front, reserving both the positive and negative pieces. I like to try to keep the cellophane packaging when I receive new stamp sets, and some old stamp packaging was the perfect backer for this flat shaker! I backed the full size negative-space A2 panel with this recycled cellophane, then nestled the die cut itself inside and adhered it with some strong tape. I added lots of fun sequins and snowflakes to the inside of the shaker and adhered it using more strong tape, not foam tape. The flat sequins still shake beautifully and it is so much easier to mail!

Once I had completed my shaker card front, I added a couple of hot foiled Brushed Sentiments: Holiday greeting die cuts, hot foiled with Champagne hot foil and die cut with the coordinating dies. I popped the greeting up with some thicker foam tape, then arranged the holiday greenery in a little swag around the sentiment and adhered them with a combination of thin foam tape and liquid adhesive to add lots of different layers of height. The final touch was to add a few Magenta Glitter Drops for one last touch of sparkle!

Well, that’s all for this project today! I hope you’ll take a peek at the Pinkfresh Studio Challenge. I have always found that challenges are such a great way to jumpstart your creativity, and can often open the floodgates for even more creative inspiration. I can’t believe we are only a couple of weeks away from Christmas… I’m not ready for the festive holiday fun to be over yet! Thanks so much for stopping by today, and have a marvelous day!

Filed Under: pinkfresh studio Tagged With: brushed sentiments holiday, festive leaves, holiday card, holiday city view, layering stencil, ornate oval frame, pinkfresh challenge, shaker card, stencils

Hero Arts December My Monthly Hero Release Blog Hop + Giveaway!

December 5, 2022

Hi there! Hero Arts is releasing their new collection for December 2022, and we are reaching for the stars with a space theme this month! You should have arrived from Daniel West, and your next stop is Ilina Crouse. Here’s a peek at this month’s kit:

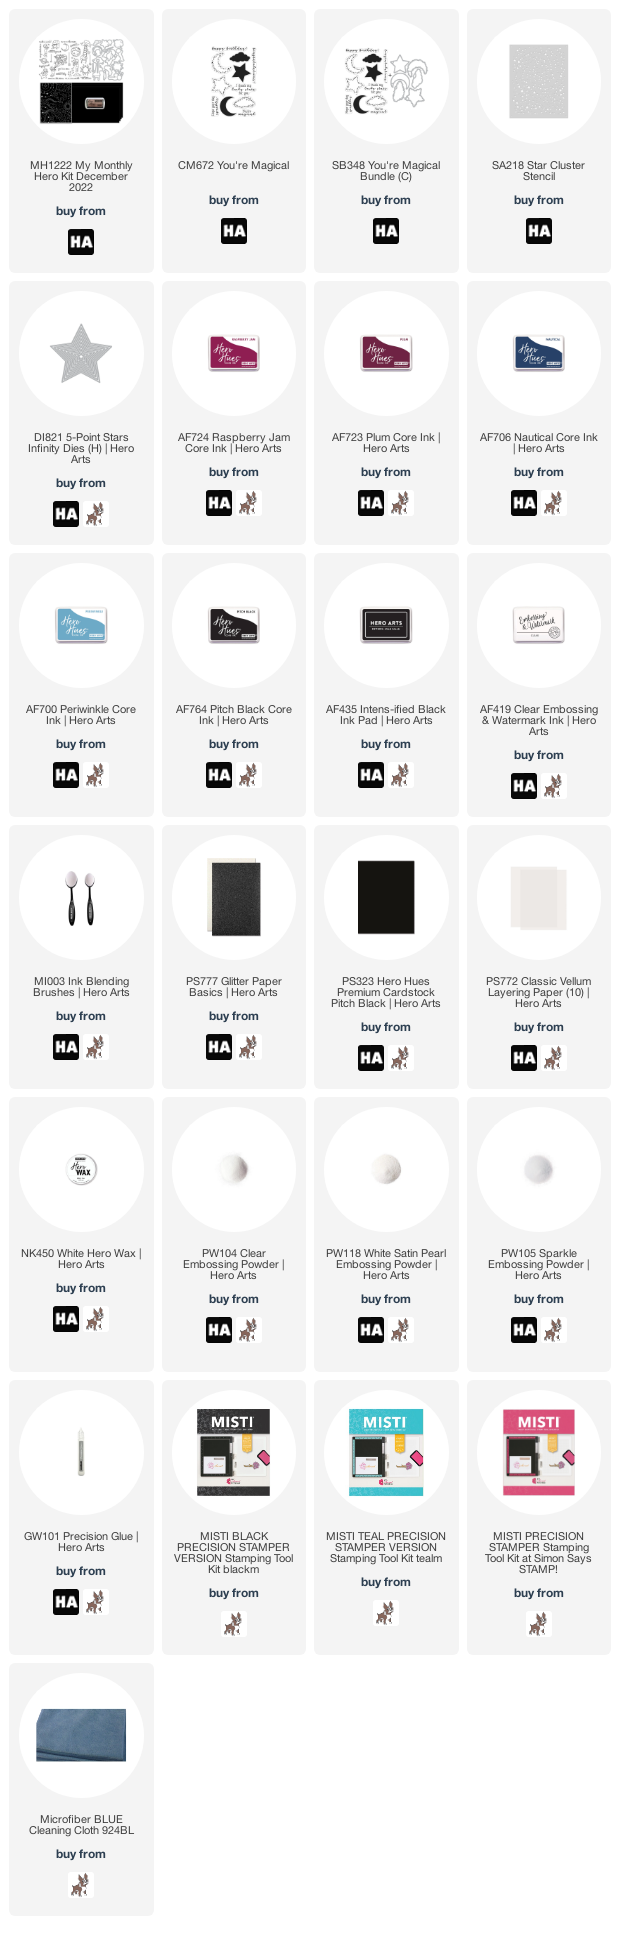
This month’s kit comes with • 6″ x 8″ Clear Stamp Set, • 15 Coordinating Frame Cuts, • 4.625″ x 5.875″ Cling Stamp, • 4 Sheets of Pitch Black Cardstock, 5.5″ x 8.5″, and Rose Gold Pigment Mini Ink Pad. All of the kit contents are valued individually at $82, but the kit is yours for only $34.99! Such a great bargain, and bonus: all of the kit components work beautifully together or separately, giving you tons of options for creating! These kits frequently sell out quickly, so if you’re loving them as much as I do, you can always SUBSCRIBE to guarantee that you receive your kit each month. 

I kept things cool today with vivid colors to create nighttime skies using a couple of different techniques for our celestial cards. The new kit and coordinating add-ons really have endless possibilities and endless color combinations, and I have a pair of cards to share with you featuring some bright raspberry, purple, and blue, so let’s get started with the details!

My first card uses several of the components of this month’s kit to create this vivid encouragement card! I began by stamping the background using Raspberry Jam, Plum, Nautical, and Periwinkle inks with the celestial sky background stamp included in this month’s kit. To achieve the smooth blend between the colors on my background, I made good use of my MISTI. I inked up the bottom portion of the stamp with Periwinkle ink, dabbed the seam with my microfiber cloth to make it fade out smoothly, then closed the door of my MISTI to transfer the ink from the stamp to the cardstock. If I missed a spot, I re-inked my stamp, dabbed with my microfiber cloth (you could also use a blending brush!), and restamped that color. Next, I did the same technique with the Nautical ink, this time dabbing both top and bottom with my cloth to ensure that the colors would blend with the colors on either side on both top and bottom. I repeated the process with the Plum and Raspberry Jam inks to create this smooth ombre background! While my stamp and paper were still in place in the MISTI, I also inked up the entire stamp using Hero Arts Embossing ink and covered the entire stamped image with the sticky ink. I clear embossed over the top of my stamped background to create added texture and shine!

Next, I stamped several of the elements from the 6×8 stamp set included in the main kit using Intens-ified Black ink. I colored the images using my OLO markers, then die cut them with the coordinating dies. I also die cut a star frame using the 5 Point Star Infinity Dies and the white glitter cardstock from the Basics Glitter Cardstock pack.

I arranged my die cuts on my vivid, shiny background, adhering them all with foam tape in a couple of different heights to add extra dimension. Finally, I covered the background with some iridescent confetti for even more added texture and shine, creating “stars” for my celestial traveler!

My second project features a couple of the new add-on items and some intense ink blending. I have made watercolored galaxy backgrounds before, but I thought that I would try to create an ink blended background for a stenciled galaxy! I began by ink blending Raspberry Jam, Plum, Nautical, and Periwinkle inks in a somewhat random “pattern” on my A2 white card front, then blended Pitch Black around the edges to create a nighttime sky swirling with Aurora Borealis color but still surrounded by the pitch black-ness of space! I paired the new Star Cluster Stencil with White Hero Wax, and boy did that take the background to next-level cool!

For my focal point, I used the beautiful new You’re Magical stamp and die bundle to create some fun stars and beautiful sentiment. I heat embossed a shimmery silver solid star from the set on Pitch Black cardstock with White Satin Pearl embossing powder. I heat embossed a few of the fancier stars using Sparkle embossing powder on Hero Arts Vellum cardstock. I also die cut a few smaller stars from the 5 Point Star Infinity Dies set using black and white glitter papers from the Basics Glitter Cardstock.

I arranged the cluster of stars around my sentiment and adhered them with both foam adhesive and tiny dots of Precision Glue for the vellum stars. The final touch was to add a few opalescent gems for even more sparkle!

Well, that’s all for my projects today! Now for some fun giveaway information:

We will give away a $50 gift card, drawn from the comments left across the hop. Enter by Sunday, December 11th at 11:59pm Pacific, and the winner will be announced on the Hero Arts blog the following week.

Your next stop on the hop is Ilina Crouse. Thanks so much for stopping by today, and happy star-hopping! 😉

Filed Under: Hero Arts, Uncategorized Tagged With: hero wax, ink blending, my monthly hero, stencil

  • « Go to Previous Page
  • Page 1
  • Page 2
  • Page 3
  • Go to Next Page »

Primary Sidebar

  • Facebook
  • Instagram
  • Pinterest
  • YouTube

Favorite Shops

Secondary Sidebar

Subscribe

Enter your email address to subscribe to this blog and receive notifications of new posts by email.

Instagram
Something is wrong.
Instagram token error.
Follow
Load More

Archives

Tags

3D embossing folder alcohol markers better press birthday birthday card blog hop card kit christmas christmas card christmas tag colored pencil copic copic coloring Daniel Smith die cutting embossing folder embroidery felt giveaway holiday holiday card hot foil ink blending karin brushmarker pro layered stencil masculine my monthly hero new release no line coloring no line watercolor OLO marker olo markers original illustration pawsitively saturated rainbow shaker card slimline stamping stamptember stencil thank you thinking of you valentine's day video watercolor

Popular Posts

Simon Says Stamp Joy For You Blog Hop- Day 1!
Simon Says Stamp Joy For You Release-Now Available!
Frozen Fractals All Around with New Simon Says Stamp Joy For You Release!
Shaped Holiday Shaker Card with New Simon Says Stamp Jolly Season Card Kit of the Month!
Holiday Postage with New Simon Says Stamp!
Simon Says Stamp Glory to the Newborn King Holiday Kit-Part II!
Holiday Joy in Pink and Green with New Simon Says Stamp DieCember!
Pinkfresh Studio 5th Birthday!
Altenew Build A Flower: Fuchsia Blog Hop+Giveway!
July My Monthly Hero Blog Hop+Giveaway!

Disclosure

Some affiliate links are used in my posts. This means that, should you click on one of my links and purchase something from that company, I will receive a small portion of the sale at no extra cost to you. I use the money earned from these sales to help maintain my blog. I so appreciate you visiting and, if you do choose to use one of my affiliate links, thank you so much for your support!
Copyright © 2026 ·Brunch Pro Theme · Genesis Framework by StudioPress · WordPress · Log in
Loading Comments...