• Skip to main content
  • Skip to primary sidebar
  • Skip to secondary sidebar

Sixth Street Sundries

Emily Midgett

  • Home
  • About Me
  • Contact
  • OLO Marker Color Swatch Chart
  • Shop

simon says stamp

Some news and a sneak peek.

June 22, 2018

Good morning! I have a special announcement today… I was lucky enough to create a few projects for the new Scrapbook and Cards Today magazine for a watercolor feature, and it also happens to be their 50th issue. What a spectacular milestone! I have a couple of sneak peeks to pique your interest πŸ˜‰

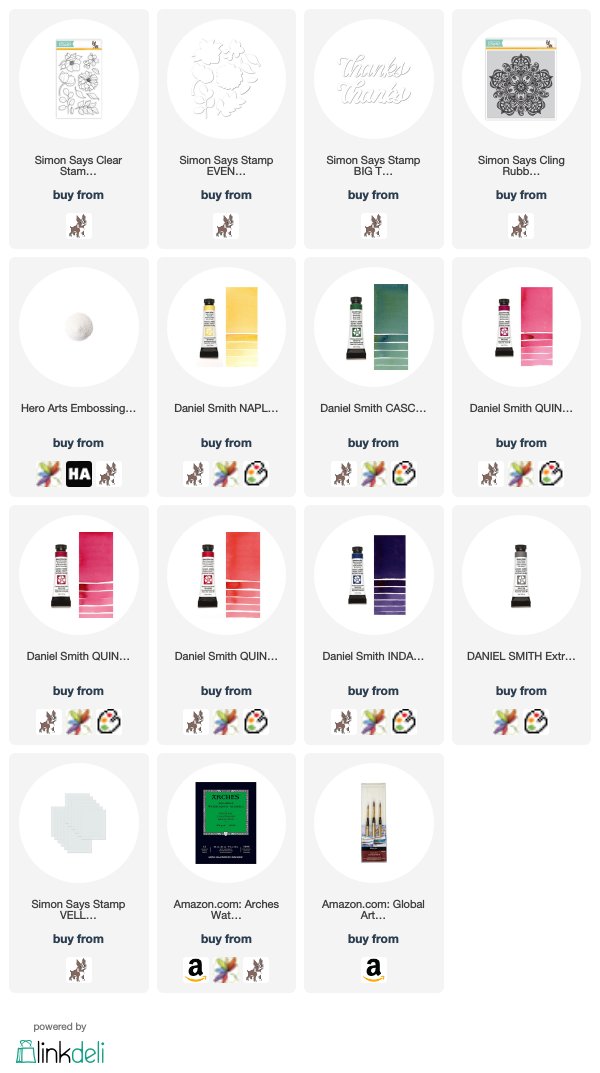
The first sneak peek features some beautiful stamps from Simon Says Stamp watercolored with Daniel Smith watercolors (my favorite!).

The second piece featured in the magazine uses stamps and dies from Pinkfresh Studio combined with the beautiful Hero Arts Liquid Watercolors.

You can see both of these projects in their entirety in the new, 50th issue of Scrapbook and Cards Today!

Congratulations to Scrapbook and Cards Today on their fantastic milestone! Cheers to the next 50 issues!

Floral Card:
Scooter Card:


Filed Under: pinkfresh studio, simon says stamp Tagged With: floral, magazine, scooter, scrapbook and cards today, watercolor

Spellbinders May 2018 Blog Hop + Giveaway!

May 16, 2018

Good morning! I am excited to be a part of the Spellbinders May Blog Hop! You should have arrived here from Keeway’s blog.Β  This month features several new designs from Becca Feeken and Debi Adams. I was given the opportunity to play with some adorable products from Debi Adams, and I have two completely different projects for you, so let’s get started!

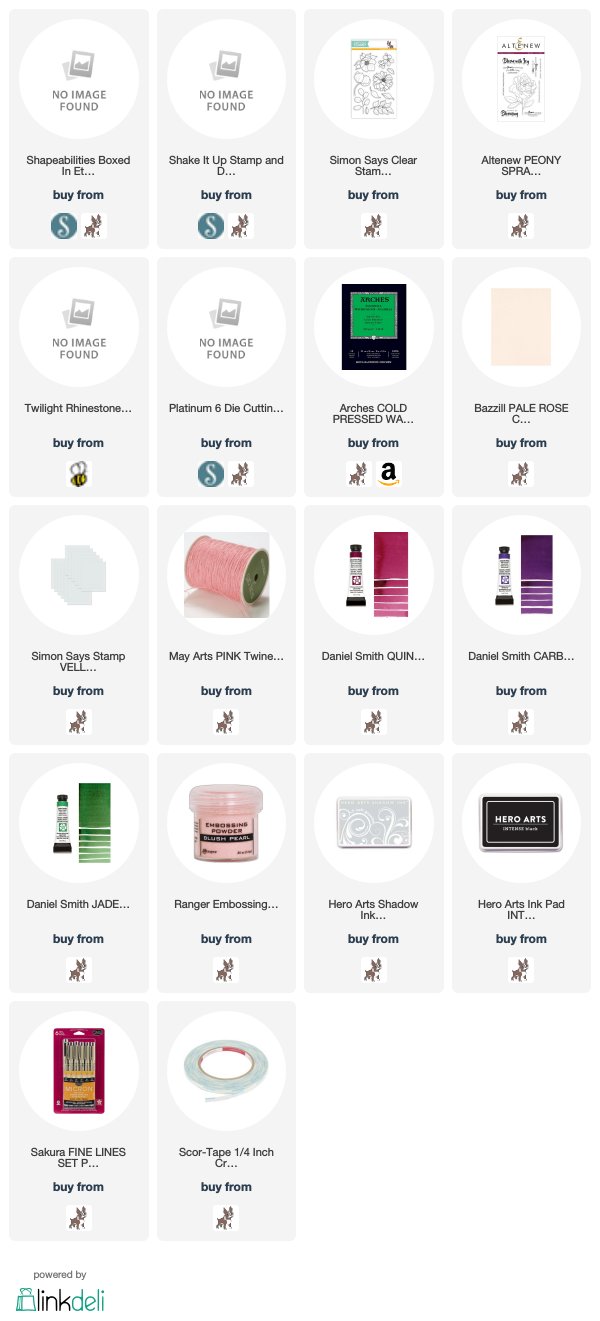
For my first project, I wanted to use that absolutely darling little gift boxΒ to create some gift packaging for my kiddos’ preschool teachers. I started by die cutting the gift box pieces twice from heavy weight vellum, then used Scor-Tape to adhere the flaps together. These would be adorable for shower or wedding favors, in addition to just gift packaging!

I added a few watercolored flowers from Simon Says Stamp that I had watercolored with my Daniel Smith watercolors. I adhered those with Scor-Tape as well. I wrapped some pink twine around the box a few times, then added a tag that I’d created by stamping a greeting from an Altenew set onto a strip of pale pink card stock, then flagging then ends and punching a hole in the opposite end. Perfect size for a gift card an a Ghirardelli chocolate! πŸ™‚

For my second project, I pulled a complete 180* and played with the adorable Shake It Up stamp and die combo. I started by stamping a random pattern using Soft Granite ink on white card stock base, adding in a few random dots with my Micron .01 pen. (I think they look like little flecks of salt and pepper! Ha!) I also stamped and die cut a little salt and pepper set using Copic friendly black ink.Β 
After I had colored the salt and pepper shakers, (or as my little ones would say, Mr. Salt and Mrs. Pepper…. they went through a Blue’s Clues phase!) I added some more little black flecks to each container. I fussy cut the greeting, then popped everything up using dimensional foam adhesive. The final touch was to add a few jewels to add some sparkle! (You know I can’t have a card without some sparkle, right?!)

Well, that’s all for my projects today! Now, for some giveaway information! Spellbinders is offering a $50 shopping spree on their blog; be sure to leave a comment there before May 20 at 11:59 pm! And the folks at Spellbinders have generously provided a $25 shopping spree for my own blog subscribers! All you have to do to be eligible to win is 1) be a blog subscriber and 2) comment on this post to let me know if you are a new or old subscriber! Leave your comment by Sunday, May 20 at 11:59 PM CST. I will choose a winner next Monday, May 21 and announce it here on the blog! (The winner will beΒ  responsible for shipping costs, duties and taxes.)

Thanks so much for stopping by, and have a marvelous day!

Spellbinders

Becca Feeken

Yana Smakula

Melissa Phillips

Elena Salo

Hussena Calcuttawala

Olga Direktorenko

Jacquie Dean

Nichol Spohr

Enza Gudor

Zsoka Marko

Jennifer Gallacher

Keeway Tsao

Emily MidgettΒ <— you are here!


Filed Under: simon says stamp, spellbinders, watercolor Tagged With: blog hop, copic coloring, Daniel Smith, die cutting, gift packaging

Long Overdue Thanks.

May 14, 2018

Good morning!

Confession. I am shockingly awful at sending out cards. Like, I am terrible at it, regardless of the occasion or recipient. You can be assured that if you’re my friend and I’m intending to send you a birthday card, it will invariably be 2-3 weeks… months… late. It’s the thought that counts, right? I hope… Anyway, I started this project weeks ago after attending the Daily Marker 30 Day Road Trip in St. Louis with the absolutely fabulous Kathy Racoosin. Our sponsor for the day was Marcella Hawley of Power Poppy Stamps… and boy, oh boy, does that sweet lady have some raw, unbridled talent, not to mention the fact that she’s just one of the nicest people I’ve had the pleasure to meet. I (finally) finished this card last week, and I have grand intentions of sending it to her… but it might be so long before she receives it that she forgets who I am haha! I used one of her beautiful stamp sets to create this bouquet: Peony Muse.

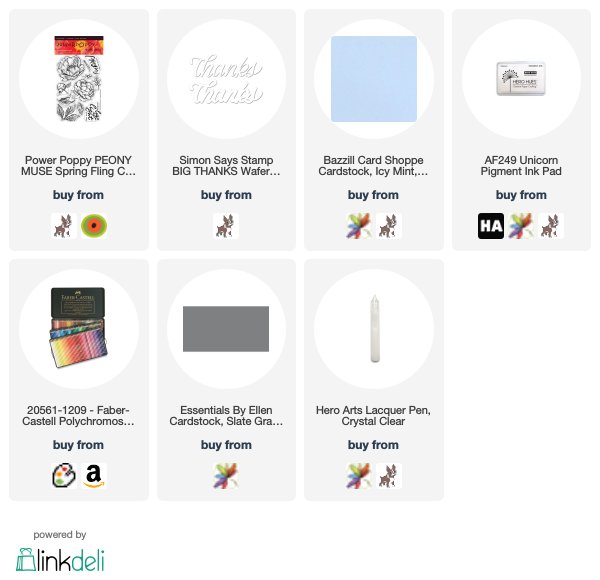
I started by stamping the Peony Muse stamps using white pigment ink on very pale blue card stock (this is Bazzill Icy Mint) in a pretty bouquet in the center of my card front. I then used my Polychromos pencils to add color.

I am always so inspired by the color combinations and beautiful floral arrangements in the Rifle Paper Co prints (I know I’ve talked about this before!), and one of their prints has bright, cobalt blue leaves. I am a big fan of unusually colored foliage, so I thought I would try something new for this project.

I’m not going to lie, the coloring on this card took me quite a few hours… over the course of several different days. Not something I wanted to mess up or cover up, so I opted to use a simple, dimensional die cut “thanks” using one of the beautiful sentiment dies from Simon Says Stamp cut from Ellen Hutson’s Slate Gray card stock.

Power Poppy has a new release, with some absolutely GORGEOUS new florals in it… I am salivating. Can’t wait to color up some new peonies!! Keep your fingers crossed that I will remember to send this card to Marcella for helping to host such a wonderful event…. so grateful for being able to attend! Hope you have a marvelous day!


Filed Under: power poppy, simon says stamp Tagged With: colored pencil, no line coloring, polychromos

Introducing …. The 12 Cards of Christmas!

January 25, 2018

Good morning! I have a fun new series starting today… I know lots of crafters feel that holiday crunch when it gets to be the beginning of December, and so I thought I would make a concerted effort to try to get a bit of a head start this year by dedicating one day a month on my blog to a holiday card! For this month, I used one of my most favorite new stamp sets from this past holiday season: Ornamental from Concord and 9th.

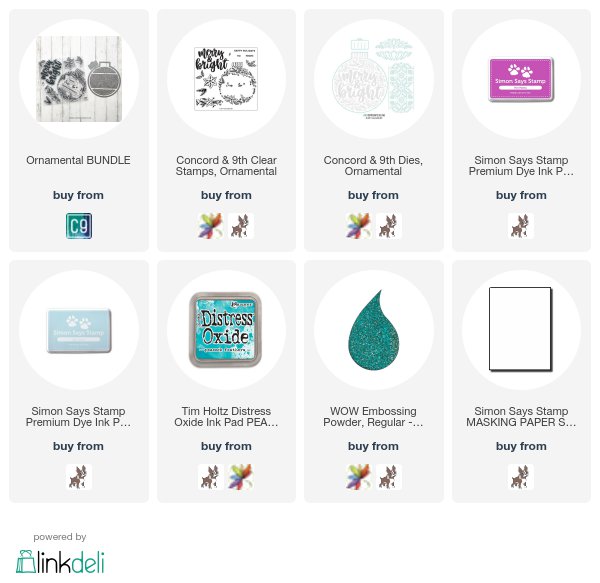
I always strive to make my holiday cards as flat (aka-easily mailed) as possible. When trying to make a flat card, masking is my best friend. I can get fabulous dimension with approximately zero layers and bulk. I started by die cutting the large ornament from Concord and 9th’s Ornamental die set from some masking paper and adhered it to the center of an A2 card base. You know the glow from those pretty, ethereal Christmas lights on your tree? When you turn all of the lights off and just sit by the light of your Christmas tree? That’s what I was going for with this card. I lightly blended Hot Mama and Sea Glass inks around the edge of the masking paper. There is just enough blue in both shades of ink to allow them to blend nicely with each other.

After I had blended around the edge of the masking paper, I removed the mask and added the floral stamp from Ornamental to the lid of my MISTI. I wanted the floral details to be multi colored, as though they were reflecting the Christmas lights in my blending, so I added Sea Glass ink in a few spots on the stamp, then pressed the lid of my MISTI down, then added some Hot Mama ink in the spots that were left, but was sure to dab away some of the ink with a microfiber cloth to make a smoother transition between the two colors. I repeated this process until I was satisfied with the coverage. For the greeting, I used the lovely, scripty sentiment included in Ornamental that fits just perfectly amongst the floral detailed stamp. I stamped it using a trick my friend Lisa taught me: Distress Oxide inks are great for heat embossing!! I stamped it with Peacock Feathers Oxide ink, then embossed it with some sparkly turquoise embossing powder.

To turn it into an “ornament,” I die cut the ornament topper from some sparkly silver glitter card stock and adhered it with liquid adhesive. Nice and flat and lots of sparkle…. perfect for Christmas! I love using non-traditional colors for holiday cards, and I think this series is going to allow me to explore lots of unique Christmas color combinations.

I hope you’ve enjoyed the first installment of The Twelve Cards of Christmas!! Have a marvelous day!


Filed Under: Concord and 9th, simon says stamp, The 12 Cards of Christmas Tagged With: christmas card, distress oxide, heat embossing, holiday card, ink blending, masking, multi colored stamping

Holiday Card Hustle, Day 6!

December 7, 2017

Hi there! Welcome back for Day 6 of The Holiday Card Hustle. My best tip for mass producing holiday cards is to use lots of die cuts and small amounts of stamping. If you can use die cuts that are standalone pieces, instead of die cuts that require stamping on them, your work will go that much more quickly! Today’s photo card project has lots of die cutting and only a wee bit of stamping on it.

I started by trimming down my 4×6 horizontal photograph to 3.25″x4.75″ and matted it on a piece of 4×6 grayish-brown glitter card stock. I mounted it on an A7 white card stock panel. I wanted to create a visual cascade down the front of my card, with my family being the center of the cascade. I used some solid standalone dies to create a festive Christmas tree branch for the top left corner. For the greenery, I used the lovely spruce sprigs in the Ellen Hutson Poinsettia and Pine die set with some avocado green card stock, then layered them in the corner of the card. I added a few little baubles using the Birch Press Design Classic Ornament dies, stamping one of the little designs from the coordinating stamp set on the wine colored ornament and heat embossing in silver.

For the greeting, I used one of Simon Says Stamp’s new stamp and die sets from this year’s holiday offerings, and I just love it: Fa La La.Β The die is large enough to cover most of an A2 card front, and definitely still large enough to make an impact on this A7 card front. I die cut it from some bright blue foil card stock, then stamped the sentiment from the coordinating stamp setΒ on a very thin strip of card stock, adhering both of them towards the bottom right corner of the card front to complete my visual cascade.

Well, that’s all for me today! I will be back tomorrow with Day 7 of The Holiday Card Hustle, and quite possibly my favorite card from the series! I hope you’ll come back tomorrow for some last minute holiday inspiration! Thanks so much for stopping by, and have a marvelous day. πŸ™‚


Filed Under: birch press design, Ellen Hutson, simon says stamp Tagged With: christmas, christmas card, die cutting, holiday card, holiday card hustle., photo card

  • « Go to Previous Page
  • Page 1
  • Interim pages omitted …
  • Page 140
  • Page 141
  • Page 142
  • Page 143
  • Page 144
  • Go to Next Page »

Primary Sidebar

  • Facebook
  • Instagram
  • Pinterest
  • YouTube

Favorite Shops

Secondary Sidebar

Subscribe

Enter your email address to subscribe to this blog and receive notifications of new posts by email.

Instagram
Something is wrong.
Instagram token error.
Follow
Load More

Archives

Tags

3D embossing folder alcohol markers better press birthday birthday card blog hop card kit christmas christmas card christmas tag colored pencil copic copic coloring Daniel Smith die cutting embossing folder embroidery felt giveaway holiday holiday card hot foil ink blending karin brushmarker pro layered stencil masculine my monthly hero new release no line coloring no line watercolor OLO marker olo markers original illustration pawsitively saturated rainbow shaker card slimline stamping stamptember stencil thank you thinking of you valentine's day video watercolor

Popular Posts

Special Release: Simon Says Stamp Exclusive Tim Holtz Coordinating Dies!
Simon Says Stamp Card Kit November 2026: Jolly Season!
Shaped Holiday Shaker Card with New Simon Says Stamp Jolly Season Card Kit of the Month!
Simon Says Stamp Glory to the Newborn King Holiday Kit-Part II!
Simon Says Stamp Glory to the Newborn King Holiday Kit-Now Available!
Altnew Craft A Flower: Daffodil+ Glitter Cardstock Release Blog Hop + Giveaway!
Grateful Acorns with Simon Says Stamp!
Altenew October 2026 Release Blog Hop + Giveaway!
Coral Wild Rose for Mother's Day with Simon Says Stamp!
Fashion Shoppe and Flower Shoppe with Concord & 9th!

Disclosure

Some affiliate links are used in my posts. This means that, should you click on one of my links and purchase something from that company, I will receive a small portion of the sale at no extra cost to you. I use the money earned from these sales to help maintain my blog. I so appreciate you visiting and, if you do choose to use one of my affiliate links, thank you so much for your support!
Copyright © 2026 ·Brunch Pro Theme &middot; Genesis Framework by StudioPress &middot; WordPress &middot; Log in
Loading Comments...