This post was sponsored by Simon Says Stamp. Thanks, Simon!

Hi friends! Welcome to Day 2 of the Simon Says Stamp Smitten & Sweetheart blog hop! You should have arrived here from Debby Hughes and your next stop is Lisa Addesa. This hop is a special one, celebrating the release for both last month’s Smitten release and this month’s Sweetheart release! For today’s hop, I’ve created two different projects using products from both releases. I love adding color to white standalone die cuts using Copic markers, and the Smitten release and this month’s Sweetheart release have some lovely new additions to that category. I created a pair of light, springy projects using lots of white cardstock, some new dies, and my Copic markers. Let’s get started with the details!

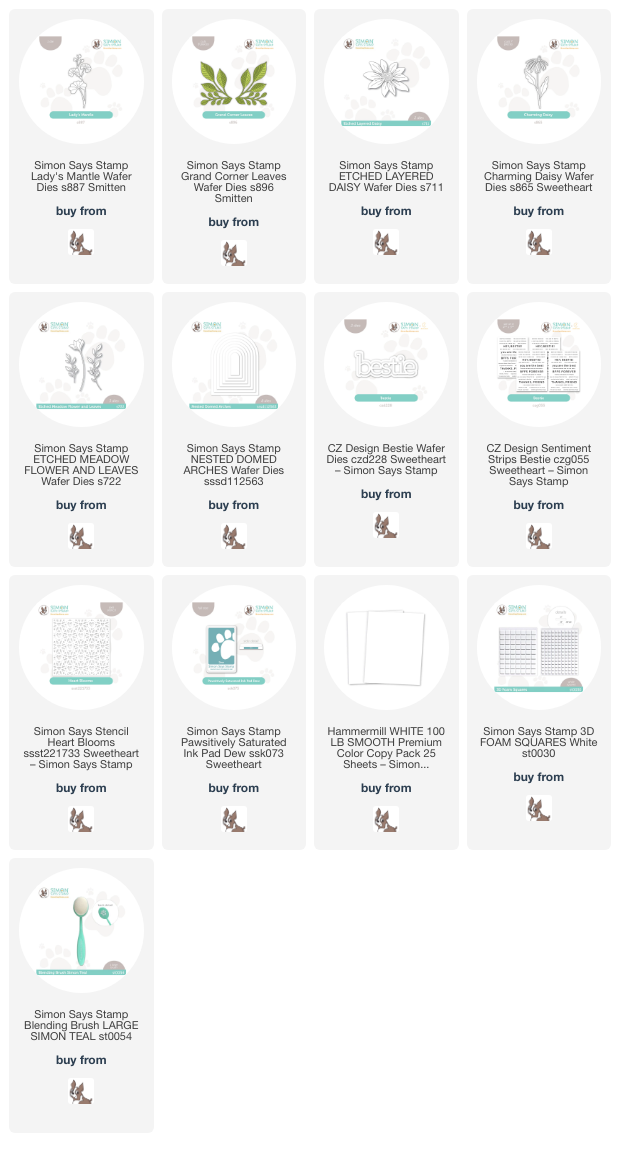
After the super intense, jewel-toned projects that I created for Christmas, I wanted to create something a bit lighter and more spring-like, so I pulled out the new Lady’s Mantle, Grand Corner Leaves, Etched Layered Daisy, and Charming Daisy dies.

For my first card, I die cut the Lady’s Mantle, Grand Corner Leaves dies, and Etched Layered Daisy die from Hammermill white cardstock. Before I assembled everything, I used Copic markers to add soft pastel colors to the different images, using the debossed lines as guides for where to add extra shading and depth. The colors that I selected for the daisy did not work as nicely with the leaves as I anticipated, so instead of redoing the entire thing, I simply selected a pale RV Copic marker and “glazed” all of the petals. Doing this allowed me to quickly change the overall look of the flower to be a bit brighter while still putting to use the shadows that I created previously.

After I had finished coloring and assembling the die cuts, I placed the new Heart Blooms stencil over a white A2 card front, then used a blending brush to lightly blend Dew Pawsitively Saturated Ink over the top. This light pool color coordinates nicely with the foliage and keeps things cohesive throughout the card. I arranged the flowers and foliage on the card front, then popped them up with foam squares. For the greeting, I trimmed down a sentiment from the new Bestie sentiment cards and popped it up with more foam adhesive, creating a double layer of foam tape for extra height. Finally, I topped everything off with some sparkling pale mint gems from my stash!

My second card features a new-to-me technique, creating an embellished window card using just die cuts! I started the project by die cutting the new Charming Daisy three times from Hammermill white cardstock, as well as the foliage sprigs from the Etched Meadow Flower die set. I used Copic markers in light shades of mauve, jade, and celadon to add color to the white die cuts.

To create the background for my die cut images, I die cut a window from the center of an A2 card front using one of the Nested Domed Arches. I wanted to arrange the flowers around the window and leave the area completely open, so I needed a wider sentiment that would span the width of the window opening. I cut the new Bestie sentiment die, cutting the background layer from vellum, then nestled both dies together on some white cardstock and ran it through my die cut machine, creating a sentiment with the negative space. I adhered this outline to the background vellum piece, which created a subtly bold die cut sentiment.

I arranged the flowers, sentiment die cut, and sentiment strip from the new Bestie sentiment cards around the opening, using the sentiment as a “bridge” between the flowers on left and right. I adhered all of the pieces using a combination of liquid and foam adhesive, adding tons of dimension and height to this interesting card! The final touch was to add a few more coordinating pale minty green gems.
Well, that’s all for my projects today! To celebrate this new release, Simon Says Stamp is offering a free gift with purchase: follow the instructions on the graphic at the top of the post, then enter code HTZ24 with your followers so that you can receive the Hearts and Stars stencil free with purchase!
Simon Says Stamp is also generously sponsoring a $25 coupon for each blog to be chosen from comments left along the hop! Simply leave a comment on each blog hop stop to be entered to win! The winners will be posted on the Simon Says Stamp blog on Wednesday the 17th of January. Winners can email Simon Says Stamp to claim his/her prize 🙂
Your next stop is Lisa Addesa, or you can start at the beginning of the hop over on the Simon Says Stamp Blog. (While you’re there, you can check out Day 1 of the hop… a veritable wealth of inspiration throughout!) Thanks so much for stopping by today, and happy hopping!