• Skip to main content
  • Skip to primary sidebar
  • Skip to secondary sidebar

Sixth Street Sundries

Emily Midgett

  • Home
  • About Me
  • Contact
  • OLO Marker Color Swatch Chart
  • Shop

fancy giving thanks

Thankful and Grateful

November 22, 2023

This post is sponsored by Simon Says Stamp. Thanks, Simon!

Hi friends! Happy Thanksgiving for those readers in the United States. We are giving thanks, and as this year draws to a close, I find myself reflecting yet again on how many wonderful things and people that I have in my life for which I am so grateful. As a child, I never dreamed that my life could be what it currently is, offering peace and stability and a loving family. This year, I am also so thankful for being able to help provide for my family in a meaningful way. I couldn’t do this without your support and kind words, friends, so for that I wish to simply say: thank you. I wanted to channel that gratitude into a project, and so I pulled out several different die sets from Simon Says Stamp, some watercolor paper, and my Distress Inks to do some watercoloring. Let’s get started with the details!

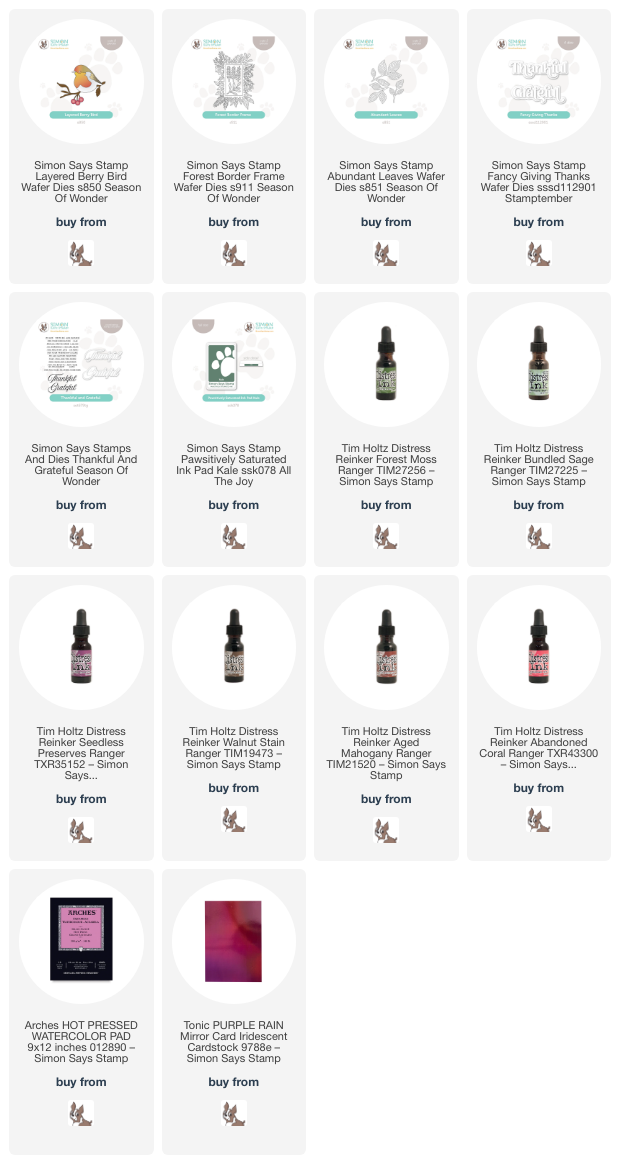
To start, I die cut the Layered Berry Bird, Forest Border Frame, and Abundant Leaves dies from some Arches Hot Press watercolor paper. I left the individual die cut pieces within their negatives and used Forest Moss, Bundled Sage, Seedless Preserves, Walnut Stain, Aged Mahogany, Abandoned Coral Distress Ink reinkers to add some lovely mottled watercolor to each die cut, focusing on gorgeous shades of olive green and rich maroon, with tiny touches of coral and brown. I simply placed drops of the colors onto my palette and picked them up with a damp paintbrush to be able to control the intensity of the color.

I also added some shimmer watercolor accents to the bird and some of the foliage. I adore how intricate these die cuts are; they really do so much of the work for you! The super detailed Forest Border Frame is a perfect backdrop for the sweet Layered Berry Bird.

After I had completed my watercolored die cuts, I used a blending brush to blend the new Kale Pawsitively Saturated ink around the edges of an intense olive green A2 card base, adding some extra depth of color to match the vivid watercolored die cuts. I arranged the watercolored die cuts in the center of my blended card front and adhered them using both liquid and foam adhesive.

For the greeting, I die cut the “thankful” from the Fancy Giving Thanks die set using Purple Rain mirror cardstock. The iridescent sheen on this cardstock picks up the different colors in the watercolored die cuts so beautifully, as well as adding additional texture and shine to the card! To coordinate with this die cut word, I heat embossed a sentiment from the Thankful and Grateful stamp set using Brass embossing powder. I nestled both sentiment pieces amongst the bird and foliage, finally adding a few shimmering gems for some more sparkle.

Well, that’s all for my project today! I am so grateful to you all for being here and for supporting me through your kind comments and encouraging messages of support, as well as occasionally shopping through my affiliate links. It truly means the world to me to be able to share my art with this community as a job!

I also wanted to share that Simon Says Stamp is running a 30% off sale for all Simon-branded products. Simply enter code TKY23 at checkout to receive 30% off Simon Says Stamp-branded products from now through 11:59 pm EST on 11/23/23. Simon also is including a free gift with purchases of $100 or more. (It’s an excellent set, perfect for making tons of quick tags!!) Shop for crafty friends or even yourself with a fabulous discount and some awesome freebies!

Thanks so much for stopping by today, and have a wonderful Thanksgiving!!
Filed Under: simon says stamp Tagged With: abundant leaves, distress inks, fancy giving thanks, forest border frame, layered berry bird, thankful and grateful, thanksgiving, watercolor

Adding Shimmer and Detail with Karin Star Spark Pens!

September 18, 2023

This post was sponsored by Simon Says Stamp. Thanks, Simon!

Hi friends! In the midst of my newfound rainbow craze using the new Rainbow Splash products from Simon Says Stamp’s STAMPtember release, I have found myself itching to get back into my more typical color palette as sort of a palate cleanser. (Don’t worry if you were enjoying the rainbows; I have more Rainbow Splash inspiration to share with you later this week!) I’ve spent most of my creative time this month creating projects that are a little more simplistic, a little more approachable, so as to be easily replicated by both new and seasoned crafters alike. Today’s project combines some simple techniques to create a really vivid, eye-catching card using the gorgeous Lilac Clusters Embossing Folder. Let’s get started with the details!

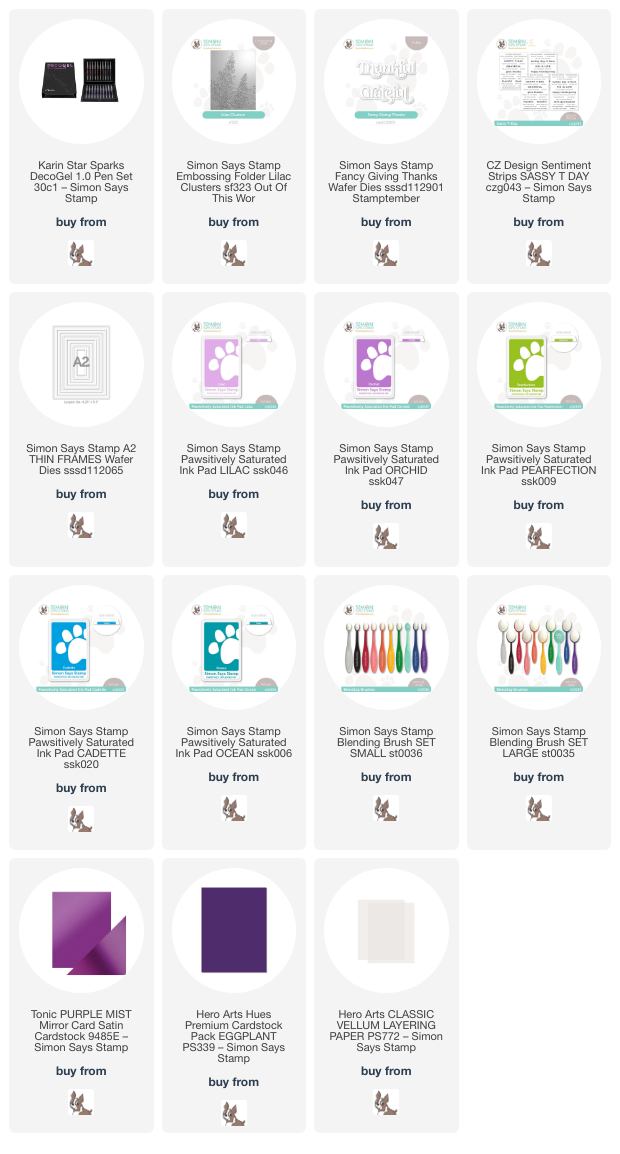
I began by running an A2 panel of Hammermill cardstock through my die cutting machine using the Lilac Clusters Embossing Folder from Simon Says Stamp. This 3D embossing folder creates such incredibly beautiful details that easily can speak for themselves on your card front. My initial instinct with these gorgeous floral folders is always to reach for my favorite coloring mediums to make as immersive and dimensional a card as possible, but today I thought I’d simplify the process and the amount of time spent by doing some ink blending. For the sky, I blended Cadette and Ocean Pawsitively Saturated inks, the combination of which creates the most luscious, summery blue sky. On the flowers themselves, I blended first Lilac ink with a larger blending brush, then blended Orchid ink with a smaller brush in some of the more shadowed places on the blooms. Using the lighter and darker inks helps to add a little extra interest and dimension to the flowers. I blended some Pearfection ink on the foliage, keeping things simple.

To accent the somewhat simplistic blended “coloring” on my lilac images, I used the new Karin Star Spark pens to add extra details to the individual flower petals, stems, and veins on the leaves. These pens are so shimmery and are basically opaque, so they make adding details on top of your stamped or colored images super easy! I accented the pretty purple blooms with a frame cut from purple foil using my favorite A2 Thin Frames dies, which I popped up using foam adhesive.

For the greeting, I used the Fancy Giving Thanks die, cutting the detail layer from deep purple cardstock and the outline background from heavyweight vellum. I also trimmed down a greeting from the Sassy T-day sentiment cards and lightly blended the strip with some residual purple ink left on my blending brush to help it work more cohesively with my super colorful card front. The final touch was a few shimmering gems for even more sparkle!

Well, that’s all for my project today! I hope you enjoyed this foray back into my more usual world of secondary colors (instead of primary rainbow colors, haha!). Thanks so much for stopping by today, and have a marvelous day!

Filed Under: simon says stamp Tagged With: 3D embossing folder, A2 thin frames, fancy giving thanks, ink blending, karin star sparks, lilac clusters, pawsitively saturated ink

Primary Sidebar

  • Facebook
  • Instagram
  • Pinterest
  • YouTube

Favorite Shops

Secondary Sidebar

Subscribe

Enter your email address to subscribe to this blog and receive notifications of new posts by email.

Instagram
Something is wrong.
Instagram token error.
Follow
Load More

Archives

Tags

3D embossing folder alcohol markers better press birthday birthday card blog hop card kit christmas christmas card christmas tag colored pencil copic copic coloring Daniel Smith die cutting embossing folder embroidery felt giveaway holiday holiday card hot foil ink blending karin brushmarker pro layered stencil masculine my monthly hero new release no line coloring no line watercolor OLO marker olo markers original illustration pawsitively saturated rainbow shaker card slimline stamping stamptember stencil thank you thinking of you valentine's day video watercolor

Popular Posts

Simon Says Stamp Joy For You Blog Hop- Day 1!
Simon Says Stamp Joy For You Release-Now Available!
Frozen Fractals All Around with New Simon Says Stamp Joy For You Release!
Shaped Holiday Shaker Card with New Simon Says Stamp Jolly Season Card Kit of the Month!
Holiday Postage with New Simon Says Stamp!
Simon Says Stamp Glory to the Newborn King Holiday Kit-Part II!
Altenew Build A Flower: Fuchsia Blog Hop+Giveway!
Holiday Joy in Pink and Green with New Simon Says Stamp DieCember!
Pinkfresh Studio 5th Birthday!
Honey Bee Stamps September Release Blog Hop!

Disclosure

Some affiliate links are used in my posts. This means that, should you click on one of my links and purchase something from that company, I will receive a small portion of the sale at no extra cost to you. I use the money earned from these sales to help maintain my blog. I so appreciate you visiting and, if you do choose to use one of my affiliate links, thank you so much for your support!
Copyright © 2026 ·Brunch Pro Theme · Genesis Framework by StudioPress · WordPress · Log in
Loading Comments...