• Skip to main content
  • Skip to primary sidebar
  • Skip to secondary sidebar

Sixth Street Sundries

Emily Midgett

  • Home
  • About Me
  • Contact
  • OLO Marker Color Swatch Chart
  • Shop

sunny vibes

Create A Colorful Life Shaker Card with Simon Says Stamp!

June 26, 2024

This post was sponsored by Simon Says Stamp. Thanks, Simon!

Hi friends! I have a fun ombré shaker card to share with you today using some beautiful new goodies from the Simon Says Stamp Sunny Vibes release from last week! You might have seen this project during the live last week (you can catch the replay HERE) and so I thought I would give a rundown of how I created this project. I am going to try to get a video filmed featuring this technique, so be on the lookout for that! I took a poll in my Instagram Stories asking whether videos with no voice over, just occasional subtitles and music, would be of interest, and the answers were overwhelmingly yes! So now I am going to try to get at least one video posted a week with this simpler format. If there are any techniques or projects from past posts that you would like to see on video, please don’t hesitate to let me know! Let’s get started on the details for this project.

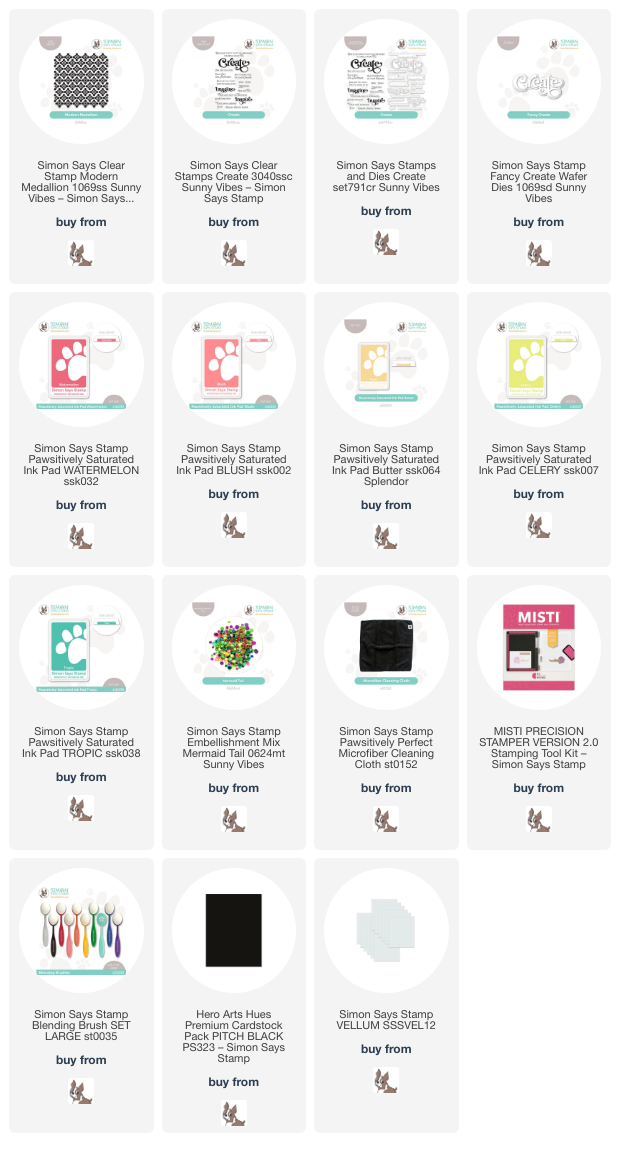
For today’s project, I am using the beautiful new Modern Medallions stamp set. The bold pattern was perfect for this ombré stamping technique, and when paired with tone-on-tone ombré blending, it creates such a beautifully vibrant background, perfect for a shaker card! I started by stamping the Modern Medallions background stamp onto a panel of white cardstock with my MISTI using the following Pawsitively Saturated Inks: Watermelon, Blush, Butter, Celery, Tropic. To achieve this smooth ombré, I first tapped my Watermelon ink pad on the top of the stamp, then used the new Simon Says Stamp Microfiber Cloth to tap the edge of the ink line, smoothing it out and creating an area for a smoother fade into the next color. I stamped the first color, cleaned my stamp, then tapped Blush ink onto the next “strip” of the stamp, tapping both the top and bottom of the ink stripe to create that smooth fade from one color into the next. I repeated the process with all of the ink colors until I had this pretty rainbow ombré!

Before moving the stamped panel and stamp from my MISTI, I inked up the Modern Medallions stamp once more, covering the entirety of the image with embossing ink and adding clear embossing powder to the image. The paper shifted ever so slightly when I was doing my stamping, so the clear embossing was just the tiniest bit off from the colorful stamped image. I then used blending brushes to blend the same colors over the top of the stamped image, creating a tone-on-tone ombré overlay. The colors of the stamped image are much more intense than the blended version, creating this fun tone-on-tone backgorund. I trimmed the panel down slightly and created a shaker pocket with some leftover stamp packaging. I filled the shaker with the new Mermaid Tail sequins and mounted it on a full sized A2 panel of black cardstock, creating a crisp black border around the edge of my colorful shaker background.

For the greeting, I kept things simple with a heat embossed sentiment from the new Create stamps and coordinating dies. I heat embossed this uplifting sentiment onto Pitch Black cardstock using white embossing powder, then die cut it with the coordinating dies. I also die cut the Create die, cutting the detail layer from more Pitch Black cardstock and the shadow layer from vellum. I popped up the sentiment pieces on the front of the shaker panel using foam adhesive squares!

Well, that’s all for my project today! I tend to stick to cooler rainbow colors, so it was fun to go outside of my normal comfort zone, and especially to create this shimmery shaker card. I will try to get the video posted for this technique early next week, if you are interested!! Thanks so much for stopping by today, and have a marvelous day!
Filed Under: simon says stamp Tagged With: create, flat shaker, modern medallion, ombré, rainbow, shaker, sunny vibes

Ocean Inspiration with New Simon Says Stamp Sunny Vibes!

June 20, 2024

This post was sponsored by Simon Says Stamp. Thanks, Simon!

Hi friends! I am back with some more inspiration using some of the gorgeous summery products from the new Sunny Vibes release! I am really loving the new toner-printed cards with each release; they make customizing your projects with your choice of shiny foil super simple! I particularly loved the new options that are printed on acetate. You could quickly make a super fun and unique shaker card window with these clear, printed sheets, but I chose to use the foiled background as an overlay for a somber, ocean-themed “thinking of you” card. Let’s get started with the details!

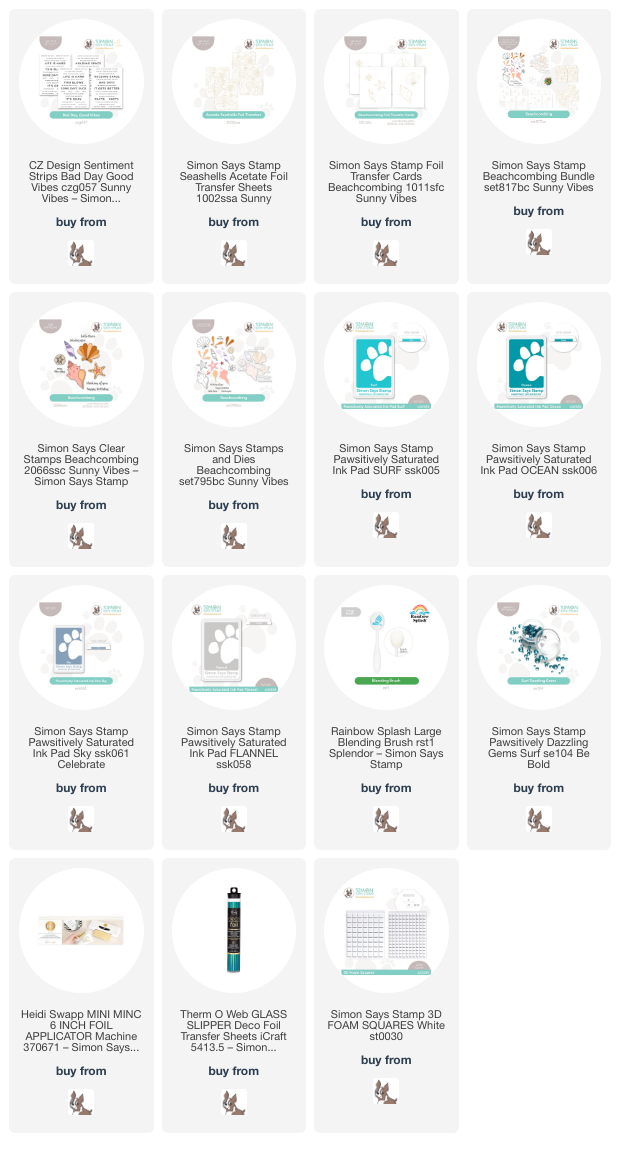
I started by hot foiling one of the clear Acetate Seashells Toner Foil Acetate Sheets using Glass Slipper DecoFoil. This iridescent turquoise foil is absolutely gorgeous and worked perfectly with the ocean vibe I envisioned! I used the same foil with the Bad Day, Good Vibes Toner Foil sentiment cards and Beachcombing Toner Foil image cards. The Beachcombing Toner Foil image cards coordinate perfectly with the images in the Beachcombing stamp and die product suite! Isn’t it amazing when all of the products work seamlessly together?

To enhance the background behind my acetate panel, I blended some Surf and Sky Pawsitively Saturated Inks around the edge of an A2 panel of white cardstock, then splattered the blended areas with some sparkling, iridescent watercolors. I also used Pawsitively Saturated Inks in shades of Surf, Ocean, Sky, and Flannel to stamp the details on the foiled Beachcombing Toner Foil image cards, then die cut them with the coordinating dies.

To keep the clear foiled background nice and clean, I arranged the sentiment strips and ocean die cuts over the top of the foiled panel before adhering it to my blended background. I adhered all of the die cut pieces to the acetate panel with dimensional foam squares, then flipped the panel over and added liquid adhesive behind the solid die cuts and placed it directly over the top of the blended background. Finally, I added a few sparkling Surf Pawsitively Dazzling Gems for added shimmer and shine!

Well, that’s all for my project today! The new Sunny Vibes release is available, and we will be hopping along this weekend to share tons of inspiration using the beautiful new products, so be sure to come back later this week! Thanks so much for stopping by today, and have a marvelous day!

Filed Under: simon says stamp Tagged With: beachcombing, decofoil, foil transfer cards, ink blending, ocean, pawsitively saturated, seashells, sunny vibes, toner foil

NEW Simon Says Stamp Sunny Vibes Release!

June 19, 2024

This post was sponsored by Simon Says Stamp. Thanks, Simon!

Hi friends! The new Simon Says Stamp Sunny Vibes release is now available, and it’s filled with absolutely stunning new goodies, from summery beach images to beautiful sentiments to gorgeous flower stamps and dies. I, of course, was particularly drawn to the beautiful new floral images, especially the new Divine Peony die. I am perpetually a sucker for peonies, and the beautiful layers and details on this new Divine Peony die set are so graceful and elegant that I just couldn’t resist customizing them with some alcohol marker coloring. Let’s get started with the details!

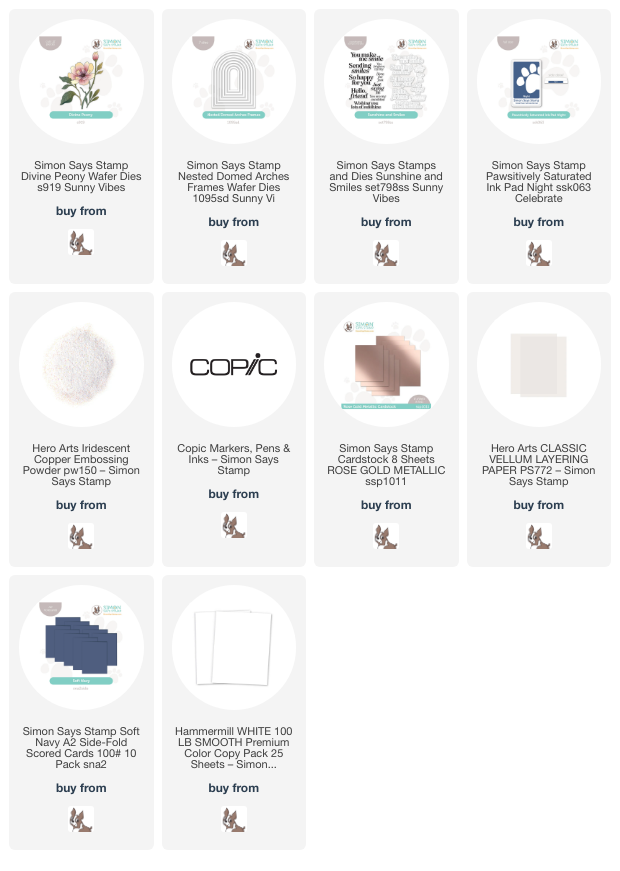
I began my project by die cutting the new Divine Peony die from Hammermill white cardstock. I then used various shades of Copic markers to color the peony bloom in a lovely warm peach tones, intensifying the vibrancy for the layers in the very back of the peony and following the debossed lines as guides for where to put extra shading and shadows. I used some warm sage greens for the foliage, keeping all of the colors very muted and delicate.

After I had finished assembling the colored peony die cuts, I blended some Night Pawsitively Saturated Ink onto one of the new Soft Navy ready made card bases. Having card bases already cut and scored makes the process super quick and easy! After I had blended a deeper navy “spotlight” on my background, I splattered some sparkly rose gold watercolors on the blended area. To continue my rose gold accents, I die cut a frame using the new Nested Domed Arches Frames from some of Simon Says Stamp’s gorgeous Metallic Rose Gold cardstock. This blush foil cardstock is so gorgeous and a very unique color amongst the shades of rose gold cardstock in my stash; truly, it’s a must-have, in my book anyway! I adhered the frame to my splattered and blended background using some liquid adhesive.

After I had adhered my shiny arch frame on to the card front, I heat embossed a greeting from the new Sunshine and Smiles sentiment set onto some vellum using Iridescent Copper embossing powder. The warm peachy tones in the embossed sentiment accent the rose gold frame and splatter beautifully and pick up the warm coppery tones in the colored peony flower! I popped up the peony with some foam squares, then tucked the greeting amongst the foliage with some thin strips of foam adhesive. Finally, I added a smattering of coordinating peachy gems for added sparkle!

Well, that’s all for my project today! The new Sunny Vibes release has so many exceptional new products; I can’t wait to share all that I’ve created with you! Be sure to stop back here later this week, as well, for the fabulous blog hop and its wealth of inspiration. Thanks so much for stopping by today, and have a marvelous day!

Filed Under: simon says stamp Tagged With: copic coloring, die cutting, divine peony, nested domed arches frames, sunny vibes, sunshine and smiles

Primary Sidebar

  • Facebook
  • Instagram
  • Pinterest
  • YouTube

Favorite Shops

Secondary Sidebar

Subscribe

Enter your email address to subscribe to this blog and receive notifications of new posts by email.

Instagram
Something is wrong.
Instagram token error.
Follow
Load More

Archives

Tags

3D embossing folder alcohol markers better press birthday birthday card blog hop card kit christmas christmas card christmas tag colored pencil copic copic coloring Daniel Smith die cutting embossing folder embroidery felt giveaway holiday holiday card hot foil ink blending karin brushmarker pro layered stencil masculine my monthly hero new release no line coloring no line watercolor OLO marker olo markers original illustration pawsitively saturated rainbow shaker card slimline stamping stamptember stencil thank you thinking of you valentine's day video watercolor

Popular Posts

Simon Says Stamp October 2026 Card Kit of the Month: Homespun Gratitude!
Honey Bee Stamps Cheerful Love Blog Hop!
Altenew Craft A Flower: Poppy Blog Hop+Giveaway!
Autumn Legs with Colorado Craft Company and Catherine Pooler!
Simon Says Stamp Cozy & Bright Inspiration, Part Two!
February 2018 My Monthly Hero Blog Hop!
The Ton Anniversary Release- Day 2
Sunflower Home Decor with Simon Says Stamp!
Hero Arts Spring 2020 Catalog Release Blog Hop+Giveaway!
Altenew Standalone Die Blog Hop+Giveaway!

Disclosure

Some affiliate links are used in my posts. This means that, should you click on one of my links and purchase something from that company, I will receive a small portion of the sale at no extra cost to you. I use the money earned from these sales to help maintain my blog. I so appreciate you visiting and, if you do choose to use one of my affiliate links, thank you so much for your support!
Copyright © 2026 ·Brunch Pro Theme · Genesis Framework by StudioPress · WordPress · Log in
Loading Comments...