• Skip to main content
  • Skip to primary sidebar
  • Skip to secondary sidebar

Sixth Street Sundries

Emily Midgett

  • Home
  • About Me
  • Contact
  • OLO Marker Color Swatch Chart
  • Shop

christmas ornament

Simon Says Stamp and Tim Holtz Special Surprise!!

September 3, 2025

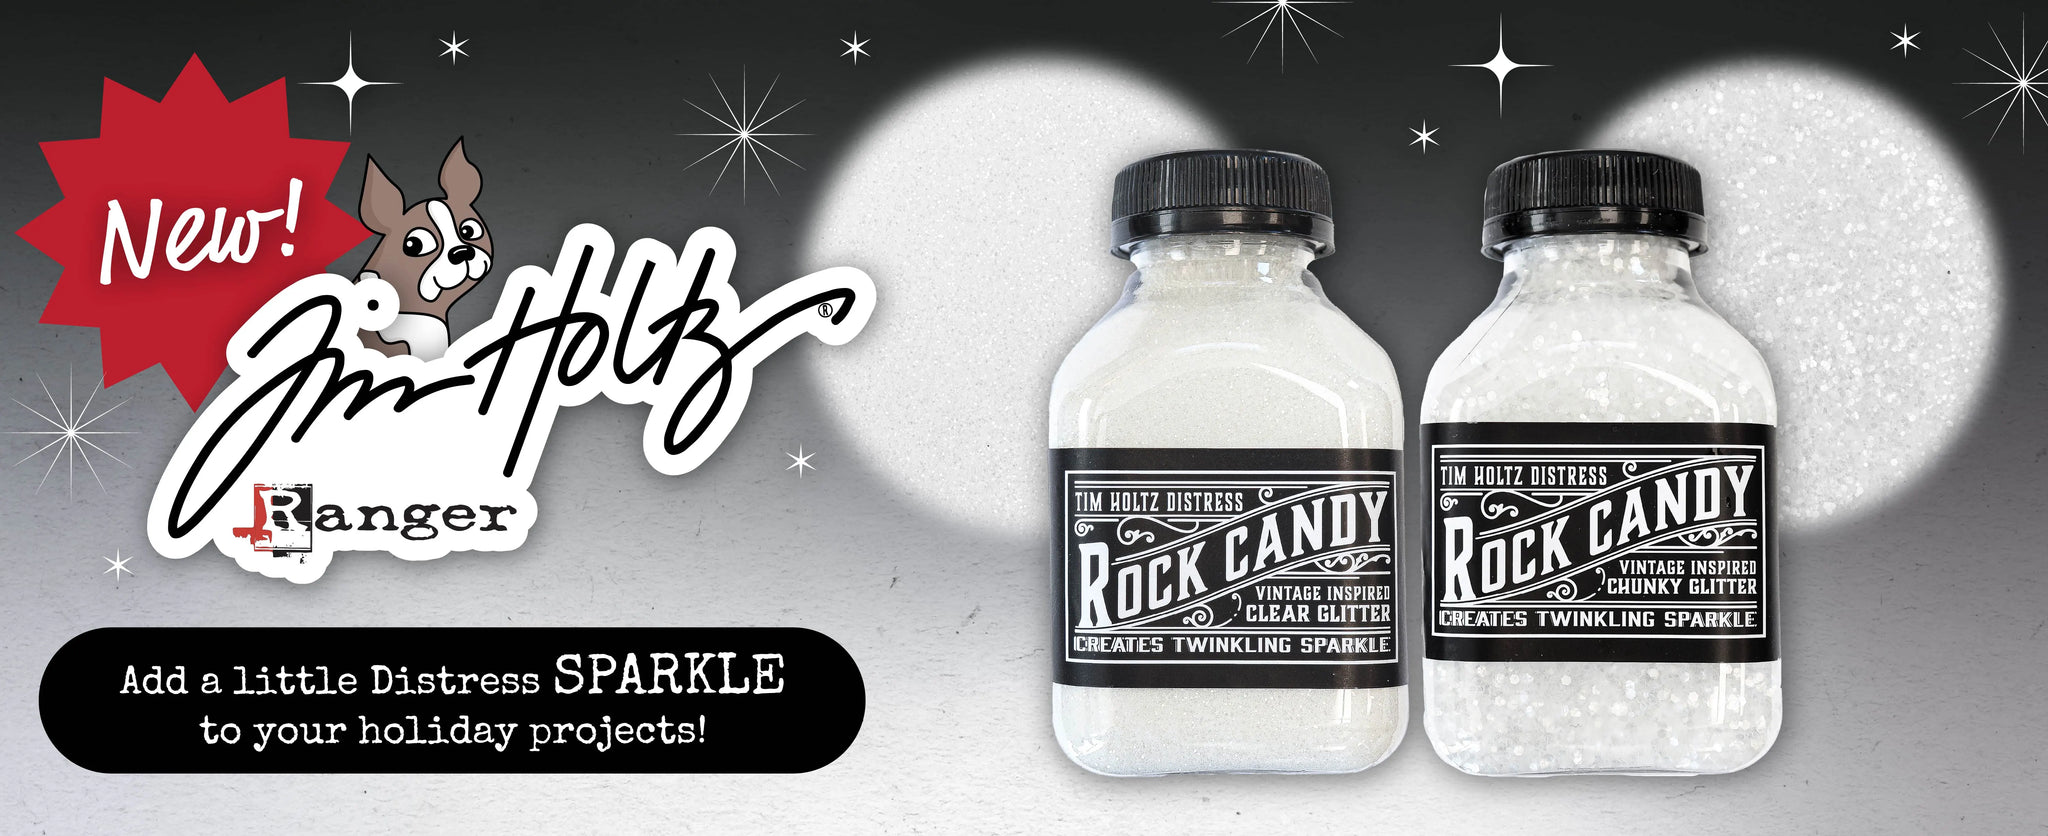
Hi friends! I’m popping in quickly to share some super sparkling news with you: Tim Holtz has released a special pair of glittering, limited edition Rock Candy products exclusively at Simon Says Stamp!! (Check out the release HERE!) The classic Rock Candy glitter adds exceptionally beautiful sparkle and shimmer to your projects, and what better way to use glitter than on Christmas ornaments, right? Not only are these glitters incredibly shimmery on their own, they are completely customizable with your favorite color of alcohol ink!! The versatility is crazy good!

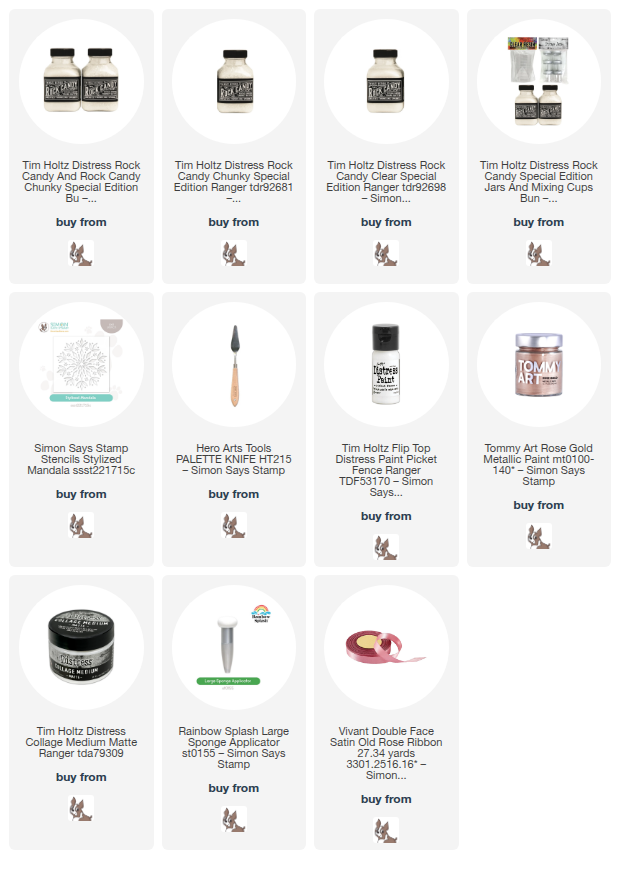
I created this icy, glittery, crazy sparkly ornament using some acrylic paint and the Stylized Mandala stencil. I simply painted a brown papier mâche ornament with white acrylic paint, allowed it to dry completely, then placed the Stylized Mandala stencil over the top and used a sponge dauber to add some metallic rose gold paint to perfectly match my white and rose gold Christmas tree! I was pressed for time, but I’d love to experiment with more colorful versions of this. How fun would it have been to do an ombré snowflake or have multiple colors radiating out from the center? I can’t wait to experiment more; those Rainbow Splash Sponge Daubers are perfect for creating a smooth transition for both paint and ink alike!!

Once my paint had dried completely, I used a palette knife to evenly spread Distress Collage Medium over the entire front of the ornament, then sprinkled both Rock Candy Glitter and Rock Candy Chunky Glitter on the wet medium. The sparkle is absolutely unreal… it looks like German glass glitter on vintage ornaments from my Grammy’s Christmas tree!

Once the medium had completely dried, the last step was to add a fluffy, color coordinated bow tied using some gorgeous ribbon from my stash and hot glued to the top of the ornament! So simple, but that glittery sparkle does not need much further embellishment!

Well, that’s all for my project today. If you love glitter and sparkle throughout the holiday season as much as I do, you won’t want to miss out on these limited edition, super-sized Rock Candy Glitter and Rock Candy Chunky Glitters, only available at Simon Says Stamp for a limited time! Thanks so much for stopping by today, and have a marvelous day!
Filed Under: simon says stamp, tim holtz Tagged With: acrylic paint, christmas ornament, distress collage medium matte, ornament, palette knife, stylized mandala, tim holtz

Felt Snowman Ornament Tag with Simon Says Stamp DieCember!

December 29, 2024

This post was sponsored by Simon Says Stamp. Thanks, Simon!

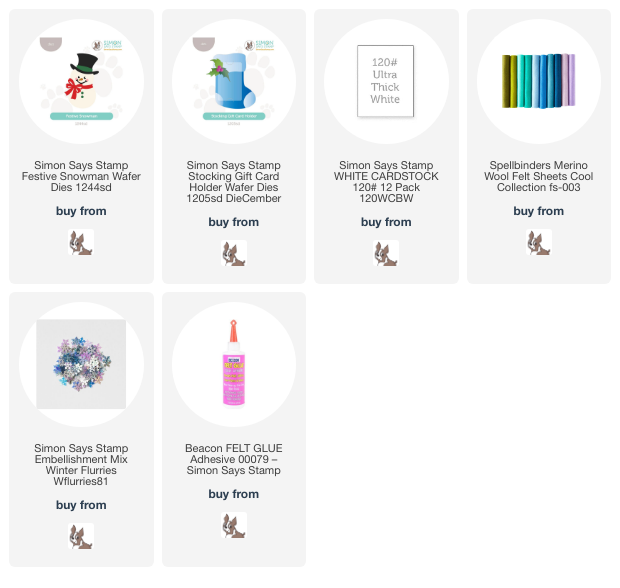
Hi friends! I have a sweet little winter project to share with you today using some new dies from Simon Says Stamp’s DieCember release, as well as my newest obsession: felt! I have been having such fun figuring out which standalone dies I can use to create sweet little felt tags, ornaments, and gifts. The absolutely adorable Festive Snowman die was towards the top of my list of products with which I wanted to play when I opened my DieCember package, because oh my gosh, how sweet is he with his fat little top hat and sweet smile?! Let’s get started with the details on my project!

*I have gathered links to all of the products used at the bottom of the post for your convenience, using affiliate links. Thank you for shopping with my links! I truly appreciate your support for my work!*

Now, the design of the Stocking Gift Card Holder is quite versatile. You can cut two different stocking pieces and adhere them together to create a pocket for a gift card, you can use the gift card slot dies to create a little spot to securely place your gift card, or you can use just the stocking imagery to create a focal point (or tag in this case) for your project! I began by die cutting the base of the stocking from blue felt, then die cut the top piece from white felt. I adhered the two pieces together with felt glue and placed a heavy glass paperweight over the top to keep things nice and flat while it dried.

I die cut the adorable little Festive Snowman die from some felt in the correct colors, adhering all of the pieces together alone using more felt glue before adhering it to the now-dry stocking. To embellish the stocking and to make it look like a cute little stocking from Pottery Barn, I decided to use needle and thread with some snowflake sequins and seed beads to add some sparkling snowflakes around the snowman. I have never really stitched before these last few weeks, and I am wondering why I didn’t jump on this bandwagon more quickly, because it’s super fun! After I had finished stitching the snowflakes, I added some pompom trim to the top of the stocking to help it look even more authentic. It would be so cute to stitch a name on the top to make it look truly authentic and personalized, but I am still working on the satin embroidery stitch, and so didn’t feel skilled enough to try it. Maybe next time!

To create the “tag” portion and add some extra stabilization to my gift tag/ornament, I die cut the stocking base one more time from some Simon Says Stamp Ultra Thick White Cardstock. Before adhering the stocking to the back of the felt, I used some more fabric glue to add a loop of white ribbon for a hanger. I adhered the sturdy cardstock backer with more felt glue and placed it again beneath the glass paperweight to dry nice and flat. I think this would make the perfect addition to a special Christmas gift, and then can be repurposed as a holiday ornament, as I have done in the photo above! So sweet, right?

Well, that’s all for my project today. We are in that weird time loop between Christmas and New Year’s around here, where nobody knows what day of the week it is and we are perpetually snacking on things that are not very healthy. I enjoy the fun and (mostly) relaxed atmosphere, but this momma is also craving some routine!! I am missing my craft room very much! Thanks so much for stopping by today, and happy holidays!

Filed Under: simon says stamp Tagged With: christmas card, christmas ornament, die cutting, felt, festive snowman, holiday card, ornament, snowman, stitching, tag

Monochromatic Winter Scenes with New DieCember from Simon Says Stamp!

December 4, 2024

This post was sponsored by Simon Says Stamp. Thanks, Simon!

Hi friends! I am back with another project using some goodies from the ultra-fabulous DieCember release from Simon Says Stamp. If you’ve visited my blog very much, you’ll know that bold color palettes and vibrant, color-saturated projects are my bread and butter. But, I also hold monochromatic white-on-white projects very closely to my heart. White-on-white is just so ethereal, so utterly elegant, so crisp and clean… it’s such fun to try to achieve as much dimension as possible with different levels of height, different textures, different elements of shimmer and shine. For my projects today, I wanted to use the marvelous new Woodland Treescape die set, which uses three different oval-shaped apertures layered atop one another to create exquisite depth and dimension of this wintry holiday scene. I used the layered oval dies as well as the individual accessory dies to create two different, sparkling projects. Let’s get started with the details!

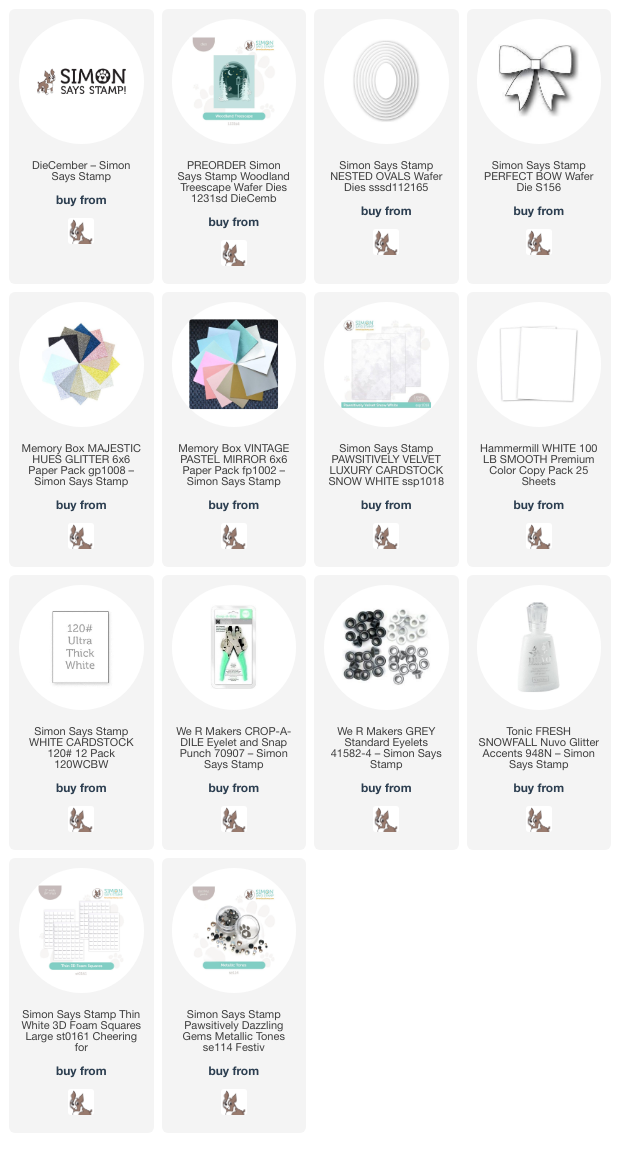
*I have gathered links to all of the products used at the bottom of the post for your convenience, using affiliate links. Thank you for shopping with my links! I truly appreciate your support for my work!*

The Woodland Treescape die set features three different oval aperture scenes that are intended to fit perfectly within an A2 card front, as well as individual image dies that work beautifully to enhance the winter scene! I wanted to take full advantage of all of the dies by creating a super detailed framed scene as well as a gift tag that can be turned into an ornament!

To create tons of dimension for both of my projects today, I put into practice my typical monochromatic techniques: texture, texture, and more texture! I love to use multiple types of “coated” cardstock to create dimension and add some distinction between the layers in addition to lots of foam adhesive. For these projects, I combined my typical white cardstock with white glitter cardstock, white pearlescent cardstock, and white velvet cardstock to create lots of different textures and tons of sparkle and shine!

For the tag/ornament, I began by die cutting two medium-sized ovals from the Nested Ovals die set using Simon Says Stamp White 120 lb Heavy Cardstock, layering them together with the scratched sides touching so that not only was the base of the ornament super sturdy, but the back of the ornament was nice and clean. I also die cut a frame using the same die plus the smaller nested die nestled inside it using white glitter cardstock to create a little framed vignette. Using the Woodland Treescape die set, I cut the individual tree dies from white pearl and white glitter cardstock, as well as the lamp post and snowflakes. I popped up the white glitter frame on the edge of the heavy tag stock oval base, then arranged the tree die and lamp die cuts within the frame using liquid and foam adhesive. To make sure that the tag/ornament would withstand being on a present before being added to the tree, I used my eyelet punch and a white eyelet on the punched hole. (I knew I kept that tool around for a reason! Everything comes back in fashion!) I added the snowflakes and Opal Pawsitively Dazzling Gems around the blank areas and some glittering snow using Nuvo Glitter Accents. Finally, I topped the entire thing off with an adorable Perfect Bow die cut from Pawsitively Velvet Snow Velvet cardstock.

How pretty would this be to put on a Christmas tree? I love when handmade tags serve a dual purpose, more than just decorations to be thrown away!

To create my framed scene, I reused the same basic techniques from the tag/ornament: multiple types of white texture, this time within a 5″ x 7″ canvas and lots and lots of foam adhesive! I die cut the elements of the Woodland Treescape die set using the same white glitter, pearlescent, and plain cardstock, cutting each layer from an A7 panel of cardstock. The oval aperture dies can be adapted to fit more than just an A2-sized card! I removed the glass from an inexpensive frame from my local dollar store and backed my A7 panel of white glitter cardstock with it, then arranged the oval die cuts atop it, laying down the first layer with only liquid adhesive, then the second layer with Thin Foam Adhesive Squares, finally adding the last layer with a double layer of Thin Foam Adhesive Squares to ensure many variations in height and distinction between the layers.

After I had layered the large die cuts, I used the same white glitter and pearl cardstock with the individual tree and snowflake dies to add some extra details and fill in some of the blank spots created by using the larger A7 size. I adhered all of the pieces with liquid and foam adhesive, then added some more Opal gems to create a snowy effect. Finally, I added some more white glitter “snow” with the Nuvo Glitter Accents, enhancing the snow drift layers and adding some snow to the tree branches. After the glitter glue was dried, I placed the glass-backed panel inside my frame, allowing the thick layers of foam adhesive to create tons of dimension and depth on my monochromatic winter scene. I am just so in love with this die set… it’s so incredibly elegant and can be used in so many different ways with all of the different components!!

Well, that’s all for my projects today! I know that this Woodland Treescape die set is currently being sold on preorder, so don’t be discouraged that it’s not currently in stock. It seems that I was not the only person who fell in love with this set from DieCember. When you preorder an item, you are guaranteed to be shipped one as soon as the restock arrives at the Simon warehouse. This die set would work beautifully for winter cards beyond Christmas, so don’t miss out on this one! Thanks so much for stopping by today, and happy DieCember!

Filed Under: simon says stamp Tagged With: christmas card, christmas ornament, christmas tag, die cutting, diecember, eyelet, framed scene, holiday card, monochromatic, nested ovals, perfect bow, picture frame, snow, tag, white, woodland treescape

Primary Sidebar

  • Facebook
  • Instagram
  • Pinterest
  • YouTube

Favorite Shops

Secondary Sidebar

Subscribe

Enter your email address to subscribe to this blog and receive notifications of new posts by email.

Instagram
Something is wrong.
Instagram token error.
Follow
Load More

Archives

Tags

3D embossing folder alcohol markers better press birthday birthday card blog hop card kit christmas christmas card christmas tag colored pencil copic copic coloring Daniel Smith die cutting embossing folder embroidery felt giveaway holiday holiday card hot foil ink blending karin brushmarker pro layered stencil masculine my monthly hero new release no line coloring no line watercolor OLO marker olo markers original illustration pawsitively saturated rainbow shaker card slimline stamping stamptember stencil thank you thinking of you valentine's day video watercolor

Popular Posts

Simon Says Stamp Sending Cheer Release: Now Available!
Joyful Snowman with New Simon Says Stamp Sending Cheer Release!
Autumn Legs with Colorado Craft Company and Catherine Pooler!
February 2018 My Monthly Hero Blog Hop!
Altenew Paint A Flower: Carnation Blog Hop+Giveaway!
Altenew March 2020 Release Blog Hop+Giveaway!
Special Release: Simon Says Stamp Limited Edition STAMPtember Christmas Card Kit!
Pinkfresh Studio 5th Birthday!
Pinkfresh Studios June Washi and Stamp Release Blog Hop!
Studio Katia September Release Blog Hop!

Disclosure

Some affiliate links are used in my posts. This means that, should you click on one of my links and purchase something from that company, I will receive a small portion of the sale at no extra cost to you. I use the money earned from these sales to help maintain my blog. I so appreciate you visiting and, if you do choose to use one of my affiliate links, thank you so much for your support!
Copyright © 2026 ·Brunch Pro Theme · Genesis Framework by StudioPress · WordPress · Log in
Loading Comments...