• Skip to main content
  • Skip to primary sidebar
  • Skip to secondary sidebar

Sixth Street Sundries

Emily Midgett

  • Home
  • About Me
  • Contact
  • OLO Marker Color Swatch Chart
  • Shop

orange blossom blessing

Blushy Wedding Card Duo with Orange Blossom Blessing from Simon Says Stamp!

April 30, 2026

This post was sponsored by Simon Says Stamp. Thanks, Simon! *I have gathered links to all of the products used at the bottom of the post for your convenience, using affiliate links at no extra cost to you. Thank you for shopping with my links! I truly appreciate your support for my work!*

Hi friends! My love affair/obsession continues with the blushy peach Apricot cardstock from Simon Says Stamp… I am so inspired by such a beautiful shade, the epitome of springtime in my eyes! I couldn’t resist pairing it with an older set that I illustrated for Simon Says Stamp, called Orange Blossom Blessing. I illustrated this set to have two generously sized floral bouquets with orange blossoms and foliage, but I also wanted to make sure that there were plenty of individual options for bouquet building and accents. I created two different cards using just the individual stamps and some die cut accents. Let’s get started with the details on my projects!

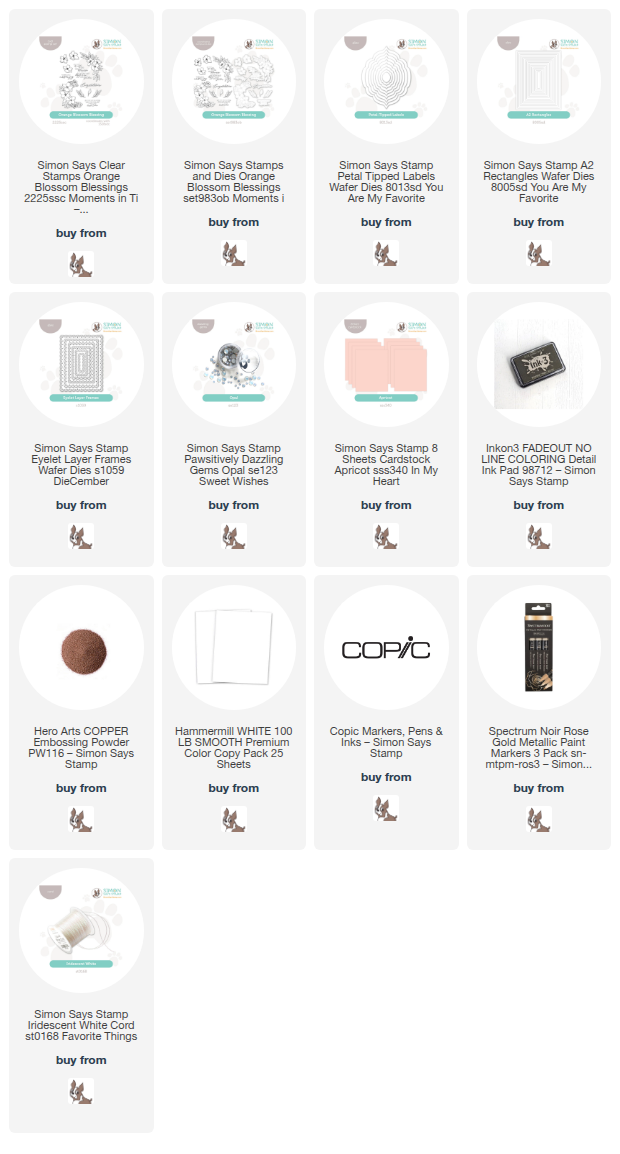
As I said earlier, the Apricot cardstock from the  In My Heart release, (click HERE to see the entire new release!) has quickly become a favorite of mine, so I used that shade as the basis for both of my projects, selecting some beautiful blushy coordinating alcohol markers. Using the individual flower and foliage stamps from Orange Blossom Blessing, I stamped a custom background pattern on an A2 panel of white cardstock using no-line coloring ink, as well as several individual images on a separate panel of white cardstock.

For the first project, I created a custom background pattern by stamping flowers all over the panel of white A2 cardstock, rotating the stamps and the cardstock each time to create a fluid and continuous pattern. I filled in the open spots with the individual foliage stamps, trying to keep things from looking repetitive. After I had colored all of the images with the alcohol markers, I used a rose gold opaque metallic paint pen to add the stamens to the centers of each flower. I love how that touch of metallic marker adds a subtle shimmer to the panel!

Because I had spent a bit of time coloring the card front, I didn’t want to cover it any more than necessary, so I stamped a simple “congratulations” from Orange Blossom Blessing onto some white cardstock and heat embossed it with Copper embossing powder to coordinate with the metallic flower centers. I die cut the sentiment with its coordinating die, and also die cut a vellum Petal Tipped Labels die upon which I could mount the sentiment. I popped it up with some thin foam adhesive squares, then added some more thin foam adhesive behind the solid die cut to hide it and mounted it on the corner of the horizontal card front. I also added a thin white frame cut using the A2 Rectangles, which I adhered around the edge of the card front with liquid adhesive. A thin white silk bow and some Opal Pawsitively Dazzling Gems finished the card off!

For my second card, I used the individual floral images to accent the larger sentiment from the Orange Blossom Blessing set. After coloring the flowers using the same color palette as the first project, I die cut the individual images with their coordinating dies, as well as the embossed wedding blessing sentiment, which I heat embossed in white on vellum cardstock. I think that it looks so dainty, but still so generously sized that it can be a focal point on the card!

I also die cut one of the Eyelet Layer Frames, cutting out the center with one of the A2 Rectangle dies, creating a neat frame with beautiful details! I popped up the frame using foam adhesive on a panel of my beloved Apricot cardstock, centering the frame on the A2 card front. I added some clear dimensional adhesive behind the vellum greeting and placed it in the center of the frame, then tucked the individual flower and foliage die cuts around the sentiment, creating a delicate floral swag around the greeting. Finally, I added a few Opal Pawsitively Dazzling Gems and an Iridescent White Cord bow for a bit of added texture!

Well, that’s all for my projects today! I just love when a color sparks an entire card set like this gorgeous Apricot cardstock. Are any of you planning to attend the CREATE event in Columbus, Ohio? If so, I will be teaching at a Create It, Take It booth, so I’d love it if you stopped by and said hi!! Thanks so much for stopping by today, and have a marvelous day!
Filed Under: simon says stamp Tagged With: anniversary card, die cutting, eyelet layer frames, no line coloring, orange blossom blessing, petal tipped labels, wedding card

Orange Blossom Blessing Embroidered Gift with New Simon Says Stamp!

June 5, 2025

This post was sponsored by Simon Says Stamp. Thanks, Simon!

Hi friends! I am always looking for new ways to incorporate my illustrations into other art forms, and I’ve been loving playing with embroidery lately. I used needle and thread on THIS project to create a pretty little meadow scene, but I thought I would play with the individual images in my new Orange Blossom Blessing stamp set to create a tiny embroidered piece, perfect for a small-but-meaningful gift to a friend. Let’s get started with the details on my project!

*I have gathered links to all of the products used at the bottom of the post for your convenience, using affiliate links. Thank you for shopping with my links! I truly appreciate your support for my work!*

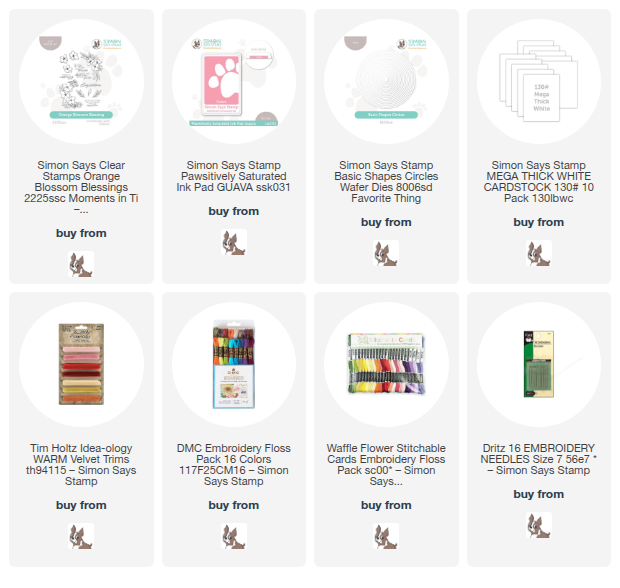
I started by selecting a piece of blush colored fabric from my stash. I’ve slowly been adding remnants of fabric to my stash, scouring clearance sections for fabric that has a tightly woven texture and would make a lovely canvas for detailed floral work without overpowering the images. Because I don’t need huge pieces of fabric, (as one would to create a shirt or dress) I can shop the clearance remnants for a fraction of the cost! I trimmed the fabric down to fit my 4″ embroidery hoop, then used Guava ink to stamp two of the individual blooms and several pieces of foliage from my new Orange Blossom Blessing stamp set in the center of my hoop, creating a delicate floral bouquet. Because I am going to be embroidering over the top of the stamped lines, it doesn’t really matter if the images overlap, because you won’t see the stamped lines anyway!

After I had stamped my images, I selected several different shades of watermelon pink for my florals as well as some lovely teal and turquoise for the foliage. I love the contrast of the somewhat tone-on-tone flowers surrounded by the vibrant, jewel-toned leaves! I used a sharp needle to enhance those extra fine details and create smooth finished images, then added some metallic bronze stamens adorned with metallic bronze beads to the finished embroidery. I cleaned up the edges of the fabric and hot glued them around the back. To cover up the messy area on the back of my embroidery, I die cut some Simon Says Stamp 130 lb Mega Thick White Cardstock with an appropriately-sized Basic Shapes Circle Die and used my hot glue gun to adhere it to the back of the hoop. Finally, I added a velvet bow with my hot glue gun to complete this super feminine project!

Well, that’s all for my project today! Do you enjoy other crafts besides stamping? I love when I can combine my stamps with other mediums to create extra special projects! Thanks so much for stopping by today, and have a marvelous day!

Filed Under: simon says stamp Tagged With: embroidery, embroidery hoop, gift, orange blossom blessing, stitching

Simon Says Stamp Moments In Time Release Blog Hop- Day 2!

May 31, 2025

This post was sponsored by Simon Says Stamp. Thanks, Simon!

Hi friends! I am hopping along with my friends at Simon Says Stamp to celebrate their newest release: Moments in Time! You should have arrived here from Debby Hughes and your next stop is Yana Smakula. You can also start back at the beginning at the Simon Says Stamp Blog in case you get lost. I am always over the moon excited when one of my illustrations are released, and this one is extra special to me. My husband and I got married 16 years ago this June, and one of the cards that we received with a wedding gift had the sentiment “May your troubles be less, and your blessings be more, and nothing but happiness come through your door.” It made such an impact on me that I still remember it (so many) years later, and so when I was designing Orange Blossom Blessings, I absolutely had to include it with the sentiments for this wedding-themed set. We are past the wedding phase of our mid-20’s now, but we do have a wedding coming up this summer for a friend of my husband’s, so I took the opportunity to use Orange Blossom Blessings to create a wedding gift and card. Let’s get started with the details!

*I have gathered links to all of the products used at the bottom of the post for your convenience, using affiliate links. Thank you for shopping with my links! I truly appreciate your support for my work!*

I’ve been doing some organizing and cleaning in my craft room closet; my mom was living in my craft house for six months while she recuperated from a nasty car accident, so while I was helping to care for her, my office organization was sorely neglected. She went home a couple of weeks ago, so as I have been slowly trying to get my office back under control, and I found these papier machê ornaments that I purchased long ago to embellish. I thought they’d look gorgeous with orange blossoms painted on to create a keepsake ornament for the bride and groom, and of course I had to make a coordinating card!

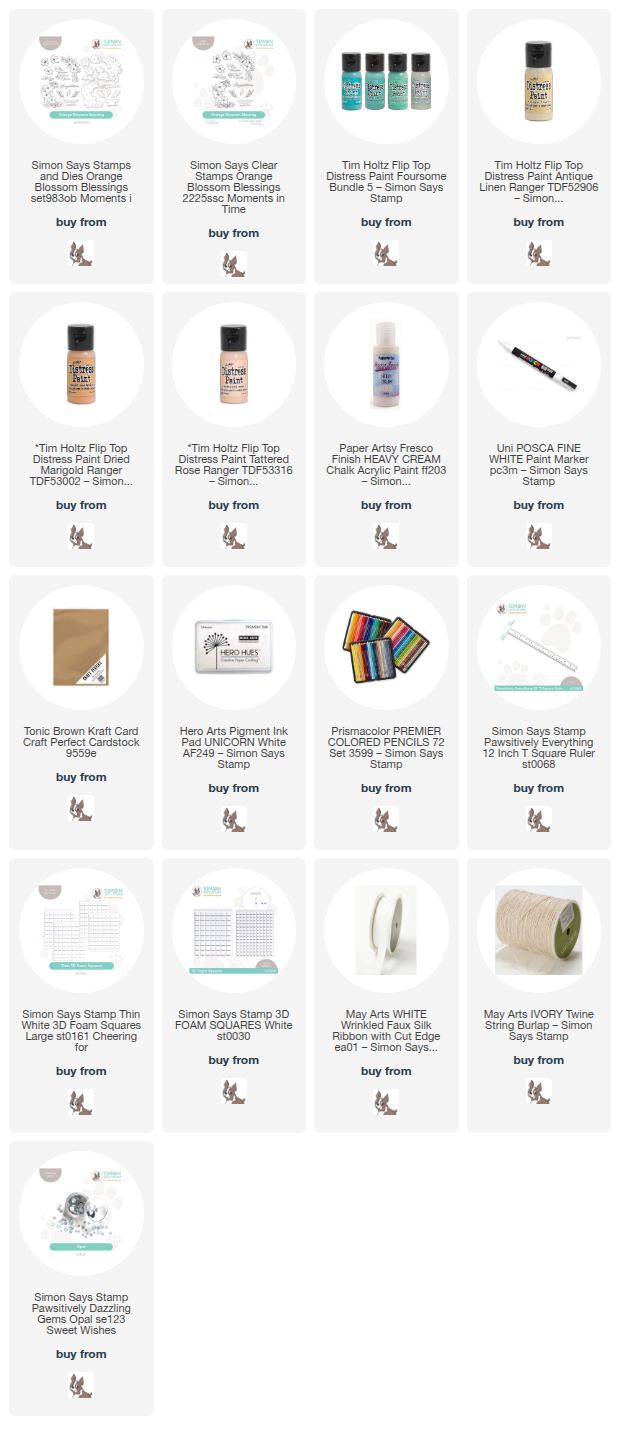
I stamped one of the floral swags directly onto the papier machê ornament using Simon Says Stamp White Pigment Ink Pad and pulled out my acrylic paints in shades of peach, buttery yellow, and muted teal to add some color to the ornament. I have not really worked with acrylic paints before, though I have a fairly extensive collection (ha) so it was a bit of a learning experience for me, but I am thrilled with the results. I can’t wait to play with them even more! I kept the colors light and bright, creating a lovely contrast between the mid-brown background from the pastel blooms. After I had finished painting the flowers, I used a white paint pen to add a “Mr. & Mrs.” to commemorate the bride and groom’s special day! Once I had completed the ornament, I added a white bow to the top with my glue gun. I hope the happy couple love it!

To create the coordinating card, I stamped some more of the blooms from Orange Blossom Blessings onto an A7 panel of Kraft Cardstock using the Simon Says Stamp White Pigment Ink Pad. I love working with colored pencils on colorful (even brown) cardstock; I think that the seamless pop of color on the background is so unique and lovely! I stamped the orange blossom swag in one corner, then rotated my cardstock in my MISTI to stamp the same swag in the opposite corner. I also stamped a few individual blooms and foliage on a separate panel of Kraft cardstock. I used my colored pencils to add vibrant color to each of the images, die cutting the individual images once colored. I also used the Simon Says Stamp T-square Ruler to create a frame around the edges of the card front, drawing the eye to the center of the card. I love using this trick to create a bit smaller visual canvas for my focal point!

After I had finished coloring and die cutting the floral images, I used white pigment ink with embossing powder to stamp my favorite sentiment from Orange Blossom Blessings on some more Kraft cardstock. I used the coordinating die to cut the greeting out, then adhered it to the card front with foam adhesive. I tucked the individual flowers next to the die cut sentiment with some thin foam adhesive squares. I tied a double twine bow and adhered it beneath the floral accents, finally adding a few Opal Pawsitively Dazzling Gems for some sparkle!

Well, that’s all for my projects today. Now for some fun giveaway and freebie information!

Simon Says Stamp is giving away a $25 coupon to every stop on the hop, selected from each blog comment section. Winners will be selected and posted on the Simon Says Stamp blog on Wednesday the 4th of June. All winners can email Simon Says Stamp to claim his/her prize!

Simon Says Stamp is also offering a sweet freebie for blog hoppers! Simply make any purchase from the Moments in Time collection to receive the to-be-released Best Fishes stamp set totally free!

Your next stop on the hop is Yana Smakula. Thanks so much for stopping by today, and happy hopping!

Filed Under: simon says stamp Tagged With: acrylic paint, colored pencil, distress paint, kraft, orange blossom blessing, ornament, wedding card, wedding gift

Primary Sidebar

  • Facebook
  • Instagram
  • Pinterest
  • YouTube

Favorite Shops

Secondary Sidebar

Subscribe

Enter your email address to subscribe to this blog and receive notifications of new posts by email.

Instagram
Something is wrong.
Instagram token error.
Follow
Load More

Archives

Tags

3D embossing folder alcohol markers better press birthday birthday card blog hop card kit christmas christmas card christmas tag colored pencil copic copic coloring Daniel Smith die cutting embossing folder embroidery felt giveaway holiday holiday card hot foil ink blending karin brushmarker pro layered stencil masculine my monthly hero new release no line coloring no line watercolor OLO marker olo markers original illustration pawsitively saturated rainbow shaker card slimline stamping stamptember stencil thank you thinking of you valentine's day video watercolor

Popular Posts

Simon Says Stamp Joy For You Blog Hop- Day 1!
Simon Says Stamp Joy For You Release-Now Available!
Frozen Fractals All Around with New Simon Says Stamp Joy For You Release!
Shaped Holiday Shaker Card with New Simon Says Stamp Jolly Season Card Kit of the Month!
Holiday Postage with New Simon Says Stamp!
Simon Says Stamp Glory to the Newborn King Holiday Kit-Part II!
Altenew Build A Flower: Fuchsia Blog Hop+Giveway!
Holiday Joy in Pink and Green with New Simon Says Stamp DieCember!
Pinkfresh Studio 5th Birthday!
Honey Bee Stamps September Release Blog Hop!

Disclosure

Some affiliate links are used in my posts. This means that, should you click on one of my links and purchase something from that company, I will receive a small portion of the sale at no extra cost to you. I use the money earned from these sales to help maintain my blog. I so appreciate you visiting and, if you do choose to use one of my affiliate links, thank you so much for your support!
Copyright © 2026 ·Brunch Pro Theme · Genesis Framework by StudioPress · WordPress · Log in
Loading Comments...