This post was sponsored by Simon Says Stamp. Thanks, Simon!
Hi friends! I have a sweet and icy card to share with you today based on a card that I made a loooong time ago using my Cricut (how’s that for a throwback?), with a shabby chic snowman and a peaceful aqua background. I found that card recently, because I liked it so much that I didn’t end up sending it out, ha, and as soon as I saw Arthur the Snowman from the Festive Fun release, I knew that I wanted to recreate it with a few little twists to update it and make it more my current style. Let’s get started with the details on my project!
*I have gathered links to all of the products used at the bottom of the post for your convenience, using affiliate links. Thank you for shopping with my links! I truly appreciate your support for my work!*

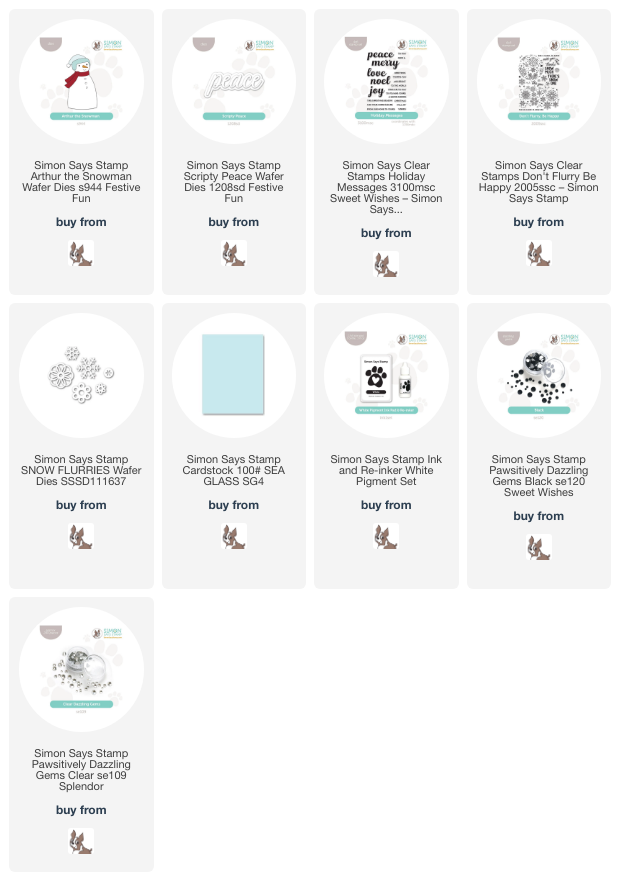
I began my card by die cutting Arthur the Snowman from some pearlescent white cardstock. I love using specialty cardstock with things like snowmen and snowflakes, because I think it increases the magical icy feel and just as a general rule makes the card more luxurious and upscale. I die cut his hat and scarf from some plain white cardstock and used my OLO markers to color the images in a pale shade of icy blue. I also used OLO markers to color the details on his eyes and nose and added some Black Pawsitively Dazzling Gems for his coal buttons.

For the background, I used the beautiful snowflake images from the older Don’t Flurry, Be Happy stamp set, stamping them on the top right side of my Sea Glass card front using Simon Says Stamp White Pigment ink. I also used a blending brush dedicated solely for use with white pigment ink, to blend around the edges near the stamped snowflakes. I think the combination of stamped snowflakes and frosted edges make it look almost like a blizzard! In order to ground my snowman, I trimmed some strips of white pearl and white glitter cardstock and adhered them to my stamped and blended card front, then added Arthur over the top with some foam adhesive squares. For some added sparkle and shine, I used some sparkling white glitter paper to die cut a few tiny snowflakes using the Snow Flurries dies. I adhered them to the card front with liquid adhesive, then added some Clear Pawsitively Dazzling Gems in the centers and a smattering around the background.

To create the greeting, I die cut the Scripty Peace die from some more white glitter cardstock, enhancing it with some sentiment strips from Holiday Messages, which I heat embossed in white on the same Sea Glass cardstock. I nestled the Peace sentiment die cut next to Arthur, then added the sentiment strips beneath, tucking them in the corner of the sentiment and Arther’s tummy. The different textures of the pearlescent white snowman and the sparkling white glitter sentiment keep the limited color palette from becoming boring and keeps the two white pieces from blending into each other.
Well, that’s all for my project today! I love having the opportunity to reimagine an older project that I loved using some new techniques and products. Inspiration is everywhere! Thanks so much for stopping by today, and have a marvelous day!