This post was sponsored by Simon Says Stamp. Thanks, Simon!
Hi friends! We are past Halloween, and while Thanksgiving is our next holiday, many cardmakers are in full holiday cardmaking mode! The last year or so has added some felt and embroidery techniques into my holiday crafting repertoire; I so enjoy being able to use my papercrafting supplies to make unique handmade gifts out of felt and cloth that make the recipient feel really special. (At least, I hope they do!) With each new release, I find myself examining the dies and stamps to see which products I can pair with felt and/or embroidery to create those meaningful gifts that will last beyond this single holiday season. The gorgeous details on the newer Frosty Nordic Tree die coupled with the fact that each layer of the tree is separate makes it the perfect die to use in a variety of ways and with a variety of mediums. Let’s get started on the details for my gift set!
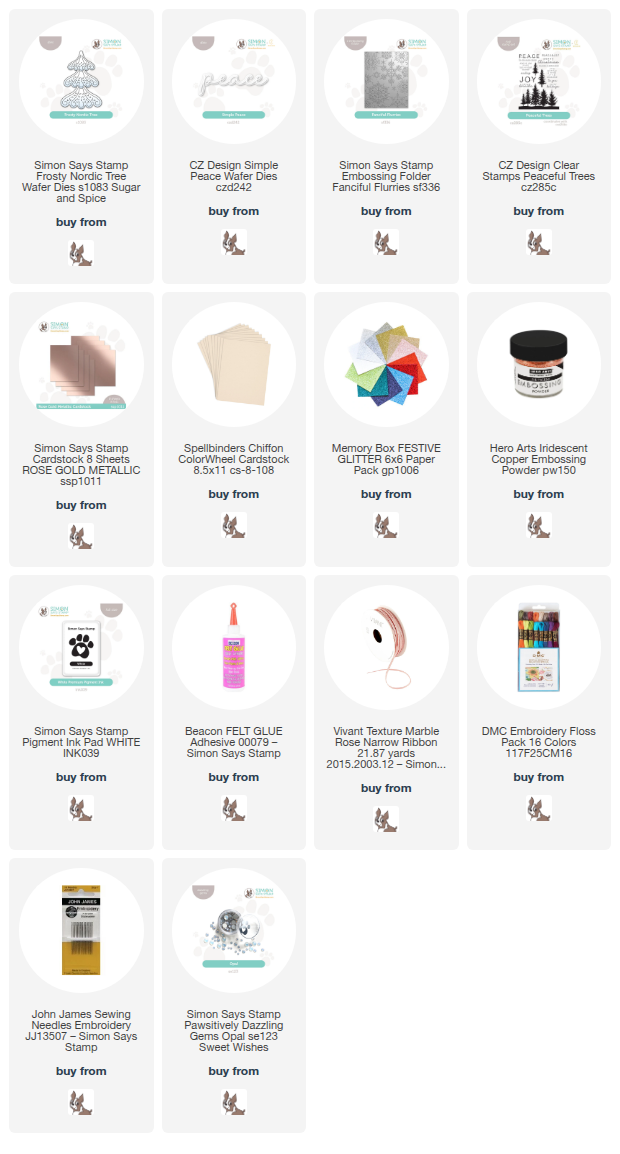
*I have gathered links to all of the products used at the bottom of the post for your convenience, using affiliate links. Thank you for shopping with my links! I truly appreciate your support for my work!*

As you all know, I can’t get enough of unique, non-traditional color palettes for the holidays, and rose gold is such an exquisitely feminine way to bring in that festive holiday shine. I found some rose gold metallic felt in my stash, along with some lovely printed snowflake fabric, and used those as the basis for my felt project, which in turn became the inspiration for the matching card. I love that the Frosty Nordic Tree die set comes in three individual dies, making it possible for you to use them in a variety of ways! While the original intention of the dies is to layer one complete die cut above another, I used die cut each layer of the tree individually, then used the die for the layer above to cut off the top of the die cut. This results in a die cut with the perfect spot into which the above die cut can snuggle neatly, creating a seamless, flat image!

Once I had adhered the felt die cut tree onto the center of my fabric in the embroidery hoop using felt glue, I used a pen to draw some flourishes around it, which I then embroidered with a satin stitch using coordinating embroidery floss. I added some Opal Pawsitively Dazzling Gems as well as a coordinating blush bow for a tree topper. For some final sparkling touches, I added a few sequins and seed beads to create “berries”! Wouldn’t this be so pretty as an ornament on a Christmas tree?

Inspired by my felt project, I decided to pair the Frosty Nordic Tree dies with one of my favorite cardstocks from Simon Says Stamp: Metallic Rose foil cardstock. Again, I took advantage of the fact that each layer of the tree is an individual die in order to create a trio of trees that are different heights and shapes. I die cut one tree as intended, with three different-sized layers, then die cut a short and squat tree with just the top two layers, then cut one tall and slim tree with only the smallest die! I adhered the layers for each tree with dots of liquid adhesive and set them aside.

Behind the trees, I wanted to create an elegant, snowy backdrop, so ran a panel of blush colored cardstock through my die cutting machine using the Fanciful Flakes Embossing Folder. I swiped the Simon Says Stamp White Pigment Ink Pad over the raised areas, adding a touch of definition to the textured snowflakes, then splattered the background with iridescent metallic watercolors. After this had dried, I mounted the textured panel in the center of a full size A2 card front, creating a white frame around the background. I arranged the trees in a trio, adhering them with liquid and foam adhesive in varying heights, then added a Simple Peace die cut for the greeting, enhanced with some embossed sentiment strips from the Peaceful Trees stamp set. Finally, I added one last touch of sparkle with some Opal Pawsitively Dazzling Gems!
Well, that’s all for my projects today! My husband’s birthday is at the end of this month and gets a little grumpy about putting up holiday decorations too early, so I will have to content myself with holiday spirit in my craft room! Have you started making your holiday cards yet? We’re getting ever closer to that big day!! Thanks so much for stopping by today, and have a marvelous day!