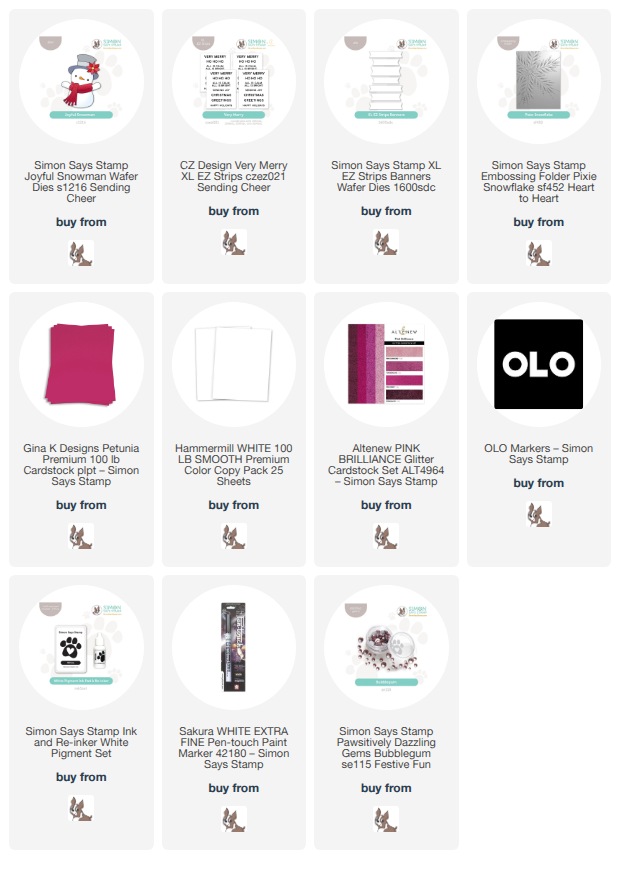
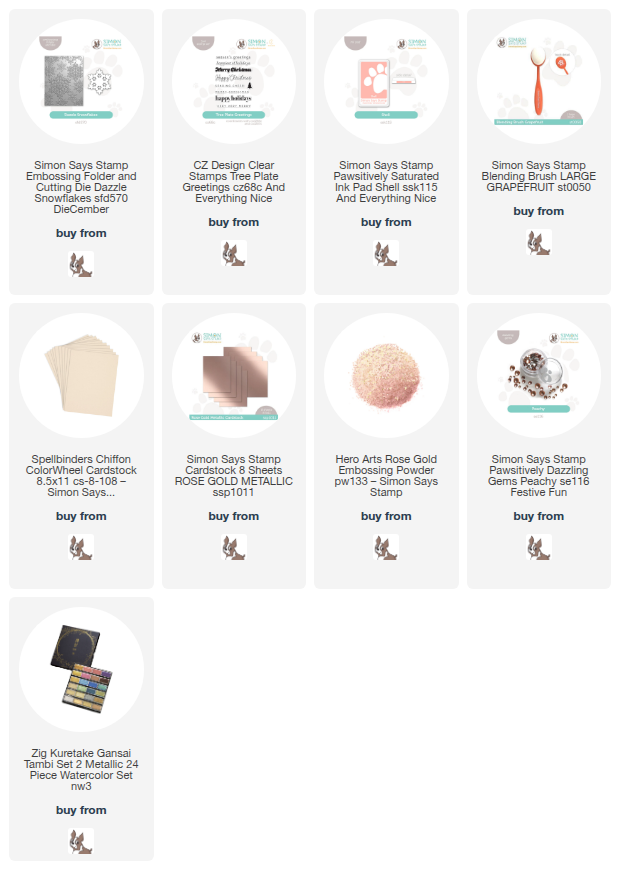
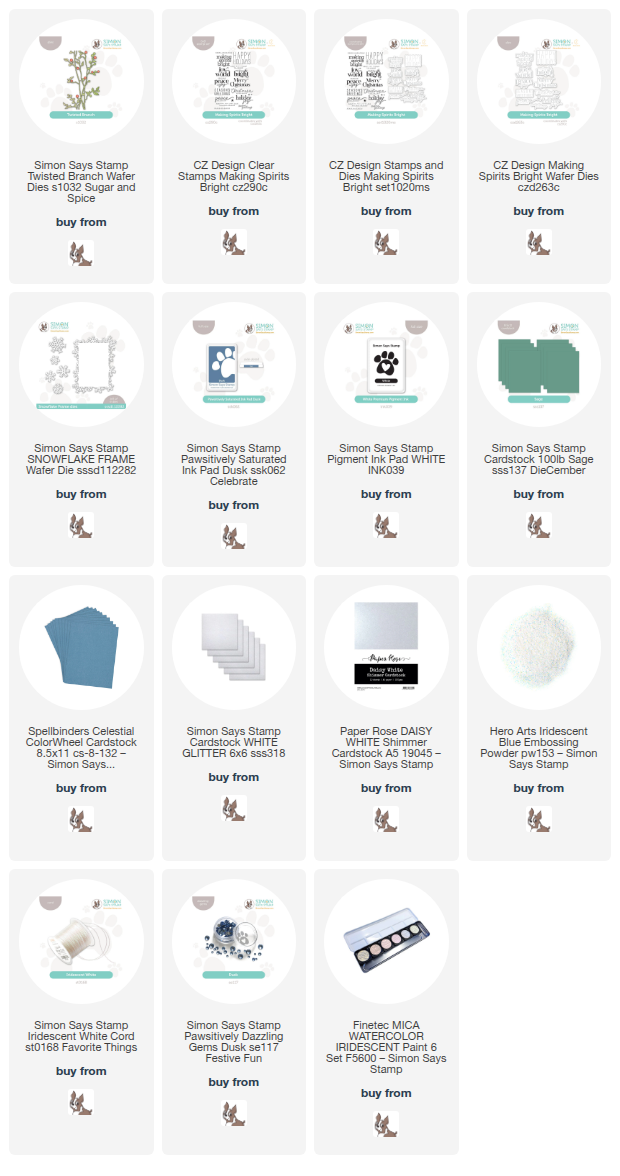
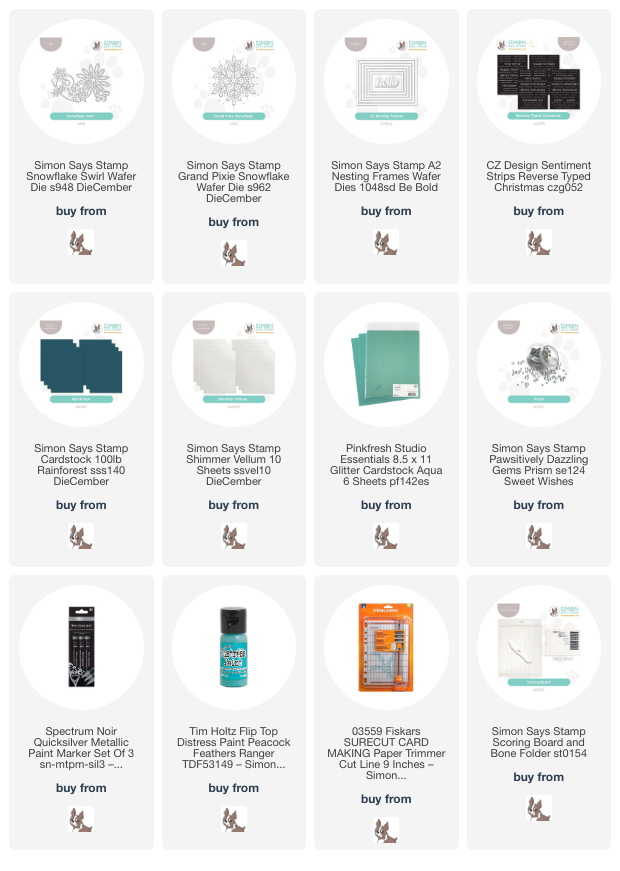
This post was sponsored by Simon Says Stamp. Thanks, Simon! *I have gathered links to all of the products used at the bottom of the post for your convenience, using affiliate links at no extra cost to you. Thank you for shopping with my links! I truly appreciate your support for my work!*
Hi friends! I am back today with some more inspiration using the new Simon Says Stamp Sending Cheer release (click HERE to see everything!). Yesterday’s project featured all things fall with a color saturated Sweater Weather theme, but today I’m switching gears with this delightfully pink snowman project! Simon Says Stamp has tons of incredible snowman dies, and I think the new Joyful Snowman might just be my favorite! From the stitched scarf to the sweet top hat to the chubby little arms, I am just in love with how perfectly proportioned and accessorized he is. Let’s get started on the details for my project!

To begin, I die cut the components of the new Joyful Snowman die set from plain white cardstock. I then used OLO Markers to add some subtle blue shadows to the arms, head, and body, and added vibrant magenta and deep black to the scarf, hat, flower, and hat band. I am so, so happy with how this came out! After I had colored all of the pieces, I assembled everything with liquid glue and thin foam adhesive squares and set the little snowman aside to dry.

For the background, I wanted to keep things relatively simple to allow my snowman to still be the star of the show, but I also wanted some wintry texture, so I selected the exquisite Pixie Snowflake embossing folder. This extra large snowflake added delicate texture to my deep magenta card front, and I enhanced the texture with some swipes of white pigment ink on the raised areas. I also added some dots with my white paint pen, creating lovely and delicate accents to this beautiful snowflake image.

For the greeting, I used my guillotine trimmer to cut the “sending joy” from the new Very Merry XL EZ Strips sentiment card set (you could easily use one of the handy dandy XL EZ Strips dies, but I was rushing and didn’t want to take the time to locate mine! Trimmers still work, just not as nicely as the coordinating dies!) I trimmed the strip out, then trimmed a slightly wider strip of coordinating pink glitter cardstock. I flagged the end of my sentiment strip with my scissors, adhered it to the pink strip, then flagged the ends of the glitter strip. I adhered both pieces to the snowflake card front with foam adhesive, then placed the snowman on top of the senitment strip, tucking the greeting just below his arm! Finally, I added a few Bubblegum Pawsitively Dazzling Gems for additional sparkle and texture.
Well, that’s all for my project today! My brain is whirling with ideas for this sweet little snowman. A project for another day, I guess! Don’t forget about the Sending Cheer Blog Hop taking place over on the Simon Says Stamp Blog. You can be inspired, find out about the freebie, and enter to win a gift card at each stop! (Click HERE to start at the beginning!) Thanks so much for stopping by today, and have a marvelous day!