• Skip to main content
  • Skip to primary sidebar
  • Skip to secondary sidebar

Sixth Street Sundries

Emily Midgett

  • Home
  • About Me
  • Contact
  • OLO Marker Color Swatch Chart
  • Shop

video

Neat and Tangled Birthday Blog Hop!

August 8, 2018

Good morning! I am so excited to be taking part in this fun blog hop for the Neat and Tangled 6th Birthday celebration! You should have arrived here from the Neat and Tangled blog, and your next stop for today is Nina-Marie Trapani’s blog. Danielle from Neat and Tangled has released some really darling products this month, including some super versatile and incredibly useful standalone dies, as well as the gorgeous florals that are my focus today. All of the new Neat and Tangled products that I used today are now available for purchase!! I have created a shaker tag (with video!) and a card using the new products for today’s post, so let’s get started with the details!

(You can watch the video in HD here.)

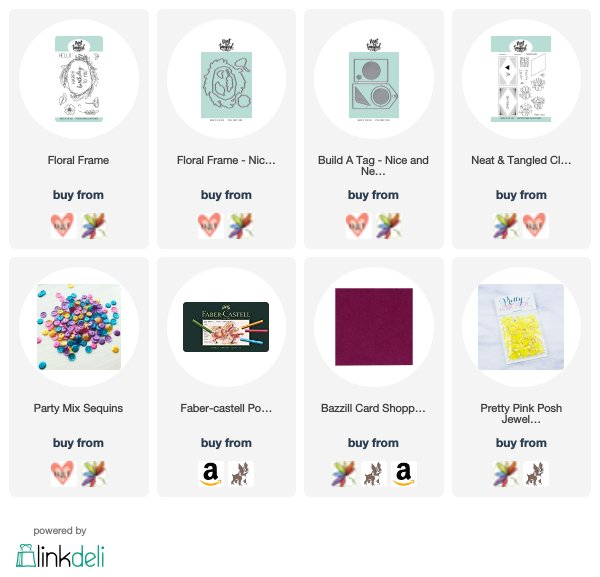
I created a shaker tag using the new Floral Frame, Floral Frame dies, Build A Tag dies, and Thanks So Much stamps. I first laid down a light wash of watercolor using Daniel Smith paints, then added some quick shading details to my watercolored flowers using my Polychromos pencils. For all of the details and to see my process for creating this shaker tag, I encourage you to watch the video!

For my second project, I wanted to keep that same plum and mustard color scheme, but this time with some colored pencil coloring on colored card stock. I began by heat embossing several of the images from the Floral Frame set in silver powder onto some Bazzill Mulberry card stock, then coloring them with my Polychromos colored pencils. I wanted to create as monochromatic a background as possible, so I used only the Mulberry card stock to avoid those annoying white edges on the edge of my die cuts. The colord pencil coloring on the colored card stock is slightly muted, but it’s definitely a unique, fairly monochromatic look, and I just love it!

I heat embossed the sentiment from Floral Frame onto an A2 panel of Mulberry card stock, then added the die cuts with a combination of liquid and dimensional adhesive. The final step was some pretty gems from Pretty Pink Posh to add a little sparkle.

Now, for some fun giveaway information!

Danielle will be giving away one $100 gift certificate to the Neat and Tangled shop and two $50 gift certificate to the Neat and Tangled shop. Winners will be chosen from comments all along the hop all week long. Winners will be announced Friday, August 10th.

Fabulous, right?! Be sure to leave comments on all of the blog posts for the maximum chances to win a Neat and Tangled shopping spree! Your next stop today is Nina-Marie Trapani’s blog. If you get lost along the way, or want to start at the beginning, head on over to the Neat and Tangled blog.

Thanks so much to stopping by today, and a special thanks to Danielle for inviting me to be part of this hop! Congratulations on 6 years of Neat and Tangled fabulousness, and cheers to many more!


Filed Under: neat and tangled, polychromos, video, watercolor Tagged With: blog hop, colored pencil, shaker card, shaker tag, tag, video

Wplus9 Guest Post Sneak Peek!

July 31, 2018

I am so. freaking. excited to say that I was a guest on the Wplus9 blog again yesterday! I even have a video on their YouTube channel showing an easy way to add pencil details to simple Copic coloring. (Seriously, someone pinch me.) I would really love and appreciate it if you stopped by to take a peek! The photo above is a little sneak peek just to pique your interest. 😉

I’ll be back tomorrow with more Honey Bee Stamps Bee Bold Release sneak peeks and inspiration! Have a marvelous day!

Filed Under: polychromos, video, Wplus9 Tagged With: colored pencil, flower, hibiscus bouquet

Altenew July 2018 Stamp & Die Release+ GIVEAWAY!

July 19, 2018

Good morning! Today, I am lucky enough to be hopping along for the July 2018 Altenew Stamp and Die release! You should have arrived here from Kymona Tracey‘s blog and your next stop is  Kristina Pokazanieva‘s blog. Altenew has created a beautiful release this month, with new flowers, new sentiments, and some absolutely gorgeous new dies. I’ve created 5 projects (one of which has a video!), so I hope you’ll get comfy and check them out! (And when you make it all the way to the end, there is giveaway information that you won’t want to miss!)

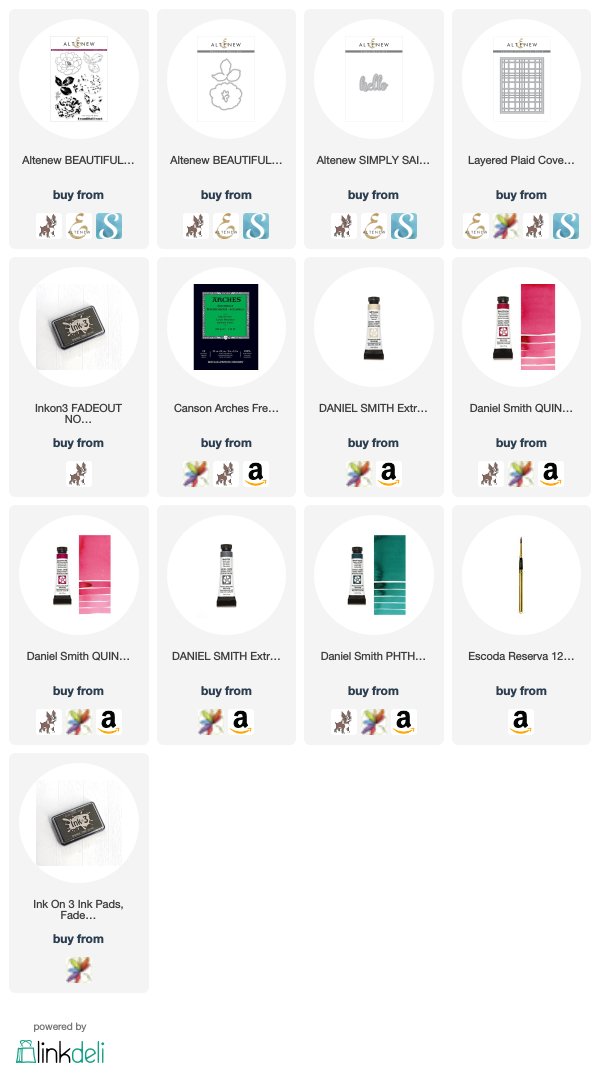
For my first project, I used Altenew’s new Beautiful Heart stamp set to do some no-line watercoloring with my Daniel Smith paints. I created a video of my process, which you can watch above or see in HD here. I used Ink On 3 Fadeout Ink to stamp the flower and foliage onto some Arches Cold Press watercolor paper, then used my Daniel Smith paints to do several layers of watercolor.

After I had finished watercoloring, I die cut the images with the coordinating dies, then created a subtle, textured background using the Layered Plaid cover plate die cut from white card stock and layered on a white card base. I added a white die cut “hello” using the new Simply Hello die. I popped all of the die cuts up using some foam adhesive. Simple, pretty, and pops of color=eye catching card, I think!


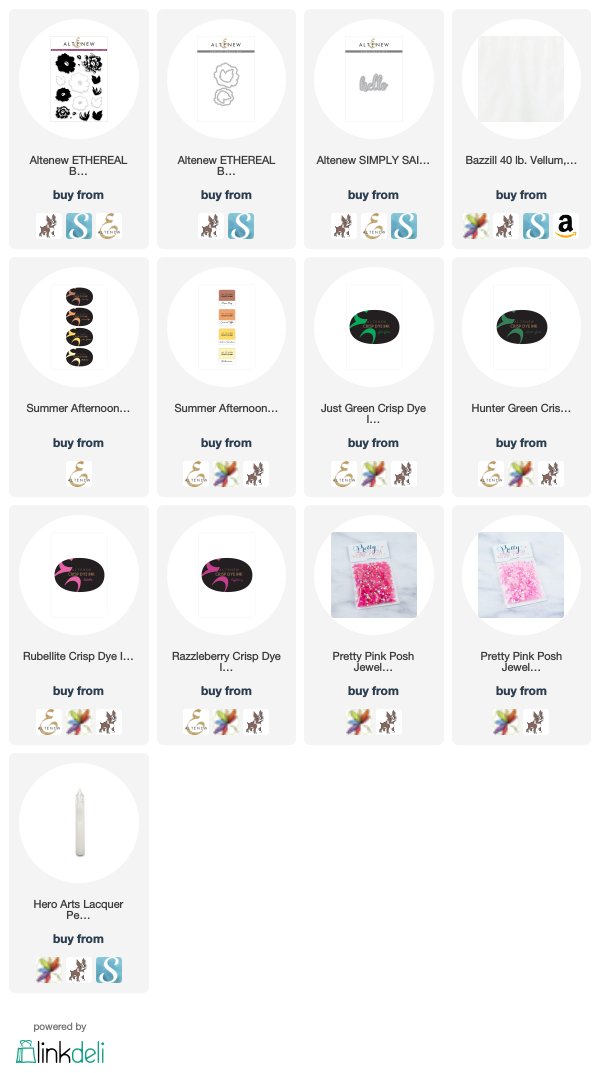
For my second project, I wanted to do some bright, cheerful colors. I follow several different cake artists on Instagram, because wedding cakes particularly are super inspiring to my creativity, and one of the themes I have seen frequently is black and white stripes with massively bright colored flowers. I just needed to recreate one of these cakes in card form using the new Ethereal Beauty set.

I used bright pinks, yellows, and greens to stamp the new Ethereal Beauty stamp set, combined them with the new Simply Hello die, and added some striped black and white patterned paper. I layered the die cuts on some vellum to help soften the starkness of the black and white stripes. Bright and cheerful ftw!


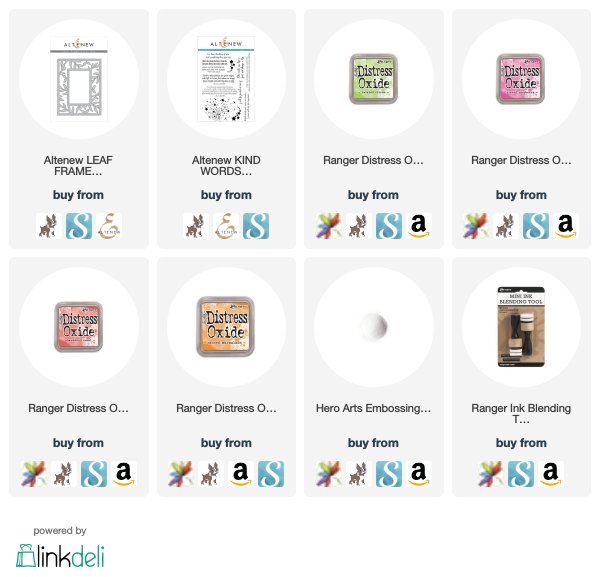
For my next project, I wanted to go way outside of my color comfort zone… I am not much for neon, but for some reason, this new Leaf Frame Cover Plate die was just begging to be given a tropical treatment with my Distress Oxide inks.

I started by inking up an A2 panel of white card stock using Distress Oxide ink in Picked Raspberry, Abandoned Coral, and Spiced Marmalade. I also blended the edges of another white panel using Twisted Citron, then die cut it with the new Leaf Frame Cover Plate die. I heat embossed the greeting from the new Kind Words set onto the ombre panel using white embossing powder, then popped up the leaf die cut using foam adhesive. The final step was to add some pretty jewels to add a touch of sparkle.


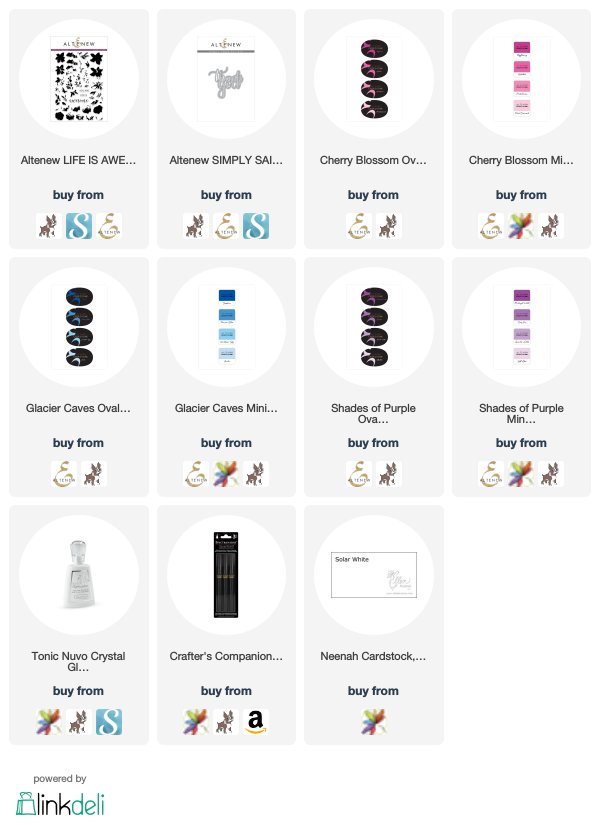
For my next project, I used the new Life is Awesome stamp set to create this beautifully dripping floral arrangement. I have always envisioned myself living in a house that had wisteria vines dripping down the side of the house and a beautiful garden with a path winding through it…. but then I remember that I have the blackest of black thumbs and the closest I will ever get to having a garden is a stamped one. So, here’s my stamped version of an English garden.

I stamped the florals from Life is Awesome in various shades of cool pinks, purples, and blues on the top half of my A2 card base. (I’ll list the individual ink groups below.) After finishing my stamping, I blended Midnight Violet (my absolute favorite purple ink) at the bottom of the card base, keeping the color concentrated towards the bottom and fading as it went towards the florals. I die cut the new Simply Thank You from white card stock three times, then adhered them all together and added it to my card base. Some Spectrum Noir Sparkle Pen and Crystal Glaze for the die cut and some jewels added a bit of sparkle.


If you’ve made it this far, I applaud you! Last card, I promise. 🙂

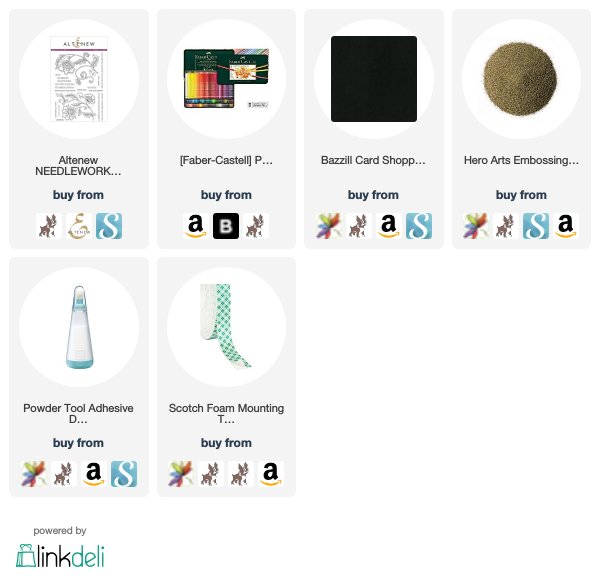
For my final card, I wanted to create an almost tapestry effect using the new Needlework Motif stamp set. I absolutely love using my Polychromos pencils on dark card stock, and I thought this technique was perfect for this stamp set.

I started by heat embossing a custom background from Needlework Motif usng gold embossing powder, then used a variety of jewel toned Polychromos pencils to create an almost tapestry effect on my card front. I love the impact that just those pops of color can add to a card front… Plus, it was fun to do something in a dark and saturated color scheme to my previous bright white projects! To finish it off, I heat embossed a greeting from the Needlwork Motif stamp set on a thin strip of black card stock, then popped it up with some foam adhesive.

Well done! You made it to the end. 😉


Now, for some giveaway information:

To celebrate this release, Altenew is giving away a $50 gift certificate to 6 lucky winners! Please leave a comment on the Altenew Card Blog and/or Altenew Scrapbook Blog by Thursday, July 26th for a chance to win. 6 winners will be announced on the Altenew blogs on 7/29/2018.

Altenew has also generously donated a $30 gift certificate to my blog readers! Simply leave a comment on this blog post telling me 1) If you’re an old friend or a new subscriber (either by email or wordpress follower…. I will check!!) and 2) which of the new products is your favorite!!

Altenew Card Blog

Jennifer McGuire

Svitlana Shayevich

Lilith Eeckels

Kathy Racoosin

May Sukyong Park

Zinia Redo

Altenew Scrapbook Blog

Erum Tasneem

Enza Gudor

Nina-Marie Trapani

Virginia Lu

Sandra Dietrich

Laura Jane

Rubeena Ianigro

Lydia Evans

Dana Gong

Flora Monika Farkas

Norine Borys

Nicole Picadura

Jessica Frost-Ballas

Reiko Tsuchida

Karin Åkesdotter

Sveta Fotinia

Vicki Finger

Kymona Tracey

Emily Midgett

Kristina Pokazanieva

Thanks so much for dropping by, and I hope you have a marvelous day!

Filed Under: altenew, giveaway, heat embossing, polychromos, video, watercolor Tagged With: blog hop, colored pencil, giveaway, new release, video, watercolor

Guest Post: Altenew July 2018 Stencil Release!

July 5, 2018

Good morning! I am super excited to share that I am a guest for Altenew’s Stencil Release for this month! Altenew has been one of my favorite companies for a long time, so it’s a dream come true to be a guest on today’s hop! You should have arrived from Zinia Redo‘s blog and your next stop is Rubeena Ianigro‘s blog. Stencils are such a fun, versatile staple to have in your papercrafting arsenal. There are SO many techniques that you can use with them, and I’ve shown several in this (very long) blog post today. I hope you will read to the end, because the folks at Altenew have generously provided a GIVEAWAY for my blog readers!

For my first technique is just some simple ink blending, but with a little something extra. I have a video to explain:


(You can watch in HD here)

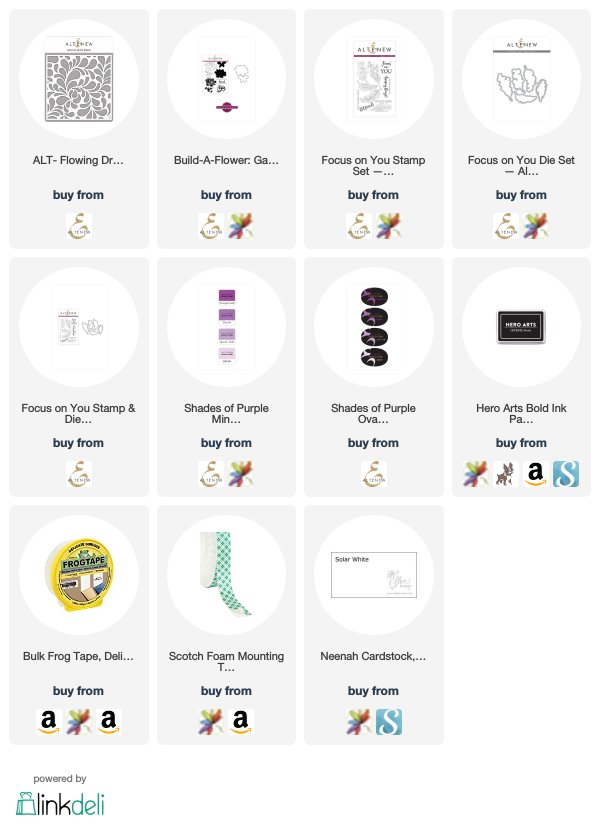
With some masking tape and some ink blending, I created a unique framed background using the new Flowing Drops stencil that beautifully showcases these meticulously-colored flowers.

I added some Copic-colored gardenias from the Build A Flower Gardenia stamp set, as well as some filler flowers from the Focus On You stamp set.


A simple flagged sentiment, popped up with foam tape, finished the card off.

Supplies:


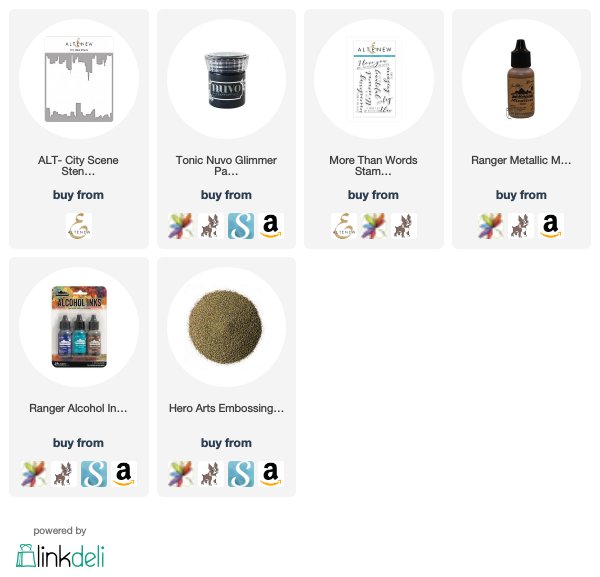
For my second technique, I chose to do another fairly simple technique, combined with a little something extra to give it that extra oomph. Combining stencils with Nuvo Glimmer Paste is one of my favorite techniques, because you can create such a impact with one simple step, and it’s not even that messy!  

I had created this pretty alcohol ink background awhile ago (I like to create a bunch of different backgrounds to keep on hand… makes creating a quick, but unique, project super simple!) and it reminded me so much of a night sky that I just had to combine it with this new City Scene Stencil from Altenew. I simply laid the City Scene Stencil over the top of my alcohol ink background, added some Black Diamond Nuvo Glimmmer paste, and allowed it to dry. I heat embossed the sentiment from More Than Words in gold onto a strip of black card stock, then popped it up with foam adhesive. Easy peasy, but those bold colors and the swirls in the night sky easily catch the eye!

Supplies used:


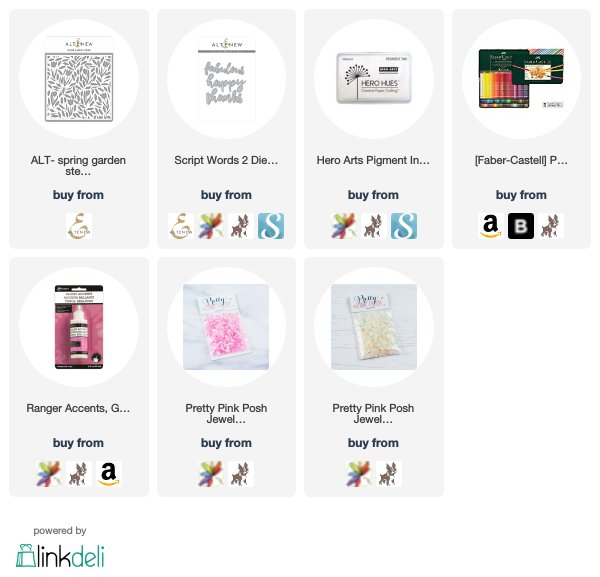
For my next project, I wanted to try something a little bit different. I love the look of colored pencils on Kraft paper, and so I wanted to see if I could use white pigment ink as the base for some colored pencils with the Spring Garden Stencil.  I began by blending some white pigment ink onto some Kraft card stock using the new Spring Garden Stencil. This by itself looks very pretty, but I wanted to take it one step further.

I then used my Polychromos pencils to add some springy pinks and greens to the flowers and some of the foliage. Next, I used the “thanks” word die from Script Words 2 to die cut once from the kraft stenciled panel (making sure to keep the interior pieces safe) and twice more from some white card stock. I adhered them all together, then placed the dimensional die cut back inside the die cut to create a “peekaboo” sentiment. To add a bit of textural interest, I covered the die cut with Glossy Accents and a few jewels scattered here and there.


For my final project today, I wanted to create a shimmer, tone on tone background using colored card stock and some of the lovely sprays from Altenew with the new Elegant Swirls stencil to create a subtly textured background for some pretty florals.

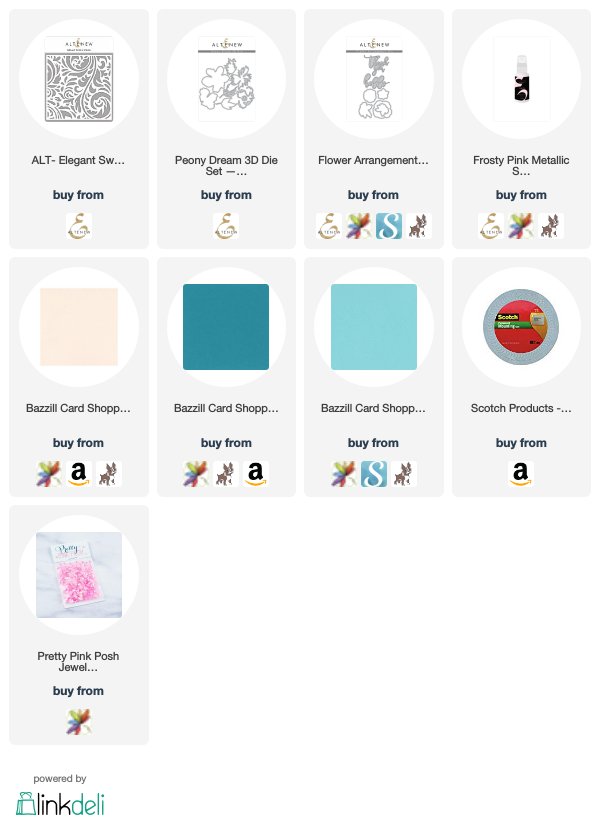
On my background panel, I blended Frosty Pink ink around the edges with my blending tool, then used the Frosty Pink Shimmer Spray combined with the Elegant Swirls stencil. I created a couple of blooms and foliage with the Peony Dream dies and adhered them to the card front using dimensional and liquid adhesive. I added a die cut from the Floral Arrangement die set cut from black card stock to really make it pop on the monochromatic background.

I added a few jewels for a little sparkle.


Now, it’s time for some fun stuff! Altenew has generously provided a $30 gift certificate for me to give away to help celebrate their new stencil release. How to win: 1) Be a blog follower or subscriber 2) Leave a comment on this post letting me know if you are a new follower or an old friend! The winner will be selected on July 11th at noon, so check back here to see if you’re the lucky winner!


To celebrate this release, Altenew is giving away a $50 gift certificate to 6 lucky winners! Please leave a comment on the Altenew Card Blog and/or Altenew Scrapbook Blog by Thursday, July 12th for a chance to win. 6 winners will be announced on the Altenew blogs on 7/15/2018. Here’s the whole blog hop list:


Altenew Card Blog

Paige Evans

Vicky Papaioannou

Kelly Griglione

Zinia Redo

Emily Midgett

Rubeena Ianigro

Olga Moss

Lilith Eeckels

Gayatri Murali

Virginia Lu

Nicole Picadura

Karin Åkesdotter

Norine Borys

Heather Hoffman

Altenew Scrapbook Blog

Jennifer McGuire

Erum Tasneem

Enza Gudor

Nina-Marie Trapani

May Sukyong Park

Justine Hovey

Svitlana Shayevich

Sveta Fotinia

Dana Gong

Kymona Tracey

Agnieszka Malyszek

Lydia Evans

Crystal Thompson

Simon Says Stamp Blog

Happy hopping!

Filed Under: altenew, video Tagged With: ink blending, stencils, video

2018 Autism Awareness Hop!

April 2, 2018

Good morning! Today, I have the pleasure of taking part in a fantastic blog hop: Autism Awareness Blog Hop. So very many families have a loved one who has been diagnosed as being on the spectrum; I myself have two family members on the spectrum. I am so honored that Veronica Zalis asked me to be a part of this blog hop today, and it’s in honor of those family members that I created this card! In honor of this worthy cause, Taylored Expressions has created a very special stamp set called Look With Your Heart, containing beautiful encouragement sentiments. Taylored Expressions also is committed to donating 25% of the proceeds from the sales of this set during the month of April to the Autism Society.

The hope for this blog hop is to bring awareness and a bit of compassion to those families affected by this diagnosis. My cousin (who is like a sister to me) has a son six months younger than my own children, and watching her joys and struggles with her son has been such an eye-opening experience for me. The parents of children with autism are truly superheroes. It’s one of those situations that you will never truly understand unless you have walked in their shoes, and they deserve every ounce of compassion and love that we can muster.

While the sentiments in this beautiful Look With Your Heart stamp set are all incredible and so poignant, one of the sentiments particularly spoke to me: “Every child is a different kind of flower, and all together make a beautiful garden.” Each child is their own person. Each child has their own value, their own contribution to society. They all are capable of making us better people, and together we can make the world a better place for them.

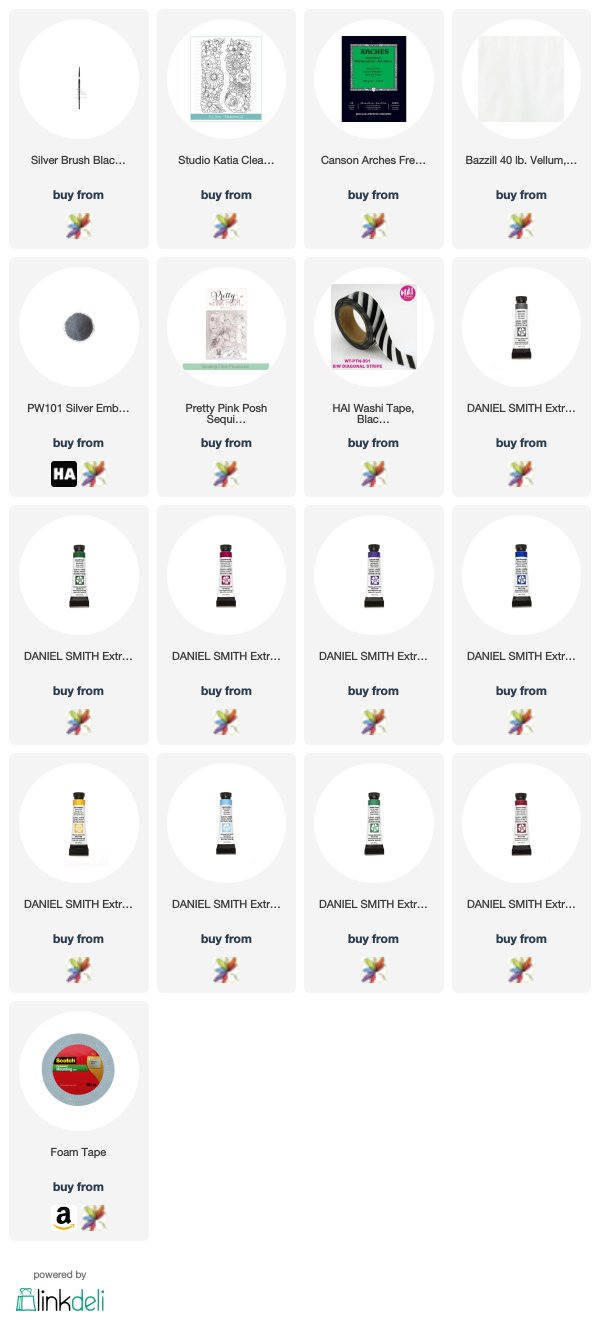
I started by stamping the beautiful Floral Trimmings stamp from Studio Katia and silver heat embossing it on some watercolor paper. I then placed strips of washi tape on the embossed panel and watercolored it using the same technique that I demonstrated in this video. Stripes and florals are super chic this spring, so I wanted to bring that trend in to this card. I wanted pretty pastel blue florals, so I used Daniel Smith’s French Ultramarine.

After peeling off my washi masking tape stripes, I worked on watercoloring the florals. I used a variety of colors of Daniel Smith watercolor tubes (helping to bring home my chosen sentiment with lots of different flowers ;)), including Quinacridone Pink, New Gamboge, Alizarin Crimson, and Hooker’s Green. (I’ll link them all below!) I stamped the same floral image from Floral Trimmings on a piece of scrap watercolor paper, then watercolored just a portion of it and fussy cut it to have an extra little floral element.

Once my watercoloring was complete, I turned to the greeting. I stamped the lovely sentiment from the Taylored Expressions Look With Your Heart stamp set onto some heavyweight vellum and heat embossed it using silver embossing powder. I then scored it and folded the edge over the edge of my floral panel and hid the adhesive on the back of the card. (You have to be sneaky with vellum or else that ugly adhesive shows right through!) I used the other fussy cut floral piece to hide some more adhesive in the corner of the vellum sentiment panel. Isn’t that sentiment just stunning?

I hid some more adhesive behind some Sparkling Clear sequins, then added a thin strip of silver glitter paper on the edge of the card front for a little sparkle.

Well, that’s all for my project today! I hope you’ll check out all of the different sponsors for this hop… there are some absolutely incredible prizes from some absolutely incredible and generous sponsors (including some of my absolute favorite companies… Ellen Hutson, Hero Arts, and Honeybee Stamps). There is a wealth of inspiration and encouragement to be found along this hop, and I hope you will check out each stop!

Veronica Zalis
Erica A-B
Sandy Allnock
Amanda Bodine
Kimberly Crawford 
Joscelyne Cutchens (Instagram)
Dana Joy
Wanda Guess
Jill Dewey Hawkins
Jennifer Ingle (Instagram)
Emily Midgett
Kay Miller
Carly Tee Minner
Miriam Prantner
Elena Roussakis
Heather Ruwe
Amy Tsuruta
Marcie Sharp
Alice Wertz
 Vera Yates
Melissa Phillips

There is also an opportunity for you to create your own Autism-themed project and link it up to the InLinkz for an additional chance to win one of these fabulous prizes!

An InLinkz Link-up
Thank you so much for stopping by and for your support! I hope this hop inspires everybody to be kind! The world sure could use it! Have a marvelous day. 🙂

Filed Under: studio katia, video, watercolor Tagged With: autism, blog hop, floral, masking, washi tape, watercolor

  • « Go to Previous Page
  • Page 1
  • Page 2
  • Page 3
  • Page 4
  • Go to Next Page »

Primary Sidebar

  • Facebook
  • Instagram
  • Pinterest
  • YouTube

Favorite Shops

Secondary Sidebar

Subscribe

Enter your email address to subscribe to this blog and receive notifications of new posts by email.

Instagram
Something is wrong.
Instagram token error.
Follow
Load More

Archives

Tags

3D embossing folder alcohol markers better press birthday birthday card blog hop card kit christmas christmas card christmas tag colored pencil copic copic coloring Daniel Smith die cutting embossing folder embroidery felt giveaway holiday holiday card hot foil ink blending karin brushmarker pro layered stencil masculine my monthly hero new release no line coloring no line watercolor OLO marker olo markers original illustration pawsitively saturated rainbow shaker card slimline stamping stamptember stencil thank you thinking of you valentine's day video watercolor

Popular Posts

Special Release: Simon Says Stamp Exclusive Tim Holtz Coordinating Dies!
Simon Says Stamp Card Kit November 2026: Jolly Season!
Shaped Holiday Shaker Card with New Simon Says Stamp Jolly Season Card Kit of the Month!
Simon Says Stamp Glory to the Newborn King Holiday Kit-Part II!
Simon Says Stamp Glory to the Newborn King Holiday Kit-Now Available!
Altnew Craft A Flower: Daffodil+ Glitter Cardstock Release Blog Hop + Giveaway!
Grateful Acorns with Simon Says Stamp!
Altenew October 2026 Release Blog Hop + Giveaway!
Coral Wild Rose for Mother's Day with Simon Says Stamp!
Fashion Shoppe and Flower Shoppe with Concord & 9th!

Disclosure

Some affiliate links are used in my posts. This means that, should you click on one of my links and purchase something from that company, I will receive a small portion of the sale at no extra cost to you. I use the money earned from these sales to help maintain my blog. I so appreciate you visiting and, if you do choose to use one of my affiliate links, thank you so much for your support!
Copyright © 2026 ·Brunch Pro Theme · Genesis Framework by StudioPress · WordPress · Log in
Loading Comments...